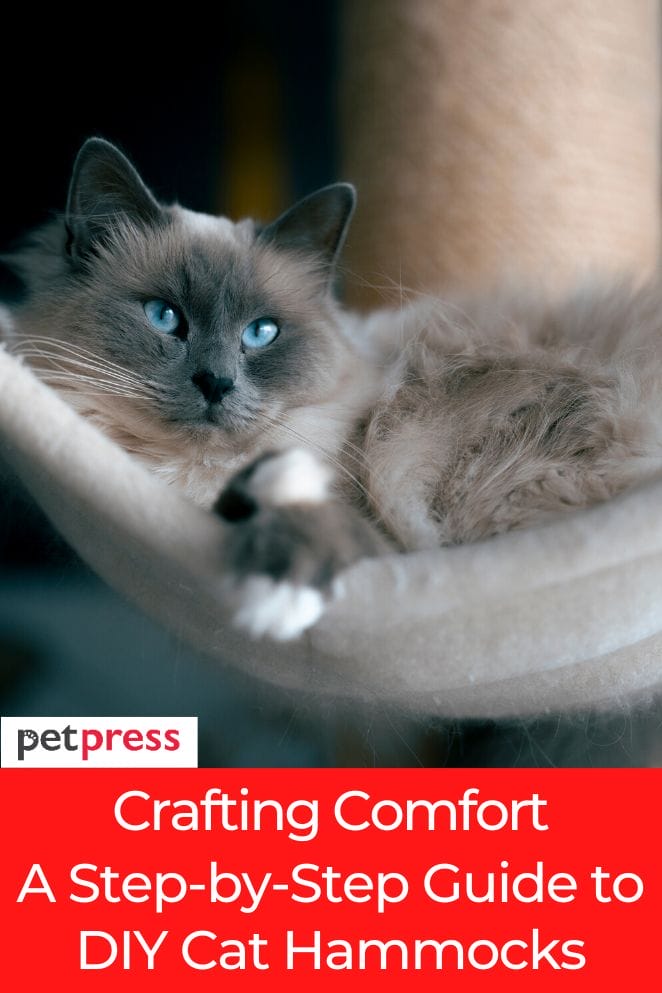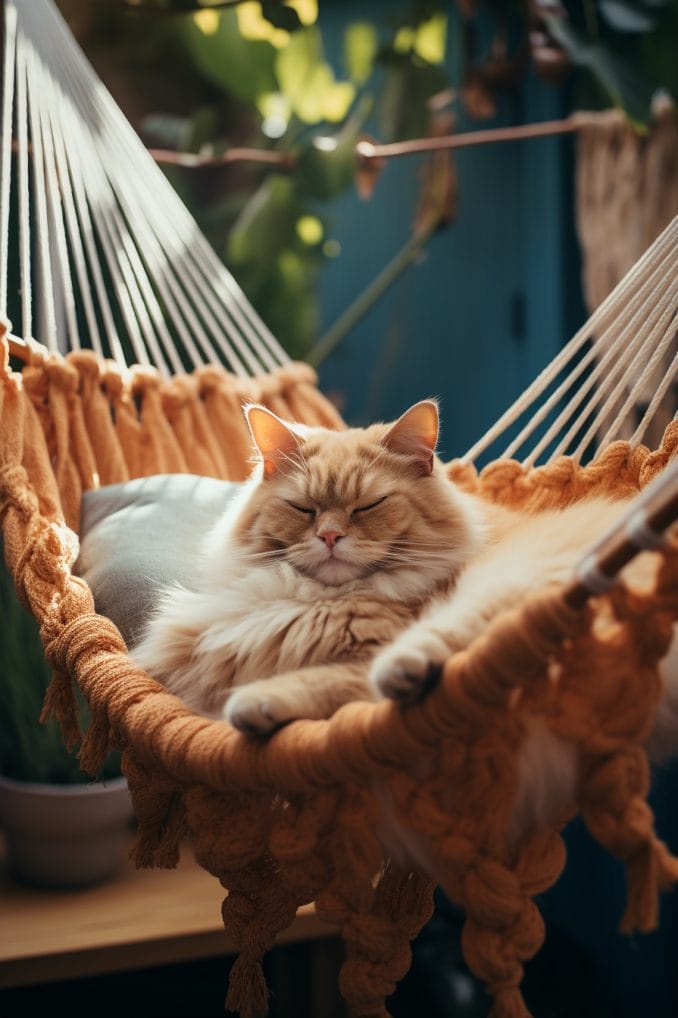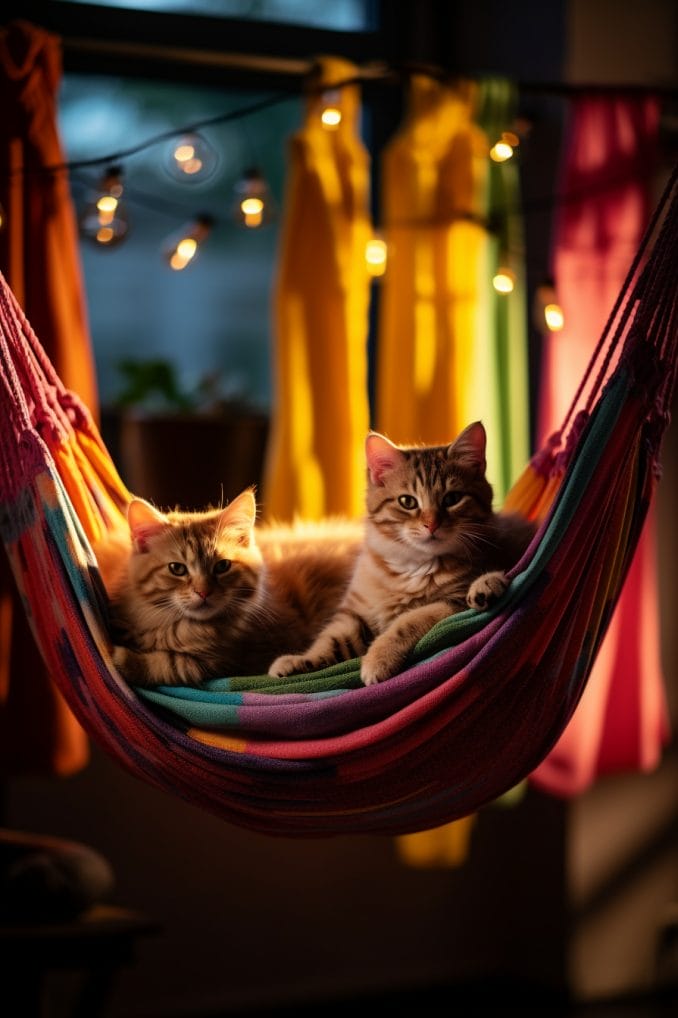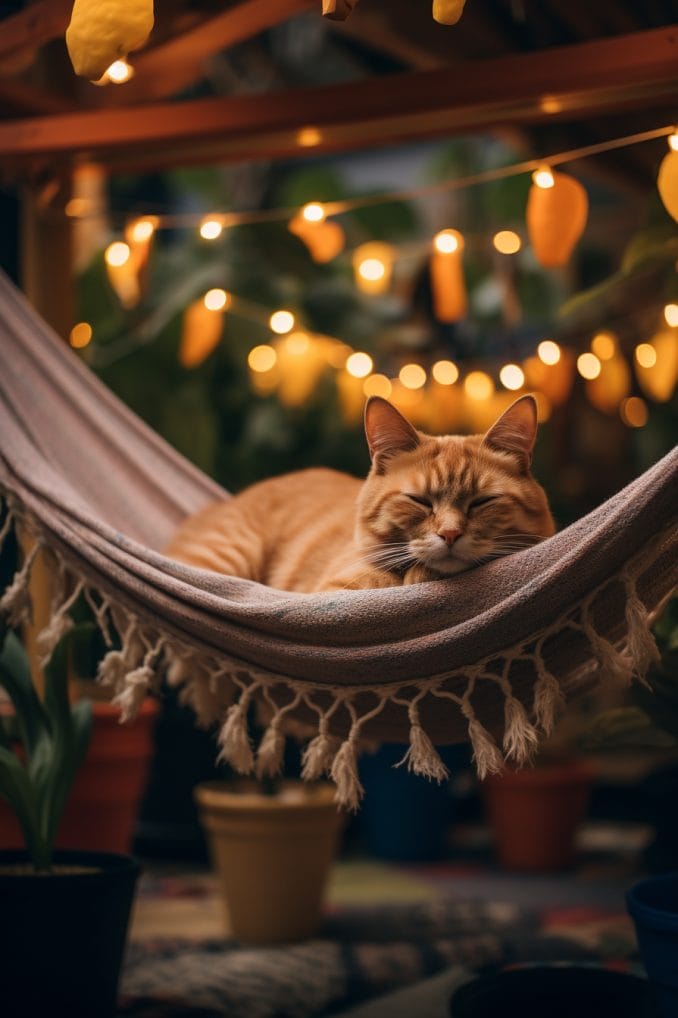
Discover the realm of feline opulence with a personalized touch – create your own cat hammock!
This guide is your gateway to understanding the advantages of providing your cat with a snug elevated sanctuary.
Explore optimal locations to suspend your creation, select the right materials, and follow a straightforward process to bring your kitty’s dream hammock to life.
Immerse yourself in the enchanting universe of DIY cat hammocks and transform your home into a haven for your beloved furry companion.
- Read also: DIY Cat Bed for Feline Bliss
- Read also: DIY Cat Enclosure for Feline Freedom
Benefits of DIY Cat Hammocks
Why should you delve into crafting your cat hammock? Beyond the cost-saving aspect, DIY cat hammocks bring forth a range of advantages:
- Elevated comfort: Cats love being up high. A hammock offers them a perch where they can observe their kingdom from a safe and comfortable spot.
- Space saving: Ideal for small spaces, cat hammocks take up minimal room while providing maximum enjoyment for your feline friend.
- Stress reduction: Elevating your cat’s resting spot can reduce stress, giving them a sense of security and peace.

Choosing the Perfect Spot
Now that the advantages have piqued your interest, let’s dive into the crucial question: where to hang your DIY cat hammock? Here are some thoughtful considerations:
Window wonder
Cats are avid bird watchers. Hang the hammock near a window, providing your feline friend with an ever-changing outdoor panorama. This not only entertains them but also taps into their natural curiosity.
Quiet corners
Cats appreciate a quiet, undisturbed space for their naptime. Choose a cozy corner away from high-traffic areas to ensure your cat can enjoy their hammock in peace.
Sunshine sweet spot
Cats are notorious sun-seekers. If you have a sunny spot in your home, consider placing the hammock there. The warmth combined with the elevated position creates an irresistible kitty haven.
Selecting Suitable Materials
Before embarking on your DIY journey, let’s gather the essential materials:
- Sturdy fabric: Opt for durable fabric like canvas or heavy-duty cotton.
- Strong cord or rope: Ensure it can bear your cat’s weight securely.
- Wooden dowel or PVC pipe: To serve as the hammock frame.
- Sewing supplies: Needles, thread, and a sewing machine for securing the fabric.
Step-by-Step Creating Cat Hammocks

Let’s dive into the pawsitively delightful process of creating a DIY cat hammock:
Step 1 – Measure and cut
Embark on this delightful journey of creating a DIY cat hammock with precision and care:
Measure the ideal size
Your cat’s comfort is key. Gauge their lounging preferences and measure the fabric accordingly. Ensure ample space for stretching and cozy naps, tailoring the hammock dimensions to your feline friend’s liking.
Careful fabric cutting
With dimensions in mind, delicately cut the fabric, laying the foundation for your cat’s elevated retreat. Precision at this stage ensures a snug and comfortable hammock, meeting your kitty’s lounging expectations.
Step 2 – Sew the edges
Hemming the fabric is a pivotal step, contributing to the aesthetic and durability of your creation:
Preventing fraying
Hemming safeguards against fraying, extending the life of your cat hammock. Even if sewing isn’t second nature to you, fear not! Simple stitches along the edges suffice, adding a charming touch of craftsmanship to your DIY project.
Step 3 – Attach to frame
In this phase of your DIY cat hammock journey, you bring together fabric and frame, creating a snug haven for your feline friend:
Seamless attachment
With finesse, sew one end of the fabric to the chosen wooden dowel or PVC pipe. This careful stitching not only ensures structural integrity but also forms a cozy pocket, inviting your cat to settle into their elevated retreat. The snug attachment adds an extra layer of comfort to your hammock.
Step 4 – Secure hanging points
Elevate your crafting prowess by securely hanging your cat’s haven:
Robust Support
Safeguard your cat’s lounging experience by firmly securing the hammock with a robust cord or rope. Anchored securely, this step guarantees that your DIY creation can effortlessly bear your cat’s weight. It’s a crucial detail that ensures a worry-free and enjoyable lounging experience for your feline companion.
Tips

As your DIY cat hammock nears completion, consider these additional tips for an optimal lounging experience:
Test weight capacity
Before granting your cat access to their new haven, conduct a weight capacity test. This ensures the hammock is securely anchored and can confidently accommodate your cat’s lounging activities.
Adjustable heights
Elevate your cat’s satisfaction by making the hammock adjustable. Experiment with different heights until you find the sweet spot that aligns with your cat’s preferences. This adaptable feature adds a layer of customization to your creation.
Add a cushion
Enhance the cozy factor by placing a small cushion or a soft blanket in the hammock. This simple addition transforms the lounging space into a plush retreat, inviting your cat to indulge in luxurious comfort.
Regular checks
Periodically inspect the hammock for any signs of wear and tear. This routine check ensures that your DIY creation remains a safe and enjoyable spot for your cat. Addressing any issues promptly maintains the longevity of your feline friend’s elevated haven.
- Read also: 10 DIY Cat Shelves That Look Purr-fectly Fabulous
- Read also: DIY Cat Cave
Conclusion
Crafting a DIY cat hammock is not just about creating a cozy nook for your feline friend; it’s a testament to the bond you share. As your cat curls up in their homemade hammock, you’ll witness the joy and contentment it brings. So, gather your materials, follow the steps, and embark on a DIY adventure that will elevate both your cat’s comfort and your crafting prowess!
Whether your cat is a lazy lounger or a curious explorer, a DIY hammock is a purr-fect addition to your home. Happy crafting!
- Does Cat Litter Melt Ice? The Complete Guide to Winter Safety - January 30, 2026
- Happy Tail Dogs: Understanding This Common Canine Condition - January 29, 2026
- How Cold Can Outdoor Cats Handle? Feline Winter Safety - January 27, 2026


GIPHY App Key not set. Please check settings