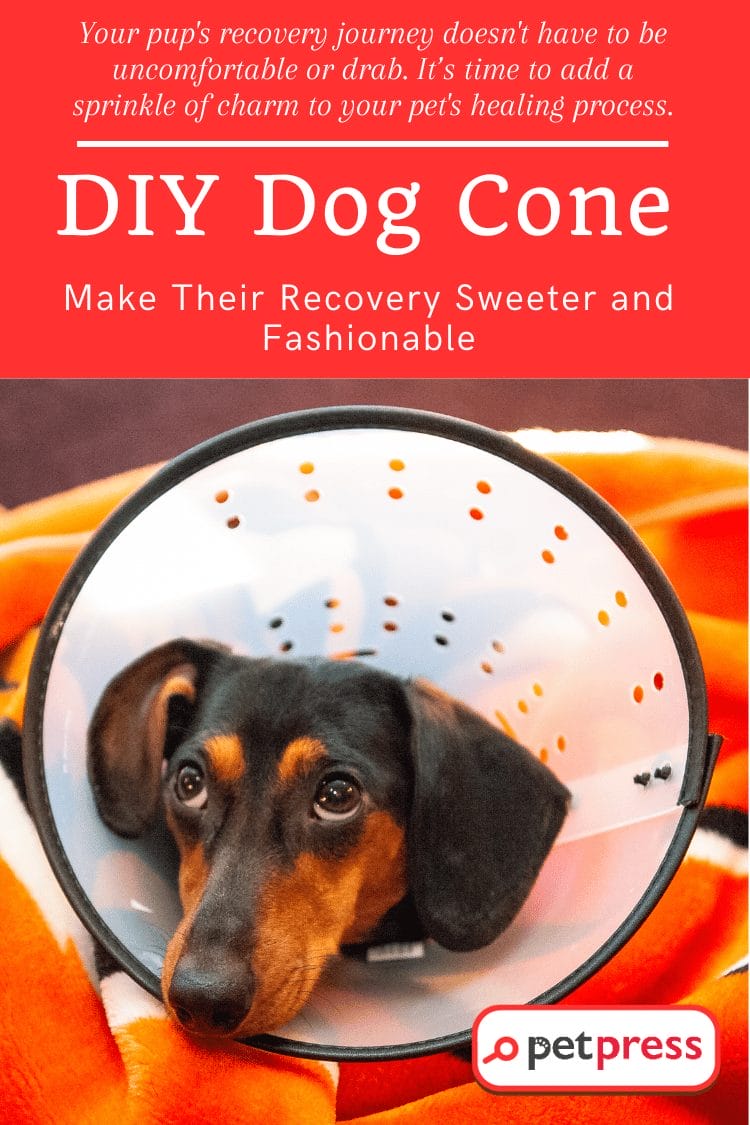
Here’s the brighter side: Your pup’s recovery journey doesn’t have to be uncomfortable or drab! It’s high time we bid goodbye to the standard plastic cone and welcome a more personalized, comfortable, and stylish alternative—a DIY dog cone.
When it comes to our pets, ensuring their wellness is paramount. Witnessing our much-loved furry companions go through a recovery period, especially when they’re saddled with the unappealing ‘cone of shame,’ can tug at our heartstrings. This standard cone, while crucial for preventing them from worsening injuries or surgical wounds, often lacks comfort and aesthetics.
Embark on this exciting project with us as we guide you through creating a DIY dog cone that is not just functional but also adds a sprinkle of charm to your pet’s healing process.
The Need for a Dog Cone
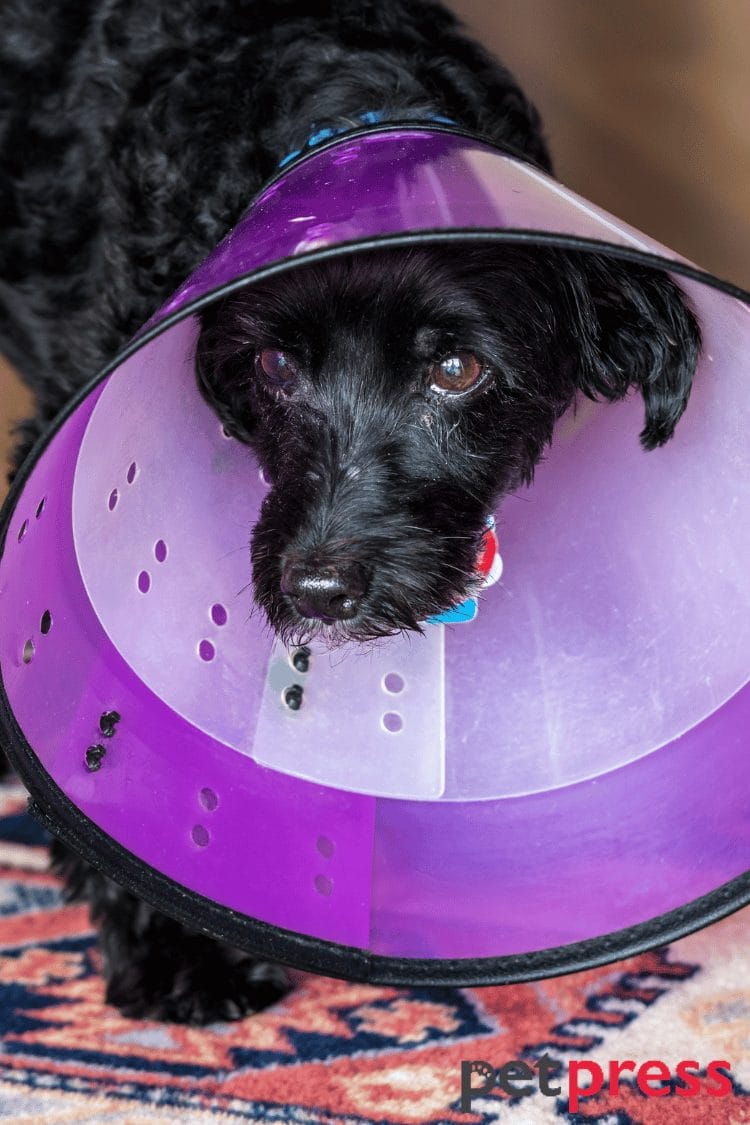
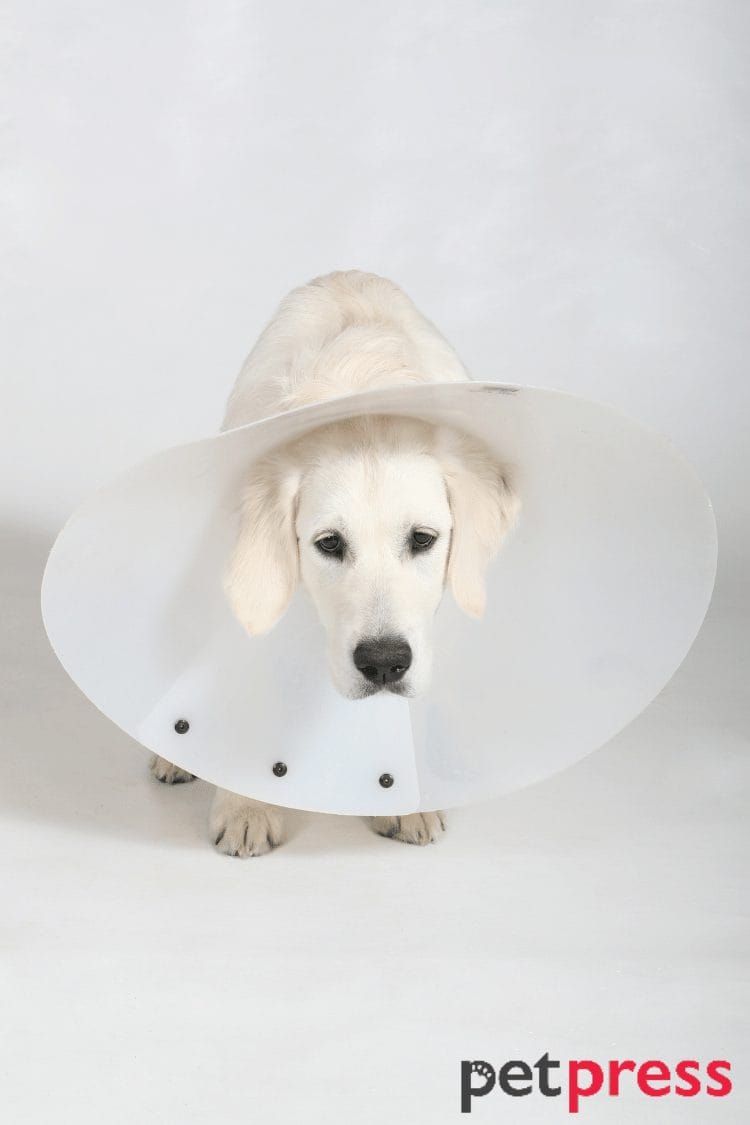
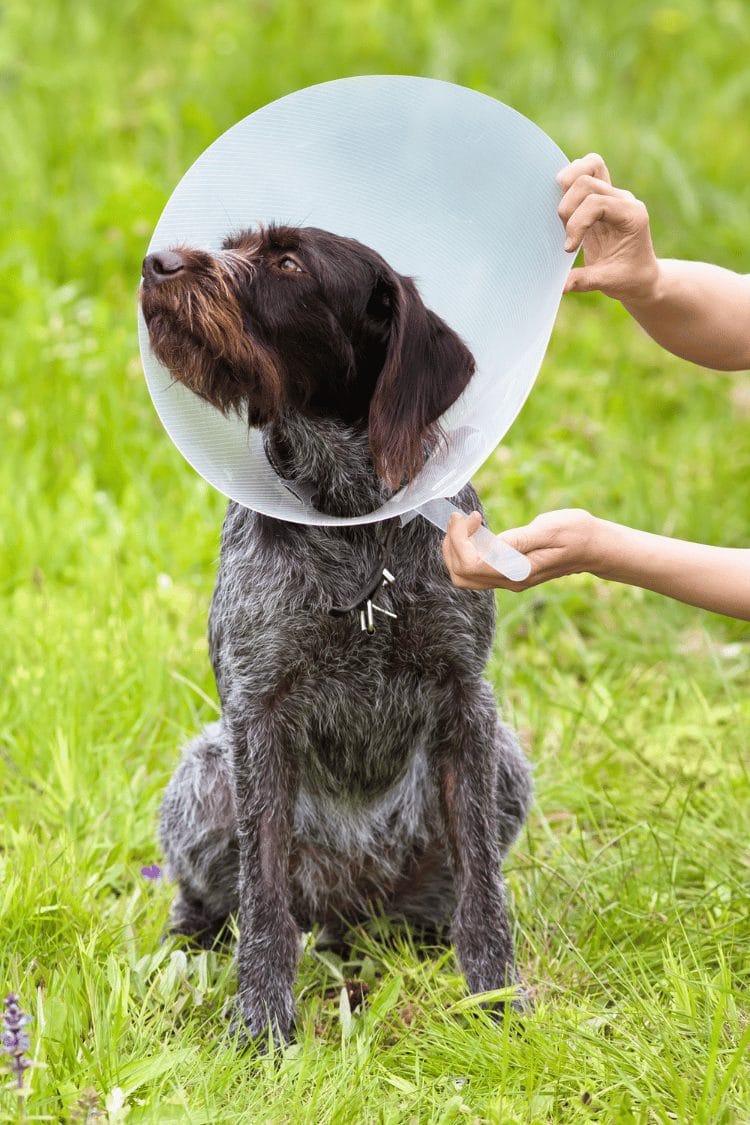
In the world of pet care, a dog cone, often joked as the ‘cone of shame,’ is far more than a comical accessory. It holds a vital spot in your canine’s safety toolkit, especially during their recovery period. The dog cone is a protective device designed to prevent your pet from reaching their injuries, surgical incisions, or hotspots.
Our pets have an instinctual urge to lick or scratch at their wounds or stitches, which may lead to infections or prolonged healing time. A well-fitted cone provides a barrier, stopping them from self-harming and allowing the healing process to proceed unhindered.
Why opt for a DIY dog cone?
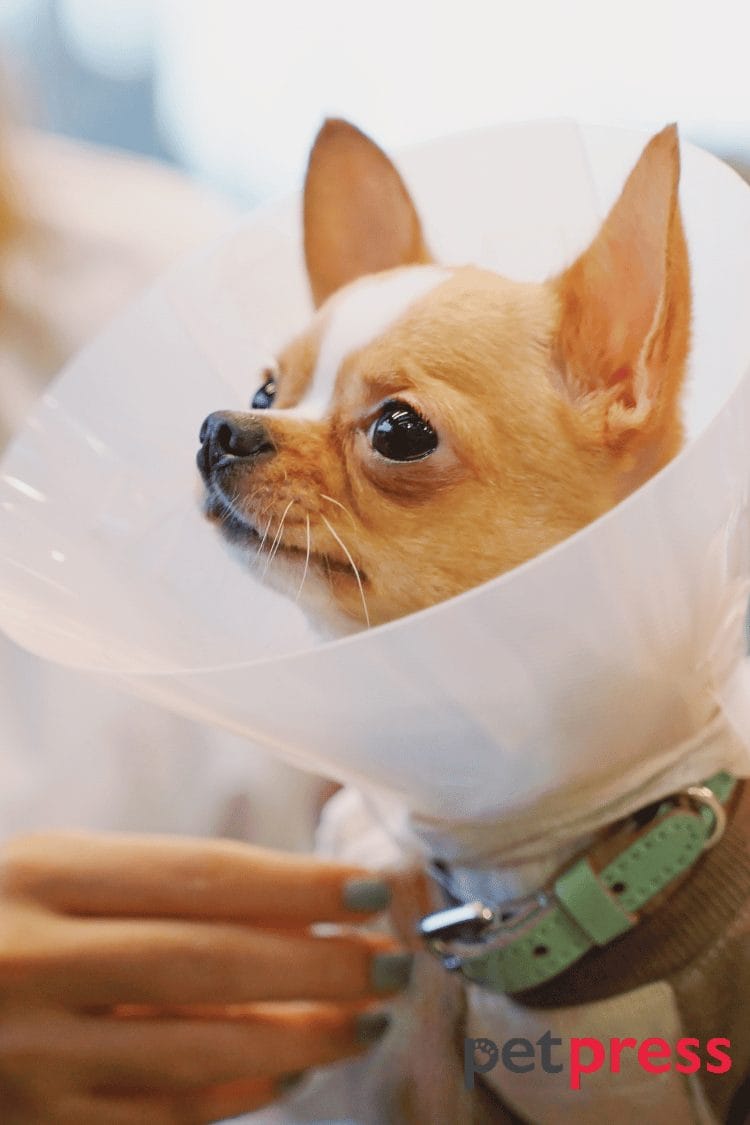
So, why should you consider a DIY dog cone? The answer is simple. Customization and comfort.
Every dog is unique, with its own distinct size, breed, and personality. Off-the-shelf cones might not always be the perfect fit for your furry friend, which can lead to discomfort or a hindered line of sight.
Creating a dog cone at home allows you to customize the device to your pet’s specific needs. You can ensure the perfect fit, thereby increasing comfort during their recovery period. Plus, the ability to select your own materials and design adds a personal touch that can help reduce your pet’s stress levels.
Not to mention, a DIY dog cone can be a fun and engaging project, offering an opportunity to infuse some positivity into the recovery period. After all, who says dog cones can’t be both functional and fashionable? It’s time to bring out your creativity and make your pet’s recovery period a tad more comfortable and stylish!
Selecting the Right Materials
The first step to creating a perfect DIY dog cone is choosing the right materials. You want to opt for materials that are not only safe and comfortable for your pet but also durable, easy to clean, and light enough for them to carry around. Here are a few considerations:
- Comfortable and Soft: The material should ideally be soft to avoid causing any discomfort. Fabrics like cotton or felt are excellent choices, as they are gentle on your pet’s skin and won’t obstruct their movements.
- Durable: Your pet will be wearing this cone for a while, so it needs to withstand daily activities. Materials like canvas or heavy-duty nylon can stand up to the task without losing shape or comfort.
- Easy to Clean: It’s crucial to consider how easy it will be to clean the material. Waterproof or water-resistant materials are ideal. Avoid materials that collect hair and dirt.
- Lightweight: The cone should be lightweight, ensuring it doesn’t burden your pet or restrict their movements.
- Safe: Safety is paramount. Choose materials that pose no harm if ingested in small amounts, and make sure there are no small parts that could be a choking hazard.
Step-by-Step Guide to an Adorable DIY Dog Cone
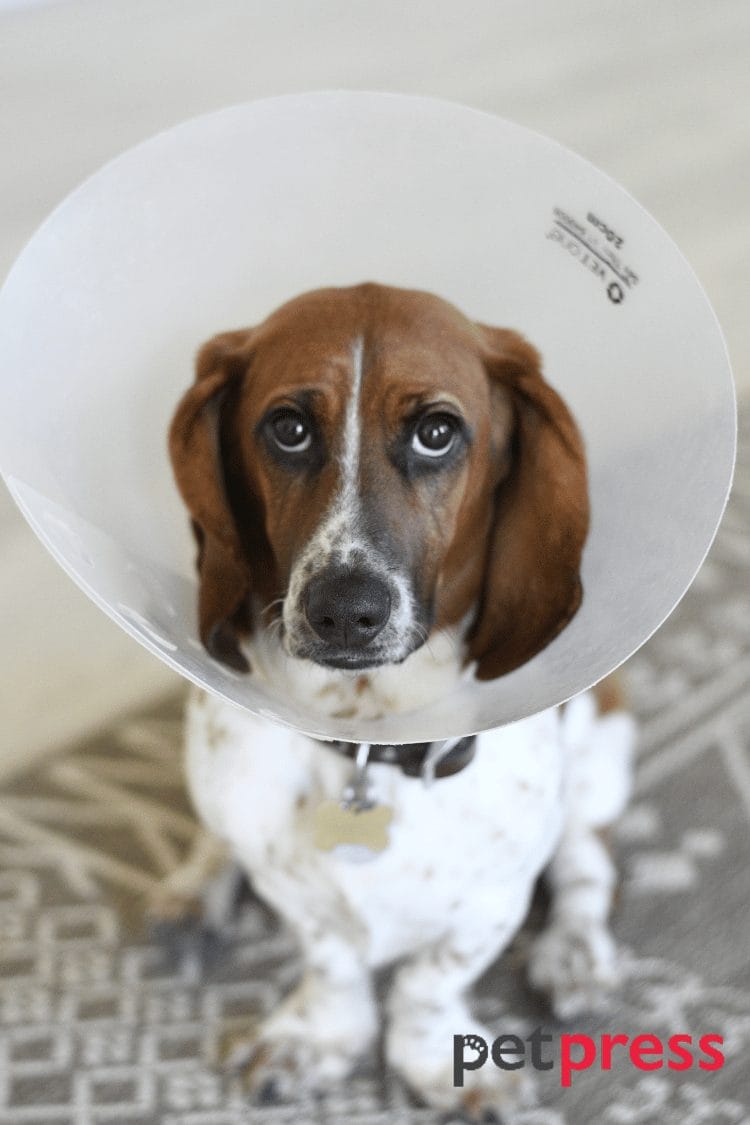
Crafting a DIY dog cone might seem like a daunting task, but with our step-by-step guide, you’ll soon realize it’s easier than you think. Ready to create a comfortable, stylish, and adorable cone that will sweeten your dog’s recovery journey? Let’s get started!
Step 1: Measurements
Start by measuring your dog’s neck circumference and the distance from their neck to their snout. These measurements will guide the size of the cone.
Step 2: Material Preparation
Cut a circular piece of the chosen fabric based on the measurements taken. The radius of the circle should be the neck-to-snout measurement, and a smaller circle in the center should match the neck circumference.
Step 3: Make it Comfortable
To add an extra layer of comfort, consider sewing a soft lining around the edges that will contact your dog’s neck.
Step 4: Ensuring the Perfect Fit
Attach a secure yet adjustable fastening system. Velcro strips are an excellent option, as they allow for adjustments and easy removal.
Step 5: Personalize Your Cone
It’s time to add some flair! Decorate the cone with non-toxic fabric paints or sew on some cute patches. Remember, any decorations should be safely attached and not pose a choking hazard.
Step 6: Introducing the Cone to Your Pet
Introduce the new cone to your pet gradually, offering praise and treats for wearing it.
With these easy-to-follow steps, you’ll have a comfortable, durable, and adorable DIY dog cone ready for your furry friend. It’s not just about crafting an accessory; it’s about infusing love and care into every stitch, making your pet’s recovery process a bit more comforting and enjoyable.
Making Recovery Sweeter and Fashionable
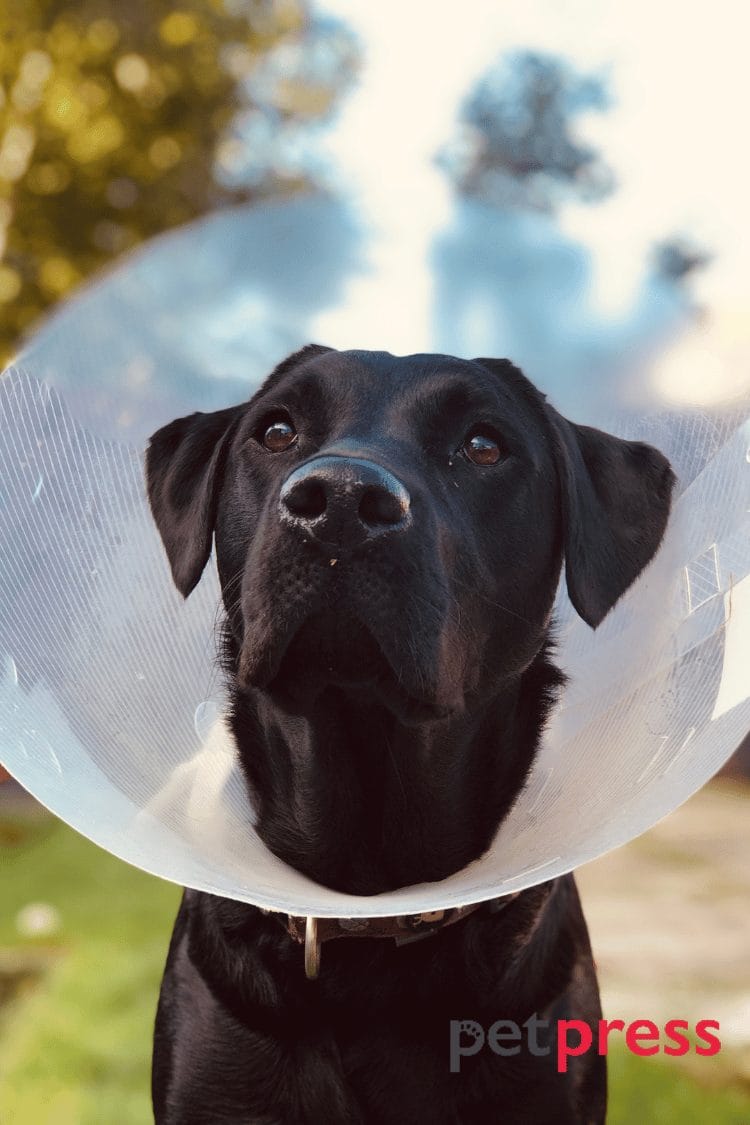
Yes, a dog cone is a necessity during recovery, but who says it can’t be fun and fashionable? This DIY project is a golden opportunity to exhibit your creativity and make your pet’s recovery period a bit more cheerful. Let’s explore some ways to make this DIY dog cone the talk of your neighborhood.
Personalize with their name:
Adding your pet’s name to the cone can make it all the more special. You can use non-toxic fabric paints or sew-on letters to achieve this. It’s a simple addition, but it adds a delightful touch of personality.
Choose Funky Patterns:
Who said a dog cone needs to be plain? Spice it up by choosing a fabric with a funky or cute pattern. Whether it’s vibrant polka dots, playful animal prints, or a classy tartan design, the choices are limitless! Select a pattern that suits your pet’s personality best.
Add some embellishments.
Consider sewing on some embellishments, like cute patches or ribbons. Again, ensure these are securely attached and do not pose any choking hazards. Even a small bow or a little heart patch could add a lovely flair.
Color It Up:
Choosing a bright, cheerful color for your DIY dog cone can drastically elevate its look. Vibrant hues can make the cone look less clinical and more like an adorable accessory.
Remember, the goal is to make your pet’s recovery period less stressful and more fashionable. So, let your creativity shine as you craft this adorable DIY dog cone. Ultimately, this labor of love will help your pet associate the cone with positive feelings rather than discomfort, making the healing process a whole lot sweeter.
Tips for Getting Your Dog to Accept Their New Cone
Introducing a new item, especially one like a cone, to your dog can indeed be a bit challenging. It’s crucial to approach this situation with patience and understanding, recognizing that it’s a significant change in your pet’s routine. Let’s look at some effective strategies to help your dog get comfortable with their new DIY dog cone.
Gradual Introduction:
It’s important not to rush the process. Start slowly by letting your pet sniff and investigate the new cone. Encourage and praise them, associating the cone with positive experiences.
Make it a positive experience.
Treats are always a good idea! Give your pet their favorite treat each time you put the cone on. This positive reinforcement will help them accept the cone more readily.
Ensure a Proper Fit:
Make sure the cone fits your dog correctly. It should be snug but not too tight, allowing them to eat and drink comfortably. An ill-fitting cone might cause unnecessary discomfort, leading to resistance.
Provide extra comfort:
When your dog is wearing the cone, providing extra cuddles and comfort will reassure them and help them adapt. A little extra love can go a long way!
Consistency is key.
Keep the cone on consistently, except during mealtimes if it makes eating difficult. If you only put the cone on at times, your dog might associate it with unpleasant experiences.
Be patient, and understand that it might take a little time for your dog to get used to their new cone. Remember, the end goal is to make their recovery period smoother and more comfortable. With these tips, your pet will be rocking their DIY dog cone confidently in no time!
Conclusion
Navigating through your beloved pet’s recovery period can be a challenging journey filled with worry and concern. But with our DIY dog cone guide, it doesn’t have to be all gloom and dread. Creating a comfortable, fashionable, and personalized cone can add a touch of positivity and charm to this difficult time.
Caring for a pup in recovery goes beyond ensuring their physical well-being; it also involves keeping their spirits high. A cheerful, adorable cone tailored to fit your pet perfectly does just that, making their healing process sweeter and more bearable.
Did you find this post helpful? Could this guide be useful for other pet parents you know? If so, don’t hesitate to share it! Use the social media buttons below to spread the word. After all, every pup out there deserves to experience a recovery period filled with love, comfort, and a dash of style!
Remember, every stitch sewn, every pattern chosen, and every moment spent creating this DIY dog cone is a testament to your love and care for your furry friend. Here’s to making recoveries happier, one adorable DIY dog cone at a time!
FAQs about DIY Dog Cone
Cones are designed to prevent your dog from licking or scratching their wounds, surgical sites, or hot spots, which can lead to infection or prolonged healing time. While it might look a bit uncomfortable, it’s essential for their recovery.
The duration depends on the complexity of the design. Generally, with all materials ready, you can create a basic DIY dog cone in a few hours.
It depends on the material used. Most fabric cones can be spot-cleaned with mild soap and water. If you’ve used a water-resistant fabric, you may be able to machine wash it—always check the care instructions first!
Patience is key. Introduce the cone gradually, associating it with positive experiences like treats and praise. Ensure it fits perfectly and doesn’t cause discomfort.
Absolutely! Add your pet’s name, choose a funky fabric pattern, or sew on cute patches. The goal is to make the recovery process less stressful and a bit more fun for your pet.
Hungry for more pet-centric content? Don’t miss our other articles!
Can’t get enough of our pet-friendly advice and DIY projects? We have plenty more where that came from! Enhance your pet-parenting skills and keep your furry friend happy and healthy with insights from our other articles. Dive in and discover more now!
Beat the Frost: Budget-Friendly DIY Dog House for Winter
DIY Dog House Door Flap: Unlock the Cozy Living for Your Pup
DIY Dog Exercise Equipment: Boost Your Pet’s Fitness at Home!
- Does Cat Litter Melt Ice? The Complete Guide to Winter Safety - January 30, 2026
- Happy Tail Dogs: Understanding This Common Canine Condition - January 29, 2026
- How Cold Can Outdoor Cats Handle? Feline Winter Safety - January 27, 2026


GIPHY App Key not set. Please check settings