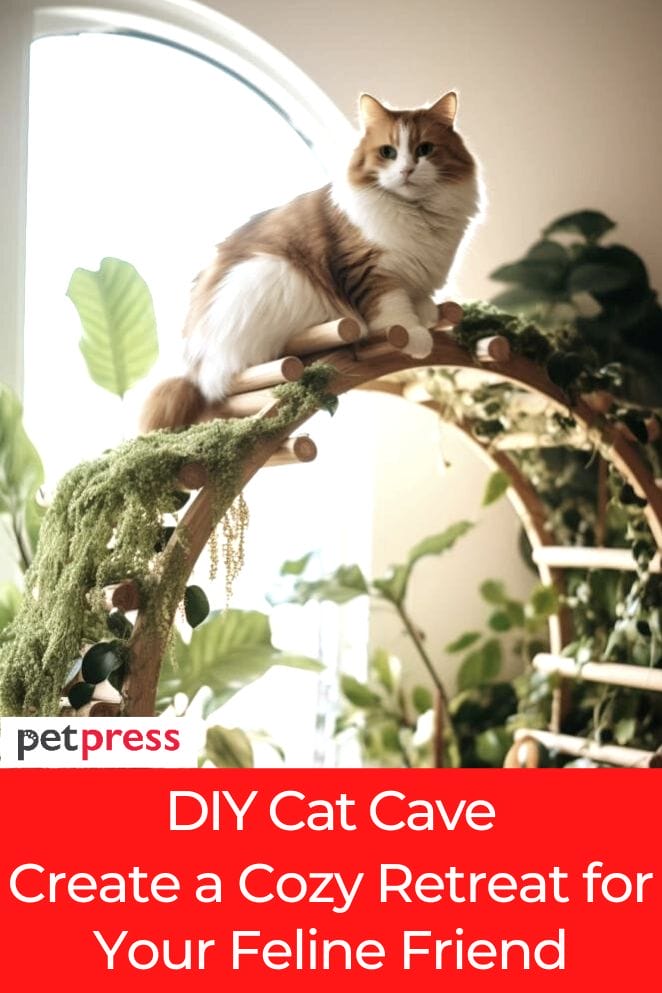
Hello, Cat Enthusiasts! Prepare for an exciting journey into the world of DIY cat bridges, crafted to add an extra touch of joy to your feline friend’s playtime.
If you’ve ever dreamt of creating a personalized masterpiece, get ready for a delightful experience.
This comprehensive guide will lead you through the necessary materials and provide step-by-step instructions, ensuring that your DIY cat bridge not only meets but exceeds your kitty’s expectations.
Get set for a whisker-twitching adventure of creativity and feline fun!
Materials Needed
Before we dive into the crafting adventure, let’s gather the essential materials to ensure we’re well-prepared:
- Wooden planks: Sturdy and safe for crafting.
- Sisal rope: Perfect for creating scratching surfaces.
- Nails and screws: For securing the bridge.
- Cushions or soft fabric: To add lounging comfort.
- Paints or stains: Optional for personalization.
Step-by-Step Instructions
Step 1: Planning and design
Begin by envisioning the ideal cat bridge for your furry friend. Take into account the available space and your cat’s unique preferences.
Sketch out a design that incorporates curves, angles, and varying heights to maintain an engaging playtime experience.
Thorough planning ensures not only entertainment but also creates a stimulating environment for your cat to explore.
Step 2: Cutting and preparing the wood
Translate your design into reality by carefully cutting and preparing the wooden planks.
Opt for a robust wood type that can withstand the playful activities of your cat.
Prioritize safety by smoothing any rough edges, guaranteeing a secure and comfortable play area for your furry companion.
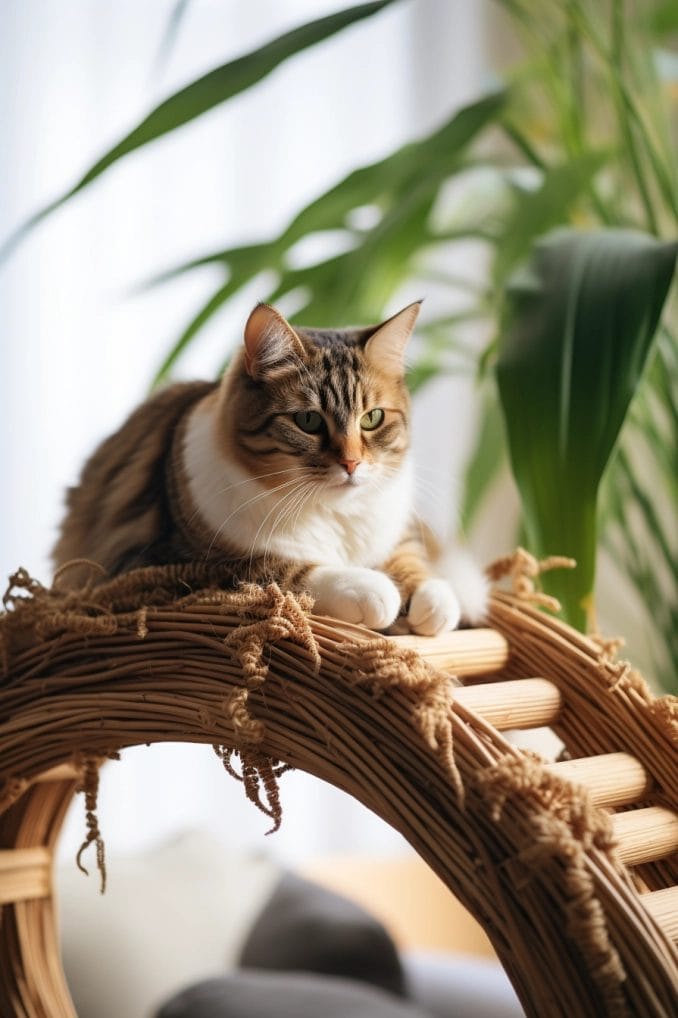
Step 3: Creating scratching surfaces
Tap into your cat’s natural instincts by integrating scratching surfaces into your cat bridge.
Wrap sections of the wooden planks with sisal rope, ensuring a tight and secure fit.
This serves a dual purpose – offering a gratifying scratching spot for your cat while introducing a rustic and visually appealing element to the bridge.
Enhance the overall aesthetic and functionality of your DIY creation by embracing your cat’s scratching instincts.
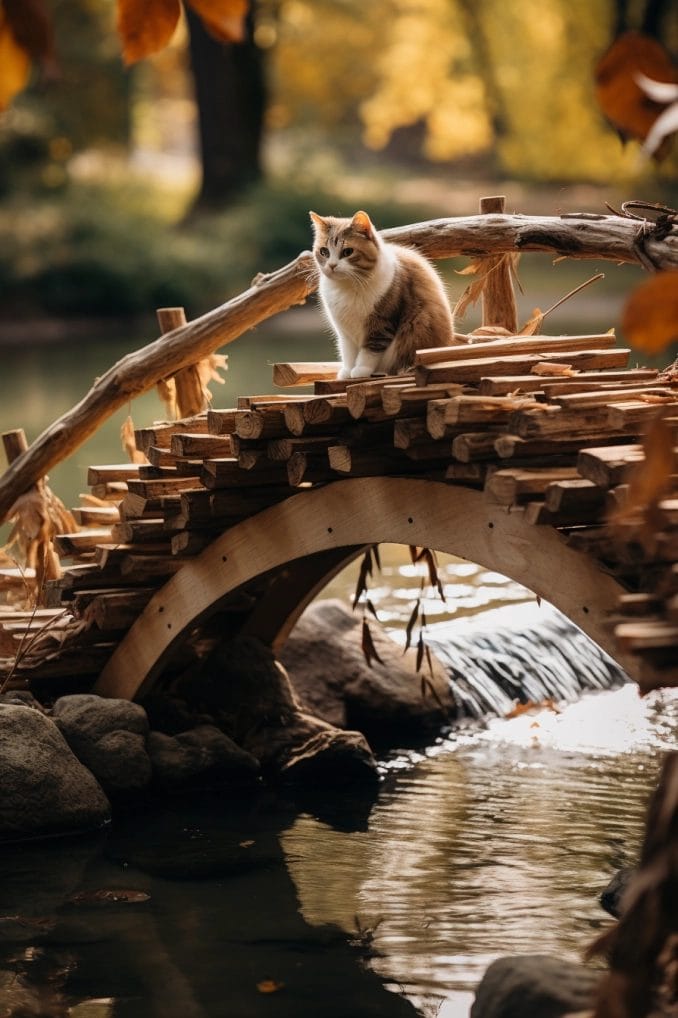
Step 4: Assembling the bridge
Embark on the enjoyable task of assembling your cat bridge.
Utilize nails and screws to secure the planks according to your meticulously planned design.
Prioritize stability to ensure the structure can support your cat’s weight.
Consider the addition of support beams or brackets for an extra layer of stability, providing a safe and sturdy environment for your feline friend’s playful escapades.
Step 5: Adding lounging areas
Elevate your cat’s experience by incorporating comfortable lounging areas into the bridge.
Attach cushions or soft fabric to specific sections, creating cozy spots where your cat can unwind and survey their surroundings.
This step seamlessly combines play and relaxation, transforming the cat bridge into a multi-functional delight for your feline companion.
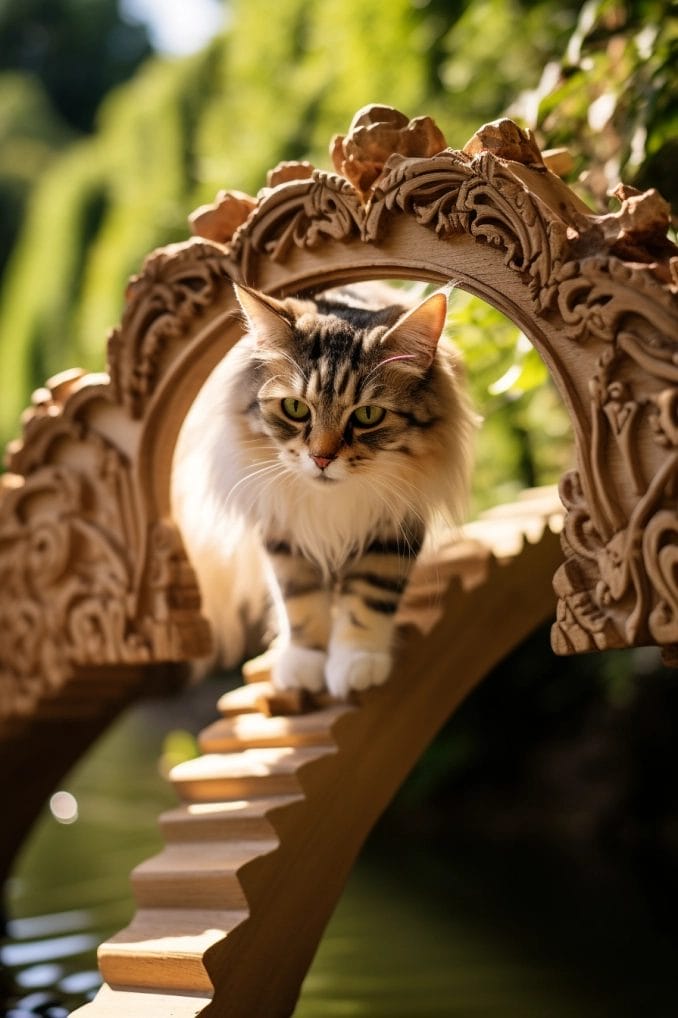
Step 6: Personalizing the bridge
Infuse a touch of personal flair into your cat bridge by adding unique touches.
Consider painting or staining the wood to match your home decor or introduce a vibrant pop of color.
Enhance the bridge’s appeal by attaching small toys or bells, engaging your cat’s curiosity and creating an interactive play experience.
This personalized touch transforms the cat bridge from a functional structure to a visually appealing and enriching addition to your home.
Tips for Success
Safety first
Prioritize your cat’s well-being by ensuring that all materials used in your DIY cat bridge are cat-safe and free from potential hazards.
Double-check the safety of each element, from the type of wood chosen to the adhesives used.
It’s crucial to create an environment that is not only entertaining but also secure for your feline friend.
Secure attachments
Take the time to double-check that all attachments, including nails, screws, and other fasteners, are securely in place.
A stable structure is essential to prevent any accidents during your cat’s playful endeavors.
Regular inspections can help maintain the integrity of the cat bridge, providing a safe and reliable space for your cat’s exploration.
Variety is key
Cats thrive on variety, so incorporate different textures and surfaces into your cat bridge design.
Consider using sisal rope for scratching areas, soft fabric for lounging spots, and smooth wood for climbing surfaces.
The inclusion of diverse elements ensures that your cat remains engaged and stimulated during their playtime, contributing to a more enriching experience.
Test the waters
Introduce your cat to the newly crafted bridge gradually.
Use treats and favorite toys to create positive associations with the structure.
Allow your cat to explore at their own pace, ensuring a stress-free introduction.
Positive reinforcement encourages your cat to view the bridge as a source of enjoyment, increasing the likelihood of them embracing and using it regularly.
Conclusion
You’ve reached the exciting conclusion of crafting a paw-some DIY cat bridge, elevating your cat’s playtime to new heights!
Not only have you provided an engaging play space, but you’ve also successfully constructed a cozy retreat for your feline companion.
Now, anticipate the joy of watching as your cat explores, lounges, and indulges in delightful scratching sessions to their heart’s content.
Your dedication to creating a stimulating and comfortable environment for your cat is truly commendable.
Enjoy the satisfaction of witnessing the happiness your DIY cat bridge brings to your furry friend.
Your efforts have not only created a functional and entertaining structure but also contributed to enhancing the well-being of your beloved pet.
May your cat’s playtime be filled with excitement and joy as they engage with the personalized haven you’ve crafted for them.
Your commitment to enriching your cat’s environment is a testament to your love and care for your furry companion.
- Does Cat Litter Melt Ice? The Complete Guide to Winter Safety - January 30, 2026
- Happy Tail Dogs: Understanding This Common Canine Condition - January 29, 2026
- How Cold Can Outdoor Cats Handle? Feline Winter Safety - January 27, 2026
GIPHY App Key not set. Please check settings