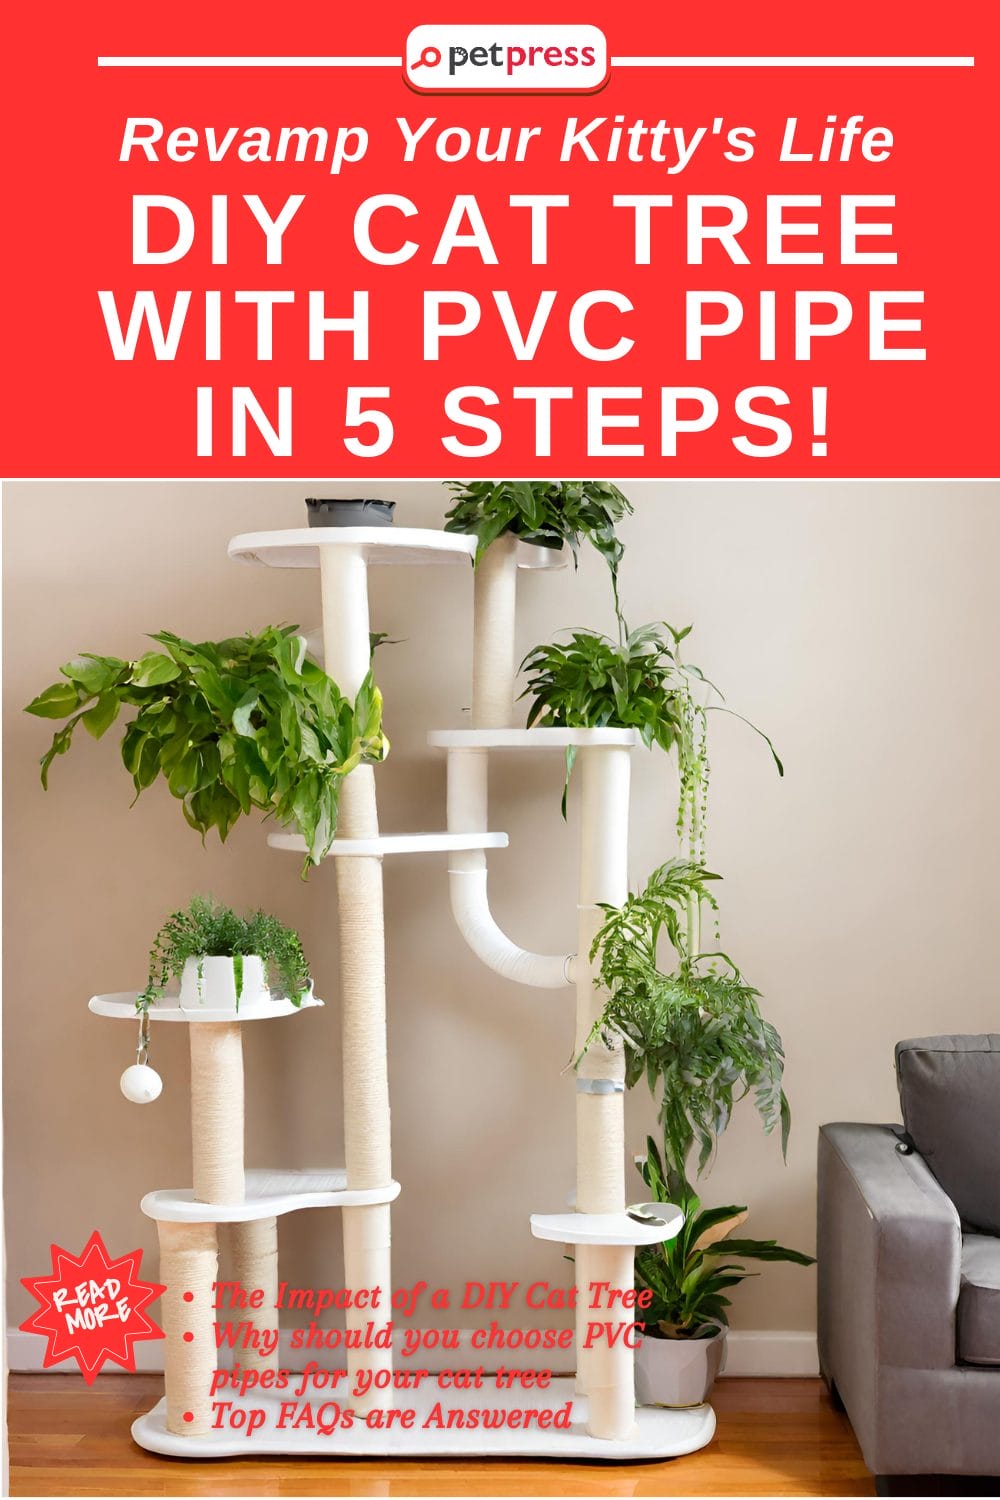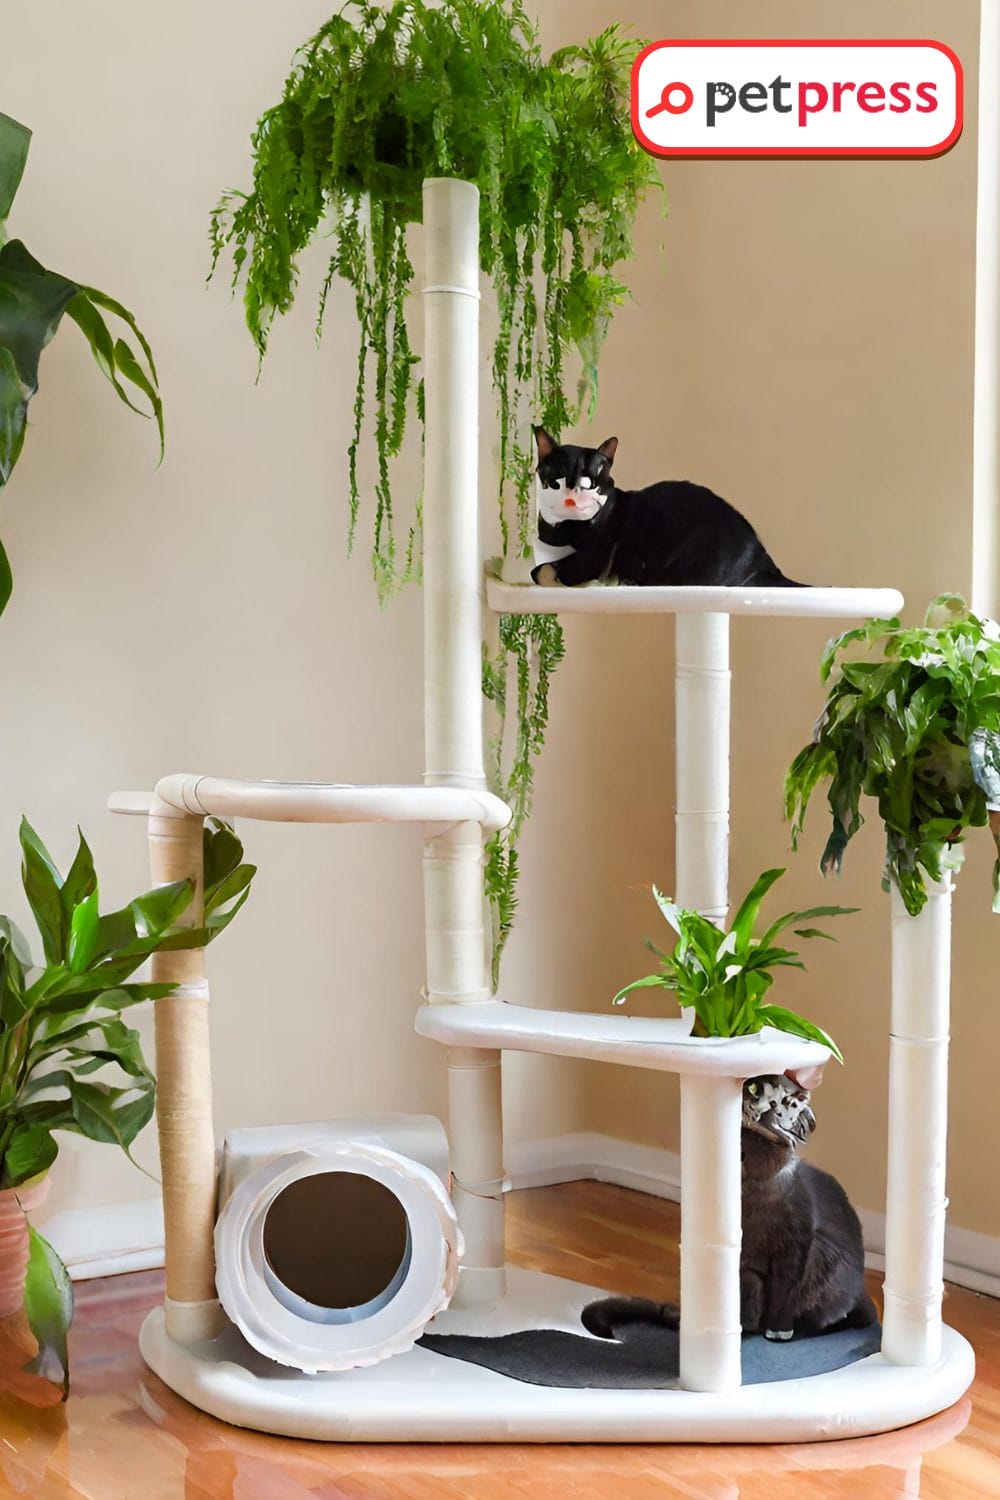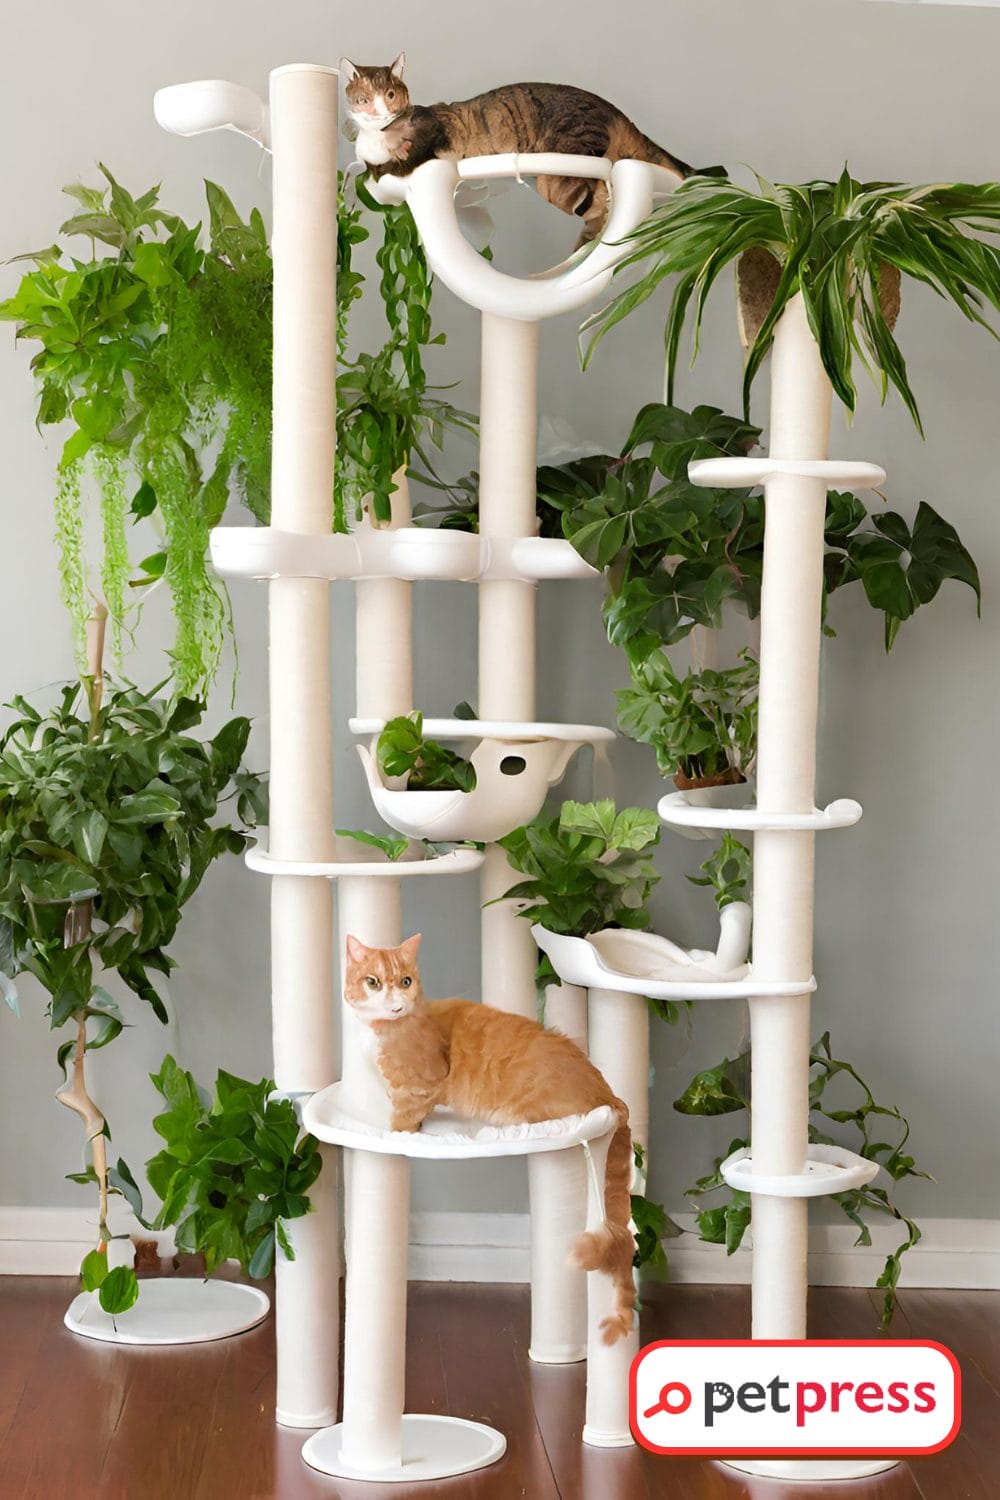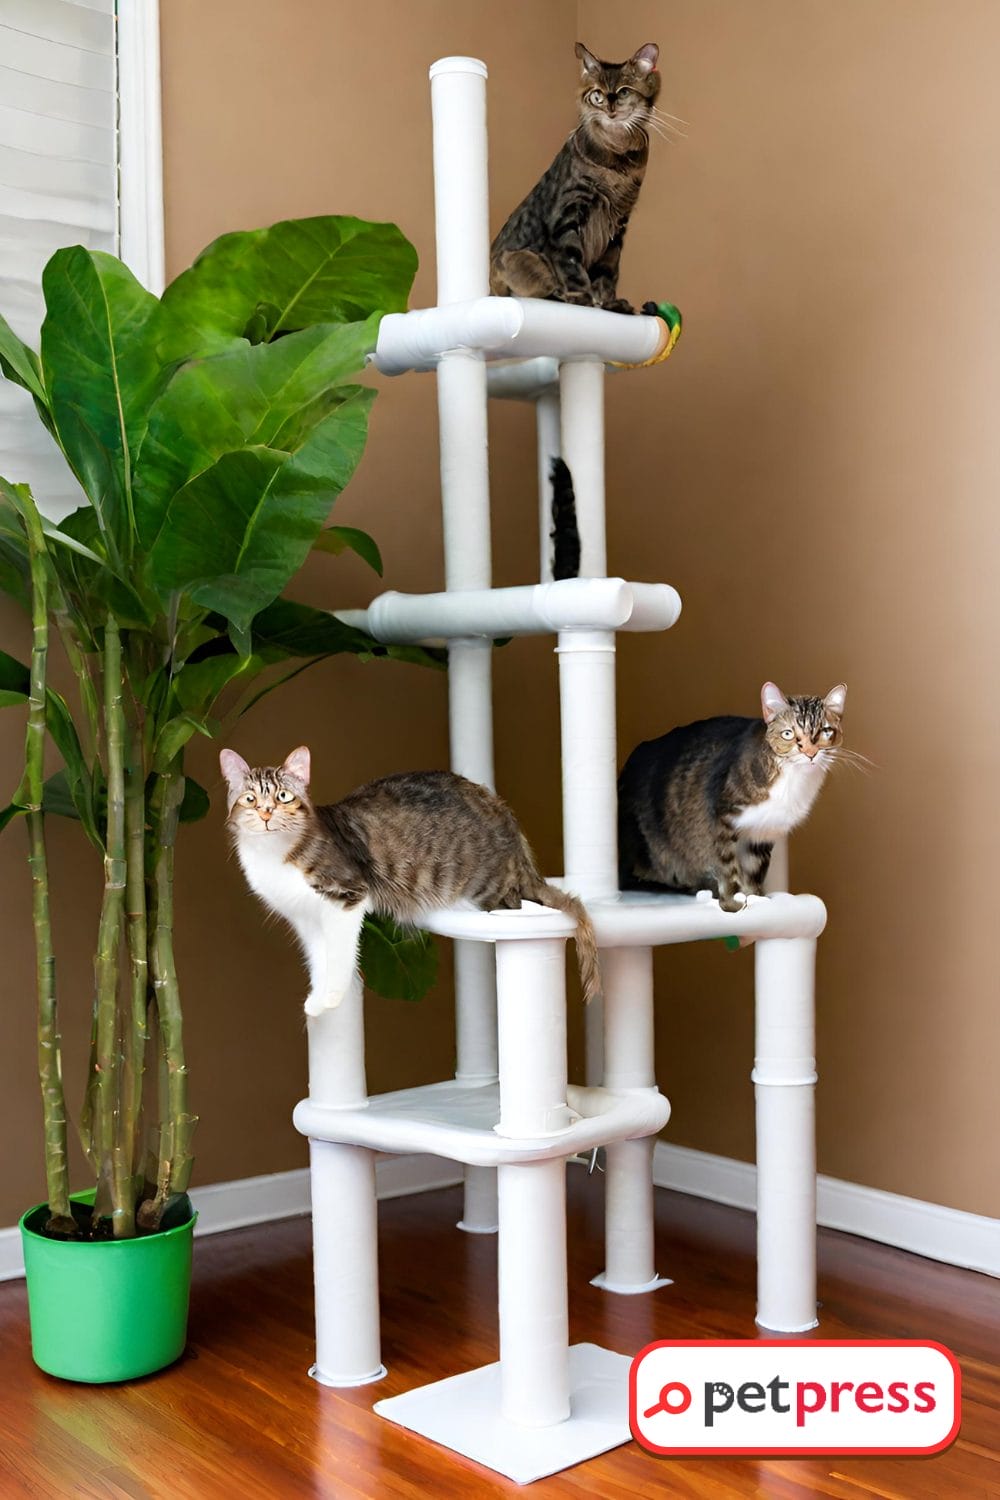
If you’re a cat parent, you already know that your feline friend shares your home but rules their world. Cats are natural climbers and explorers who thrive best in environments they can conquer, jump, and rule over. So how about crafting a unique playground for them that resonates with their need to explore? Here’s where the concept of a DIY cat tree with PVC pipe comes into play.
A DIY cat tree with PVC pipe is more than just another piece of cat furniture. It’s a custom-designed, personalized play area that provides your kitty with the opportunity to scratch, climb, jump, and rest, all on their terms.
What is the magic ingredient in this DIY project? PVC pipe – sturdy, affordable, easy to work with, and above all, safe for your feline friends!
When you take on the task of creating a homemade cat tree, you’re not just saving money, although that’s certainly a bonus. You’re also creating a unique piece that is tailored specifically to your cat’s needs and preferences. It’s a labor of love with a payoff that’s utterly rewarding—watching your feline friend engage with something you’ve built for them.
Plus, there’s nothing more satisfying than knowing you’ve contributed positively to your pet’s health and overall well-being! The smiles you’ll get from your contented cat will make every minute spent on this DIY venture worth it! Now, let’s embark on this exciting project together.

What is a DIY cat tree, and why a PVC pipe?
First things first, what exactly is a DIY cat tree with PVC pipe? Simply put, it’s a homemade climbing structure for your cat that you assemble yourself using PVC pipes, among other materials.
Not unlike trees in a forest that provide numerous platforms for wild cats to perch upon, a DIY cat tree gives domestic cats their own little “forest” inside the home. The use of PVC pipe adds durability and flexibility to the structure, making it a long-lasting playground for your feline friend.
Why should you choose PVC pipes for your cat tree when there are plenty of other materials available?
PVC, or Polyvinic Chloride, is known for its strength and resistance to wear and tear, making it an ideal base for a cat tree that’s going to see a lot of use. It’s lightweight, which means your cat tree would be easy to move around, yet sturdy enough to withstand your cat’s climbing and scratching.
It’s also easy to work with, so even if you’re new to DIY projects, you’d find it fairly straightforward to handle. Moreover, PVC pipes are relatively inexpensive and readily available in numerous sizes, allowing you to customize your cat tree according to your pet’s size and needs.
Why make your own cat tree from PVC pipe when you could simply buy one?
Well, most store-bought cat trees are made from particle board and can be quite costly. In contrast, a DIY PVC cat tree is not only cost-effective but also more durable. It’s customizable to your cat’s specific preferences, something store-bought versions typically can’t offer.
You can control the size, the height, and the number of platforms, and even add personalized touches to make it more fun and engaging for your kitty. It’s not just a cat tree; this DIY project allows you to create a unique piece of cat furniture that becomes a part of your pet’s personality and your home décor.
The joy of creating something yourself and seeing your cat enjoy it is truly priceless!

Things You’ll Need
Embarking on your DIY cat tree journey requires a few essential materials and tools. Here’s a comprehensive list of what you’ll need:
- PVC Pipes: These serve as the foundation for your cat tree. You’ll need several lengths according to the height you want your tree to have. Remember, the diameter needs to be wide enough to ensure stability – generally, a 2-inch diameter would suffice.
- PVC Connectors: Depending on your design, you may need a variety of connectors such as T-connectors, elbow connectors, and end caps.
- Plywood: This will be used for the platforms on your cat tree. Ensure that it’s thick and sturdy enough to support your cat’s weight.
- Carpet or Fleece Fabric: This will be used to cover the platforms for a softer touch. Choose a material that your cat would enjoy.
- Sisal Rope: Cats love scratching, so wrap some sections of the PVC pipe with sisal rope to create a built-in scratching post!
- PVC cement or Strong Adhesive: To secure the PVC pipes and connectors together firmly.
- Screws and Drill: To attach the platforms to the PVC structure.
- A Saw: To cut the PVC pipes and plywood to your required lengths.
- Measuring tape: To measure the desired lengths of the PVC pipes and plywood platforms.
- Staple Gun and Staples: To secure the carpet or fabric onto the plywood platforms.
It’s important to remember that the goal of this DIY project is to create a safe and enjoyable environment for your cat. Therefore, make sure all the materials you choose, especially the PVC pipes, are sturdy, safe, and suitable for your pet. Happy DIYing!

Step-by-Step Guide to Making a DIY Cat Tree with PVC Pipe
Step 1: Measure and Cut the PVC Pipe
First, visualize your cat tree’s design by deciding how many levels you want and how high each level should be. Use your measuring tape to mark the desired lengths on your PVC pipes. Ensure that the overall structure would be sturdy and stable enough to support your cat’s weight.
Once your measurements are complete, use a saw to cut the PVC pipes. Always remember, safety first! Wear protective goggles to protect your eyes from any scattered PVC fragments during the cutting process.
Step 2: Assemble the PVC Pipe Pieces
Now comes the fun part—assembling the pieces. Use the PVC connectors to join the cut pipes together to form the skeleton of your cat tree. It’s essential to test the assembly first before applying any adhesive. This way, you can ensure all parts fit correctly and the structure aligns with your design.
Once you’re pleased with the assembly, disassemble the pieces, apply PVC cement or a strong adhesive inside the connectors, and reassemble. Allow adequate time for the adhesive to dry and secure the structure before proceeding to the next step.
Step 3: Add Platforms to the Structure
Once your PVC structure is dry and firm, it’s time to add the platforms. Measure and cut your plywood to the desired dimensions for each level. Make sure it’s wide and long enough for your cat to sit or lay comfortably.
Attach the plywood platforms to the PVC structure using screws and a drill. Place the screws strategically to provide maximum support and stability to each platform.
Step 4: Adding Stability and Cat-friendly Features
After your structure is assembled, ensure it’s stable. If necessary, add additional PVC pipes or connectors to increase stability. Now, let’s make it cat-friendly!
Wrap sisal rope around certain sections of the PVC pipes to create scratching posts. Then, cover the plywood platforms with carpet or fleece fabric for a cozy touch. Use a staple gun to secure the fabric tightly to the wood, ensuring there are no loose ends for your kitty to chew or swallow.
Step 5: Installing the DIY Cat Tree
You’ve built it; now it’s time to install it! Choose a location that your cat frequently visits, but ensure it doesn’t obstruct your walking path. Remember, cats love high places, so near a window could be an ideal spot.
Once your cat tree is in place, observe your cat’s interaction with it and make any necessary adjustments. Perhaps adding some catnip or their favourite toy could entice them more!
That’s it! You’ve just built a fantastic DIY cat tree with PVC pipe, made to provide endless fun for your kitty. Remember, this structure can be customized and adjusted anytime according to your cat’s preferences. Enjoy watching your furry friend explore their new DIY fortress!
Customizing Your DIY Cat Tree
Every cat is unique, and so should be their playground. When customizing your DIY cat tree, consider your cat’s preferences and habits. Does your cat love to hide? Consider adding a little box or hideaway at one of the levels. If your cat enjoys a good view, create a top perch where they can survey their kingdom. Adding multiple textures, like faux fur, fleece, or different types of rope, can also make the cat tree more exciting.
However, while customizing, always keep safety in mind. Avoid any sharp edges or small parts that could be a choking hazard. Make sure any added boxes or hideaways are stable and won’t collapse under your cat’s weight. Also, use pet-safe materials to avoid any harmful reactions.
The Impact of a DIY Cat Tree on Your Feline’s Life
A DIY cat tree can significantly enhance your cat’s quality of life. It promotes physical exercise, helping to keep your cat fit and agile. It also stimulates their hunting and climbing instincts, providing mental stimulation and reducing their stress levels.
Moreover, cats are territorial creatures, and a cat tree provides them their very own space in the home. This can give them a sense of security and improve their overall happiness.
As for testimonies, countless cat owners have noticed a significant change in their cat’s behavior after introducing a cat tree. One cat owner, Sarah, shares, “Ever since we built the DIY cat tree, our Tom has been more active and playful. It’s his new favorite spot!”
Another cat parent, Mark, says, “Our cat Misty loves her new cat tree. She’s always on it, either playing or just lounging around. It’s a joy to see.“
So, are you ready to bring such joy into your feline friend’s life with a DIY cat tree with PVC pipe? Get started now! Today’s little effort can bring countless happy moments for your pet in the future.

Conclusion
Empowered with this guide, you’re now ready to embark on the delightful journey of creating a DIY cat tree with PVC pipe for your beloved feline friend. Not only will you be providing a fun and engaging environment for your cat, but you’ll also have the unique satisfaction of knowing you’ve built it with your own hands.
The best part? It’s not just about the destination, but the journey! The process of creating something for your pet can be a heartwarming and rewarding experience in itself.
So, dear cat lovers, it’s time to roll up your sleeves and let your creativity shine. And remember, there’s no right or wrong design. Every cat tree will be unique, just like our beloved feline companions.
Once you’ve finished your DIY cat tree, we’d be thrilled to see your creations. Share pictures or videos of your cat enjoying their new play haven on social media and inspire others in our community to do the same. Use the hashtag #DIYcattree and let’s get the cat tree revolution rolling!
If you found this guide valuable, please consider sharing this blog post with your friends and family. We’re excited to spread the joy of DIY cat trees made with love. Happy crafting, cat parents!
Let’s make our feline pals’ lives purr-fect together!
FAQs About DIY Cat Tree with PVC Pipe
Yes, DIY cat trees are safe, but safety largely depends on the quality of assembly and materials used. Always ensure the structure is stable, avoid any sharp edges, and use pet-safe materials.
You can customize your DIY cat tree by considering your cat’s habits. Add hideaways if your cat loves to hide, or a high perch if they enjoy high places. Use different textures, such as faux fur or fleece, for added interest. Remember safety when customizing.
Place your DIY cat tree in a location frequently visited by your cat. Avoid areas that obstruct your walking path. Cats love high places, so placing it near a window could be ideal.
PVC pipes are a great choice due to their durability, strength, and resistance to wear and tear. They’re lightweight yet sturdy, and can withstand your cat’s constant climbing and scratching. Plus, they’re fairly inexpensive and easy to work with.
A cat tree promotes physical exercise, helping to keep your cat fit and agile. It also provides mental stimulation by mimicking their natural environment, reducing their stress levels.
Unleash more purr-fect ideas for your feline friend: Dive into our other intriguing articles now!
Crafting Fun: 4 DIY Cat Toys with Toilet Paper Rolls
Perfect DIY Cat Tower: A Step-by-Step Guide to Happy Felines
DIY Cat Cave: Create a Cozy Retreat for Your Feline Friend
- Does Cat Litter Melt Ice? The Complete Guide to Winter Safety - January 30, 2026
- Happy Tail Dogs: Understanding This Common Canine Condition - January 29, 2026
- How Cold Can Outdoor Cats Handle? Feline Winter Safety - January 27, 2026


GIPHY App Key not set. Please check settings