Cats, with their innate curiosity, thrive on mental and physical stimulation. Ensuring their entertainment is not just a luxury but a vital aspect of their overall well-being.
Welcome to the world of DIY cat enrichment, where creativity meets feline happiness.
In this guide, we will unravel the concept of DIY cat enrichment, understand its importance, and explore delightful ideas to infuse joy into your home for your beloved cat.
What is DIY Cat Enrichment?
DIY cat enrichment revolves around crafting a dynamic and engaging setting for your feline companion by making homemade toys, structures, and activities.
The focus is on channeling your creativity to elevate both the physical and mental health of your cat.
Whether it’s designing puzzle feeders or creating inventive hiding spots, the potential for enhancing your cat’s environment is boundless, limited only by your imagination.
Why is DIY Cat Enrichment Important?
Enriching your cat’s environment through DIY activities goes beyond a mere pastime; it constitutes a crucial aspect of responsible pet ownership.
Cats, being natural hunters and explorers, require mental and physical engagement to thrive.
Without adequate stimulation, they may succumb to boredom or stress, leading to potential behavioral issues.
Preventing behavioral problems
When cats lack sufficient stimulation, they may exhibit problematic behaviors such as excessive scratching, vocalization, or even aggression.
DIY cat enrichment serves as a proactive measure to prevent these issues by offering a variety of activities that tap into their instincts.
Enhancing physical health
Engaging in DIY activities promotes physical exercise for your cat.
Be it through play or exploration, these activities help maintain a healthy weight and reduce the risk of obesity-related issues.
Supporting mental well-being
Cats are intelligent creatures that thrive on mental stimulation.
DIY cat enrichment fosters an environment that challenges their cognitive abilities.
Puzzle feeders, for example, require problem-solving skills, to keep their minds active and engaged.
Strengthening the human-animal bond
Engaging in DIY cat enrichment activities is a shared experience that strengthens the bond between you and your feline companion.
Spending time together, whether creating homemade toys or setting up an interactive play area, builds trust and reinforces the connection.
DIY Cat Enrichment Ideas
DIY puzzle feeder
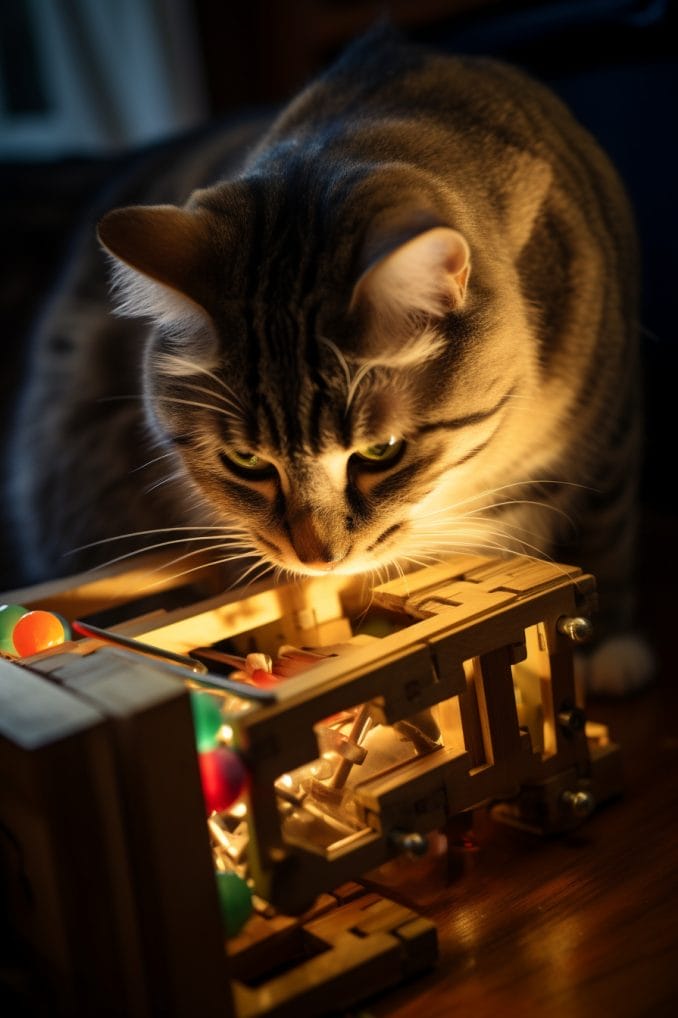
Transforming mealtime into a mental workout for your feline friend is a rewarding and straightforward endeavor with a DIY puzzle feeder.
Not only does it introduce an element of challenge, but it also addresses the common issue of fast eating in cats.
Materials Needed
- Plastic bottle: Repurpose a clean and empty plastic bottle, preferably with a screw-on lid.
- Utility Knife or scissors: Use a utility knife or scissors to cut holes in the bottle.
- Cat kibble or treats: Choose your cat’s favorite dry food or treats to fill the puzzle feeder.
Step-by-Step Guide
Step 1: Prepare the bottle
Ensure the plastic bottle is clean and dry. Remove any labels or stickers. If it has a lid, make sure it’s secure.
Step 2: Cut Holes in the bottle
Using a utility knife or scissors, carefully cut several small holes into the sides of the bottle.
The holes should be large enough for kibble or treats to fall out but not so big that they easily spill.
Step 3: Fill the puzzle feeder
Pour a portion of your cat’s regular dry food or treats into the bottle through the top opening. Adjust the amount based on your cat’s meal size.
Step 4: Secure the lid
If the bottle has a screw-on lid, securely fasten it to keep the food inside. This adds an extra layer of challenge for your cat as they work to retrieve the treats.
Step 5: Introduce the puzzle feeder
Place the DIY puzzle feeder in your cat’s designated feeding area.
Encourage your cat to explore and interact with the feeder. Initially, you may need to demonstrate how it works.
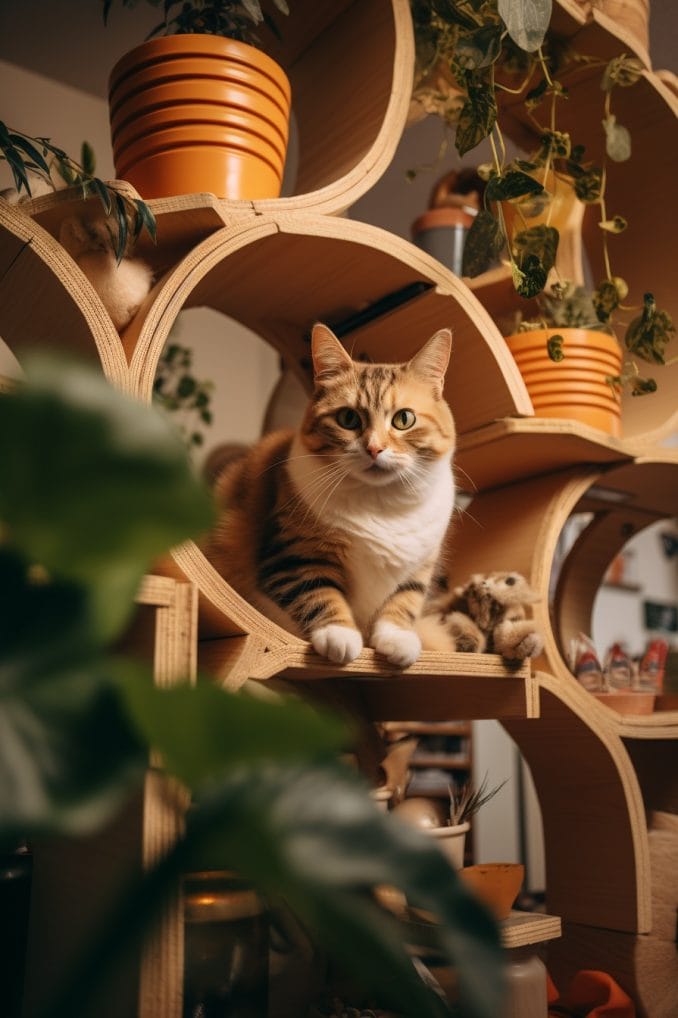
DIY cat tree
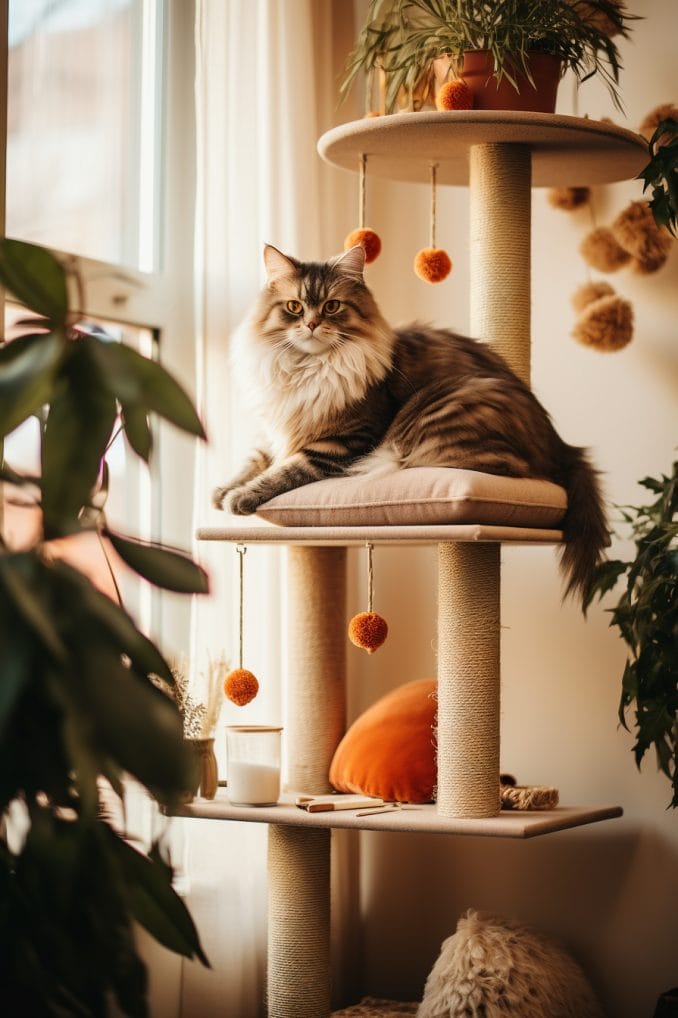
Give your cat the ultimate vertical playground by repurposing a spare shelf or creating a wooden structure.
Crafting a DIY cat tree not only provides entertainment but also addresses your cat’s natural instincts for climbing, scratching, and exploring.
Materials Needed
- Shelf or wooden structure: Utilize a spare shelf or create a sturdy wooden structure as the base for your cat tree.
- Carpet or sisal rope: Covering surfaces with carpet or sisal rope provides a comfortable texture for your cat to scratch and climb.
- Cozy hideaways: Incorporate cozy hideaways or perches using soft materials like fleece or carpet.
- Scratching posts: Integrate scratching posts made from sisal rope or cardboard to satisfy your cat’s scratching instincts.
- Dangling toys: Attach dangling toys to different levels of the cat tree for added entertainment.
Step-by-Step Guide
Step 1: Design the structure
Plan the layout of your cat tree, considering the available space and your cat’s preferences. Ensure it has a sturdy base and stable platforms.
Step 2: Cover surfaces
Wrap selected surfaces with carpet or sisal rope, securing them with glue or staples. This provides a cozy and scratch-friendly texture for your cat.
Step 3: Incorporate hideaways
Add cozy hideaways or perches at various levels. These can be made using wooden boxes or platforms covered with soft materials. Ensure they are securely attached.
Step 4: Integrate scratching posts
Attach scratching posts to different sections of the cat tree. Cats have a natural instinct to scratch, and providing designated posts helps protect your furniture.
Step 5: Attach dangling toys
Hang toys at various heights using strong strings. Dangling toys encourage play and exploration, adding an interactive element to the cat tree.
Step 6: Securely assemble
Ensure all components are securely assembled. If using shelves, fasten them tightly to avoid wobbling. Safety is paramount for your cat’s enjoyment.
DIY hiding spots
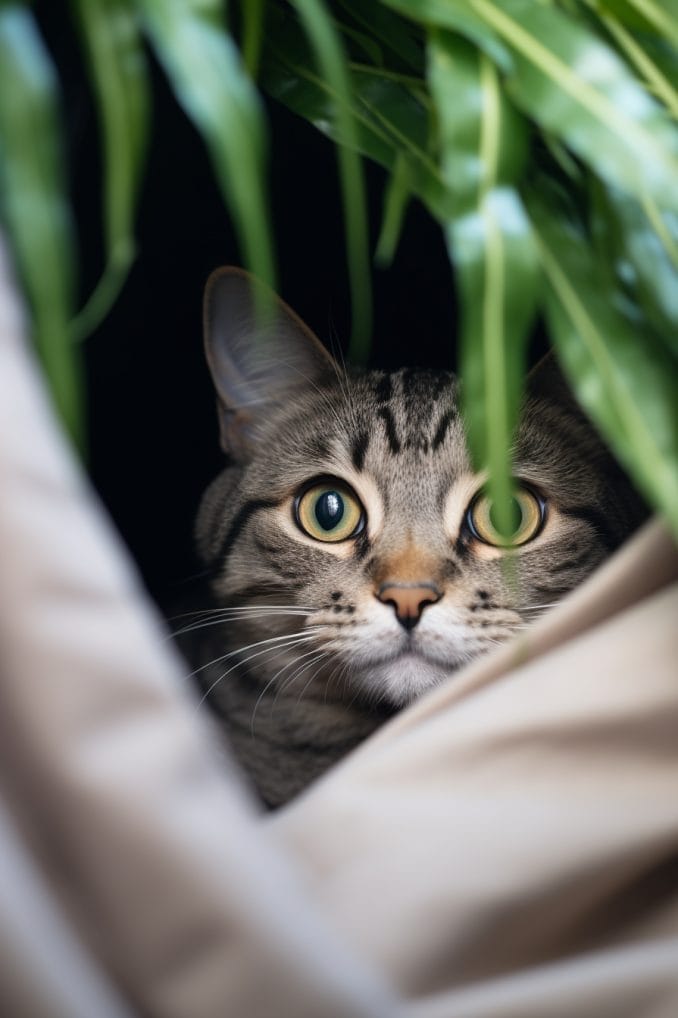
Grant your feline companion the gift of privacy and security by fashioning cozy hiding spots from old boxes or repurposed furniture.
Cats cherish having secret nooks to retreat to, and creating these spaces not only meets their natural instincts but also adds an extra layer of comfort to their environment.
Materials Needed
- Old boxes or repurposed furniture: Utilize cardboard boxes or repurpose furniture pieces that provide enclosed spaces.
- Soft materials: Line the interior of the hiding spots with soft materials like blankets or cushions for added comfort.
- Cutting tools: Depending on the chosen materials, have cutting tools such as scissors or box cutters on hand.
Step-by-Step Guide
Step 1: Choose suitable materials
Select old boxes or furniture pieces that can be transformed into cozy hiding spots. Ensure they are clean, safe, and free from any potential hazards.
Step 2: Prepare the enclosed space
If using boxes, cut openings to create entrances and exits.
For furniture, consider existing openings or create new ones, ensuring they are appropriately sized for your cat.
Step 3: Line with soft materials
Line the interior of the hiding spots with soft materials like blankets, cushions, or even old sweaters. This provides a warm and inviting space for your cat to retreat to.
Step 4: Secure and stabilize
Ensure that the boxes or furniture pieces are stable and secure.
Cats appreciate stability and safety in their hiding spots. If necessary, reinforce the structures for added durability.
Step 5: Place in strategic locations
Position the DIY hiding spots in strategic locations within your home.
Cats often prefer quiet, low-traffic areas where they can observe their surroundings without feeling exposed.
Step 6: Introduce gradually
Allow your cat to explore the new hiding spots at their own pace.
Some cats may immediately take to the cozy spaces, while others might need time to acclimate.
Be patient and let them discover these refuges gradually.
DIY litter box
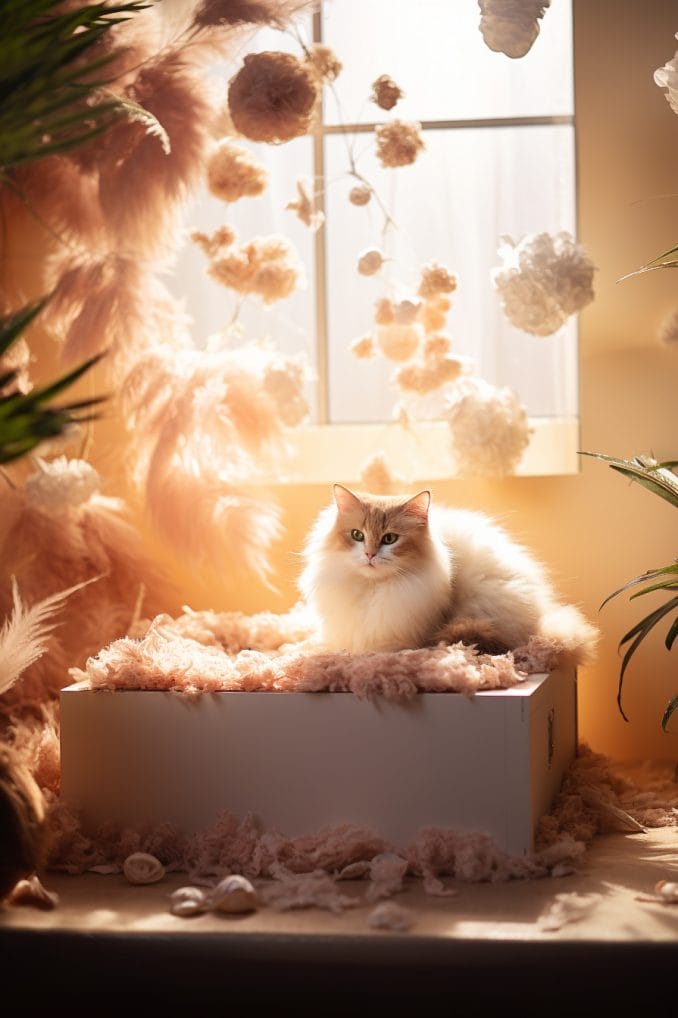
Elevate your cat’s bathroom experience by crafting a personalized DIY litter box.
Whether you opt for an enclosed design or include built-in scratching pads, these modifications can transform the litter box area into an inviting and comfortable space for your feline companion.
Materials Needed
- Large plastic container with lid: Choose a plastic container with ample space for your cat. The lid serves as an option for creating an enclosed design.
- Entry and exit cutouts: If using a container with a lid, cut entry and exit holes on either side to provide easy access for your cat.
- Sanding tools: Smooth any rough edges around the entry and exit cutouts using sanding tools to prevent discomfort for your cat.
- Litter mat: Include a litter mat beneath or outside the box to minimize tracking and make cleaning easier.
- Scratching pad (optional): Attach a scratching pad to the exterior of the litter box to serve as an additional outlet for your cat’s scratching instincts.
Step-by-Step Guide
Step 1: Select the container
Choose a plastic container that accommodates your cat’s size comfortably. Ensure it is deep enough to prevent litter from being kicked out.
Step 2: Cut entry and exit holes
If opting for an enclosed design, cut entry and exit holes on opposite sides of the container. These holes should be large enough for your cat to pass through comfortably.
Step 3: Smooth edges
Use sanding tools to smooth any rough edges around the entry and exit cutouts. This step ensures a comfortable experience for your cat when entering or exiting the litter box.
Step 4: Attach scratching pad (optional)
If desired, attach a scratching pad to the exterior of the litter box.
This provides an additional space for your cat to scratch, satisfying their natural behavior.
Step 5: Place a litter mat
Position a litter mat beneath or just outside the litter box. This helps contain litter scatter and makes cleanup more convenient.
Step 6: Introduce gradually
Allow your cat to acclimate to the new DIY litter box gradually.
If there are significant changes, such as an enclosed design, monitor your cat’s comfort level during the transition.
Tips for Implementing DIY Cat Enrichment
Enhancing your cat’s environment through DIY enrichment activities is a rewarding endeavor.
Here are practical tips to ensure the success of your endeavors and provide optimal enjoyment for your feline friend.
Observe your cat
Pay close attention to your cat’s preferences and behaviors.
Observe what types of toys they enjoy, their favorite activities, and any specific spaces they gravitate towards.
This observation will guide you in tailoring enrichment activities to suit their individual likes and dislikes.
Rotate toys and activities
Keep your cat’s interest piqued by regularly rotating toys and activities.
Cats can lose interest in stagnant environments, so introducing new elements prevents boredom.
Cycle through various toys, puzzle feeders, and play structures to provide a dynamic and ever-changing environment.
Prioritize safety
Safety is paramount when creating DIY structures or toys.
Avoid using materials with small parts that could be swallowed or pose a choking hazard.
Opt for non-toxic materials to ensure the well-being of your cat.
Additionally, secure any DIY creations to prevent accidental tipping or collapsing.
Start with simple projects
Begin your DIY cat enrichment journey with simple projects. Simple toys and structures can be equally entertaining for your cat while allowing you to gauge their level of interest.
Gradually progress to more complex creations based on your cat’s response and your comfort with crafting.
Conclusion
Embarking on the DIY cat enrichment journey is not just a creative endeavor but a heartwarming experience that benefits both you and your feline companion.
As you invest time and ingenuity, you’re not only elevating your cat’s quality of life but also nurturing a stronger bond with your beloved pet.
So, let’s dive in, gather your supplies, and set out on this delightful DIY adventure that promises to keep your cat purring with joy.
- Can Cats Eat Blueberries? What Cat Owners Need To Know - July 15, 2026
- Can Cats Eat Carrots? What Every Cat Owner Should Know - July 13, 2026
- Can Cats Eat Broccoli? Is It Safe or Should You Avoid It? - July 9, 2026
GIPHY App Key not set. Please check settings