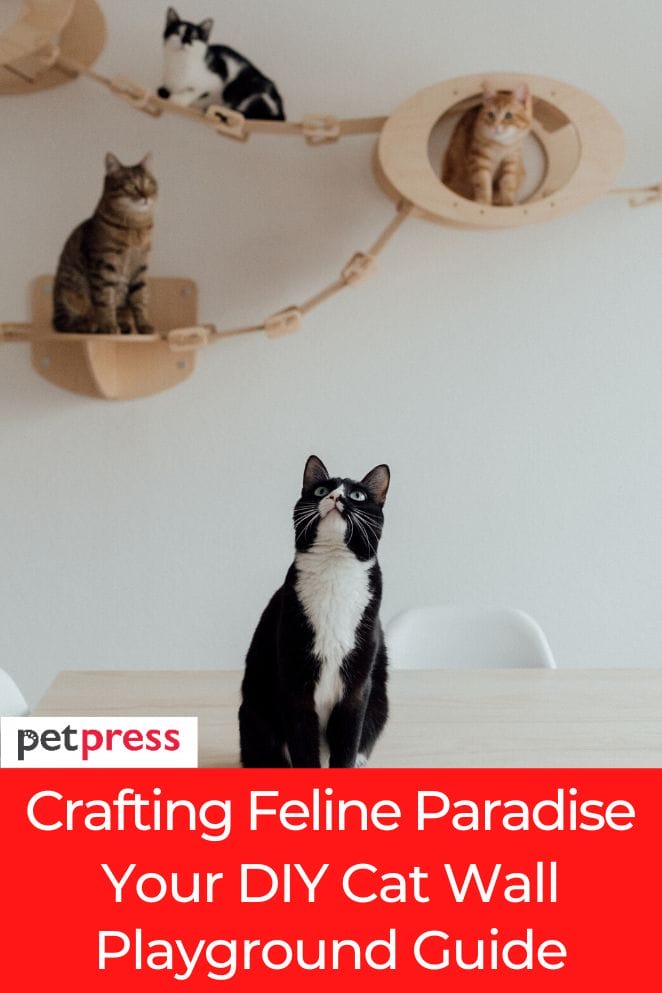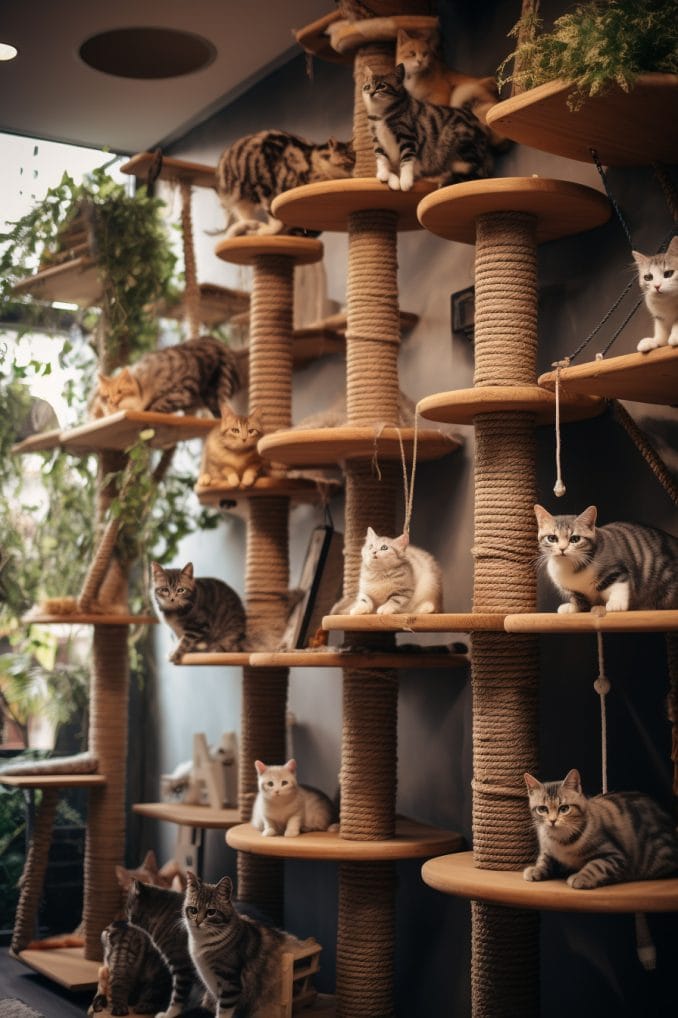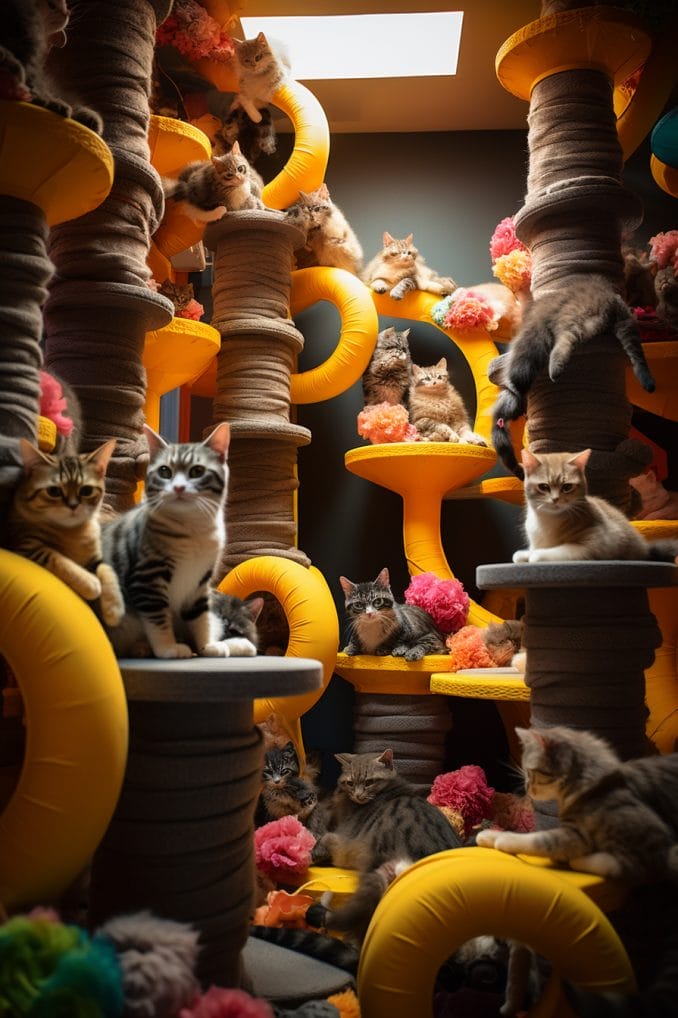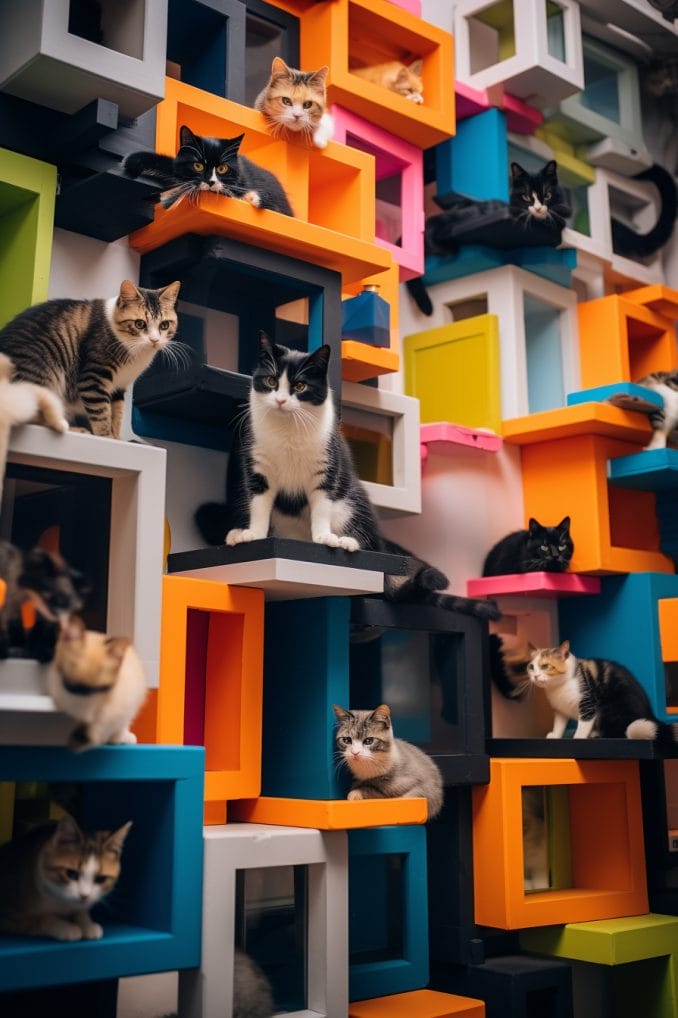
Step into the realm of DIY cat wall playgrounds, where we unlock the keys to fashioning an ideal haven for your feline friend.
This comprehensive guide reveals the secrets to creating an enticing space for your whiskered companion.
Covering everything from essential materials and tools to detailed step-by-step instructions, design insights, and clever hanging techniques, we’re embarking on a journey to craft a cat-friendly paradise that will have your furball scaling the walls – quite literally!
Materials and Tools
Prepare for the creative journey ahead by assembling the essential materials and tools. Here’s a detailed list to guide you:
- Read also: Step-by-Step Guide to DIY Cat Hammocks
- Read also: The Guide to DIY Cat Enrichment
Materials
- Plywood sheets: These will serve as the sturdy foundation for your cat wall playground. Choose sheets of appropriate thickness for durability.
- Wooden shelves: Provide platforms for your cat to perch on. Opt for shelves that are wide enough to accommodate your cat comfortably.
- Sisal rope: A cat’s favorite! This durable material is perfect for wrapping around surfaces, offering a satisfying scratching experience.
- Carpet squares: Add a touch of coziness to the platforms with carpet squares. These not only create a comfortable space for your cat but also enhance the aesthetic appeal.
- Wood screws: Essential for securing plywood sheets and wooden shelves together. Make sure to choose screws of the appropriate length for a sturdy construction.
- L-brackets: Reinforce the joints and corners of the wooden elements for added stability using L-brackets.
- Wall anchors: Ensure the playground is securely attached to the wall by using reliable wall anchors. This is crucial for the safety of your cat.
- Velcro strips (optional): If you want the flexibility to rearrange or remove components, Velcro strips provide a secure yet movable solution.

Tools
- Saw: A fundamental tool for cutting plywood sheets and wooden shelves to the desired dimensions. Exercise caution and follow safety guidelines.
- Power drill: Essential for creating holes in the plywood and wooden shelves for screws and attaching L-brackets.
- Screwdriver: Use a screwdriver to tighten wood screws securely into place. It’s a manual alternative to the power drill.
- Measuring tape: Accurate measurements are key to ensuring components fit together seamlessly. Use a measuring tape for precision.
- Pencil: Marking dimensions and hole placements on the plywood and wooden shelves will help guide your cutting and drilling accurately.
- Level: Ensure the cat wall playground is installed evenly by using a level. This tool guarantees a balanced and aesthetically pleasing final result.
Gather these materials and tools, and you’ll be well-equipped to embark on the construction of a delightful and safe cat wall playground for your feline companion.
Step-by-Step Instructions
Let’s break down the process of creating your cat’s wall playground into clear, step-by-step instructions:
Design
- Start by envisioning your cat’s playground. Consider the available wall space and your cat’s climbing preferences.
- Sketch a rough design to serve as your crafting guide.
Cutting
- Measure and mark the plywood sheets based on the desired shelving dimensions.
- Utilize a saw to cut the plywood into the shapes you’ve determined.
Attaching shelves
- Position the wooden shelves onto the cut plywood pieces.
- Secure the shelves in place using wood screws.
- Enhance stability by attaching L-brackets to the back of each shelf.
- If you’re creating a multi-level playground, repeat these steps for each level.
Adding sisal rope
Cut sisal rope into lengths suitable for your design.
Wrap the sisal rope around the edges of the shelves, securing it with screws along the way.
This provides an enticing scratching surface for your cat.

Hanging
- Use a stud finder to locate the wall studs where you’ll mount the playground.
- Position the cat playground on the wall, ensuring it’s level.
- Secure the playground to the wall studs using screws.
- For additional security, employ wall anchors as needed.
By following these step-by-step instructions, you’ll systematically bring your cat wall playground to life.
This methodical approach ensures a secure and enjoyable space for your feline friend to climb, play, and scratch to their heart’s content.
Tips and Tricks
Enhance the crafting experience and elevate your cat’s wall playground with these insightful tips and tricks:
Customization is key
Tailor the playground to your cat’s unique preferences.
Experiment with the placement of shelves and varying heights to create a personalized paradise that suits their climbing habits and playful tendencies.
Incorporate hideouts
Consider adding cozy corners or enclosed spaces within the playground using strategically placed carpet squares.
Cats often relish having hideouts within their play area, providing a sense of security and comfort.
Safety first
Prioritize safety throughout the construction process.
Ensure all shelves are securely attached to prevent any accidental dislodging.
Properly anchor the entire playground to the wall, guaranteeing stability and minimizing the risk of mishaps during your cat’s enthusiastic exploration.
Enticing with catnip
Heighten your cat’s interest and encourage exploration by sprinkling catnip on the sisal rope or carpeted areas.
Catnip is known to attract felines and can make the playground even more enticing for your furry friend.

- Read also: DIY Cat Enclosure for Feline Freedom
- Read also: DIY Cat Bridge
Conclusion
In completing this project, you’ve successfully fashioned a bespoke DIY cat wall playground that’s sure to catch the envy of every feline neighbor.
Beyond merely offering your cat a source of entertainment and exercise, this personalized haven injects a delightful touch of whimsy into your home decor.
As your furry companion joyfully explores their newly crafted playground, the pure satisfaction and happiness they exhibit are bound to bring you immense joy.
Wishing you a gratifying crafting experience and a contentedly playful cat!
- Does Cat Litter Melt Ice? The Complete Guide to Winter Safety - January 30, 2026
- Happy Tail Dogs: Understanding This Common Canine Condition - January 29, 2026
- How Cold Can Outdoor Cats Handle? Feline Winter Safety - January 27, 2026


GIPHY App Key not set. Please check settings