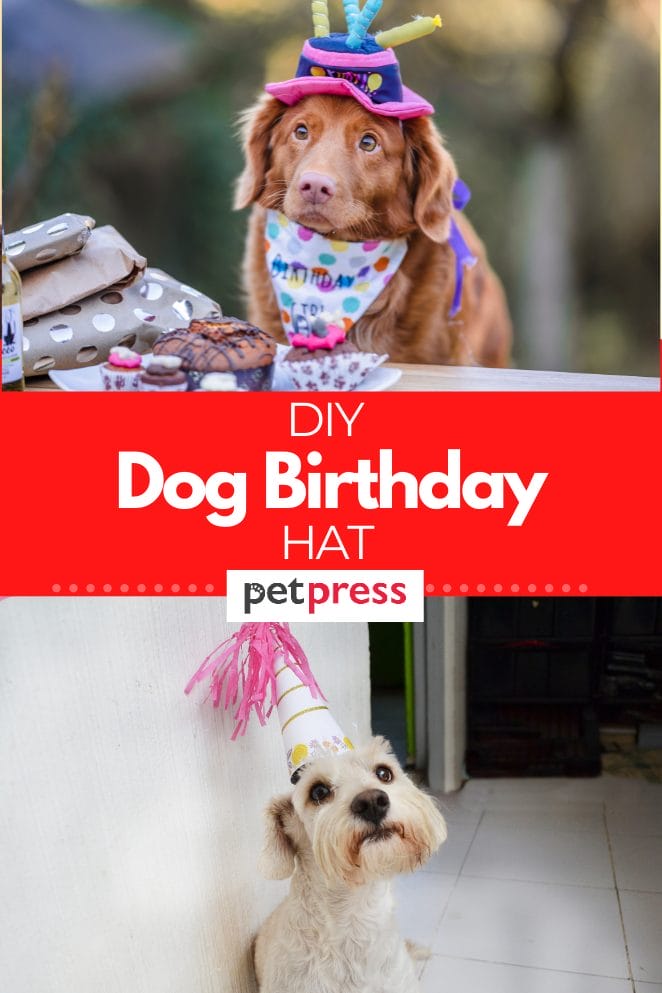
Do you have a dog that has a birthday coming up?
Instead of buying them a boring old store-bought hat, why not try making one yourself? It’s easy and fun, and your dog will love wearing it!
In this post, we’ll show you how to make a DIY dog birthday hat. Let’s get started!
Dog Birthday Hat
Materials
First, you’ll need to gather some supplies. For this project, you’ll need:
- A piece of cardboard
- A pair of scissors
- Some colorful duct tape
- A few elastic bands
Instructions
1. Start by cutting a circular piece out of the cardboard. This will be the base of your hat.
2. Next, take the duct tape and wrap it around the edge of the cardboard circle. Make sure to wrap it tightly so that the cardboard is covered completely.
3. Now, take the elastic bands and attach them to the back of the hat. These will be used to secure the hat onto your dog’s head.
Birthday Cake Dog Hat
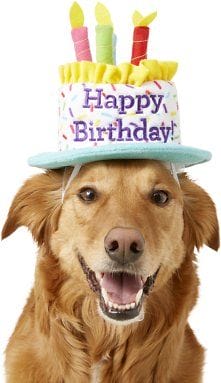
If you’re looking for something a little extra special, try adding a birthday cake dog hat to your dog’s birthday hat!
This hat features a colorful pom-pom on top and is made with soft, comfortable fabric. It’s sure to make your dog’s birthday even more special.
Materials
- 1/2 yard birthday cake print fabric (we used Riley Blake Cake Walk)
- 1/4 yard coordinating solid or patterned fabric
- 1/4 yard lightweight fusible interfacing
- 3 elastic hair ties
- Coordinating thread
- Scissors
- Pinking shears (optional)
- Iron and ironing board
- Sewing machine
Instructions
1. Begin by cutting all of your fabric pieces. For the main body of the hat, cut one 18″ x 22″ rectangle out of the birthday cake print fabric and one 18″ x 22″ rectangle out of the interfacing. Cut two 5″ x 18″ strips out of the coordinating solid or patterned fabric.
2. Next, fuse the interfacing to the wrong side of the birthday cake print rectangle following the manufacturer’s instructions.
3. Then, use pinking shears (or regular scissors) to cut two curved edges along the long sides of the rectangle. This will create a more finished look and help to prevent the fabric from fraying.
4. Now, fold the birthday cake print rectangle in half lengthwise with right sides together and pin in place. Sew along the long pinned edge using a 1/4″ seam allowance. Press the seam open.
5. Next, take one of the coordinating strips and fold it in half lengthwise with right sides together. Pin in place and sew along the long pinned edge using a 1/4″ seam allowance. Press the seam open.
6. Repeat this step for the other coordinating strip.
7. Now, take one of the strips and find the center point. Fold the strip in half and mark the center point with a pin. Do the same for the other strip.
8. Center one of the strips on the top edge of the sewn birthday cake print rectangle (right side of fabric facing up) and pin in place. Sew the strip to the hat using a 1/4″ seam allowance, stopping and starting at each end to leave an opening in the middle.
9. Repeat this step for the other strip, making sure to sew it on the opposite side so that the two strips criss-cross in the center.
10. Finally, thread the elastic hair ties through the openings in each strip and tie in a knot to secure. Trim any excess fabric and you’re all done!
Cricut Birthday Party Dog Hat

This fun and festive birthday party dog hat is perfect for any party animal! It’s made with colorful felt and features a pom-pom on top. And, it’s so easy to make with your Cricut cutting machine.
Materials
– 1 sheet of green felt
– 1 sheet of pink felt
– 1/4 yard of white ribbon
– 1 pom-pom
– hot glue and hot glue gun
– scissors
Instructions
1. Begin by cutting all of your felt pieces. For the main body of the hat, cut one 9″ x 12″ rectangle out of the green felt. Cut two 2″ x 9″ strips out of the pink felt.
2. Next, use hot glue to attach the pink strips to the top edge of the green rectangle. Make sure that the strips are spaced evenly so that you have a place to tie the ribbon later on.
3. Now, fold the green rectangle in half lengthwise and use hot glue to attach the two long sides together.
4. Then, take the white ribbon and tie it around the center of the hat. Trim any excess ribbon.
5. Finally, use hot glue to attach the pom-pom to the top of the hat. Let the glue dry and you’re all done!
There you have it! Your very own DIY dog birthday hat. We hope you enjoyed this project and that your dog loves their new hat.
And what better way to celebrate than with some adorable homemade DIY dog toys? We’ve got a bunch of easy-to-follow tutorials for making everything.
So get your crafting supplies ready and have some fun with your furry friend this birthday season.
- Bluetick Coonhound: A Guide to America’s Baying Blue Hound - July 21, 2026
- Can Cats Eat Salmon? Benefits, Risks & the Safest Way to Feed It - July 20, 2026
- Can Cats Eat Blueberries? What Cat Owners Need To Know - July 15, 2026
GIPHY App Key not set. Please check settings