
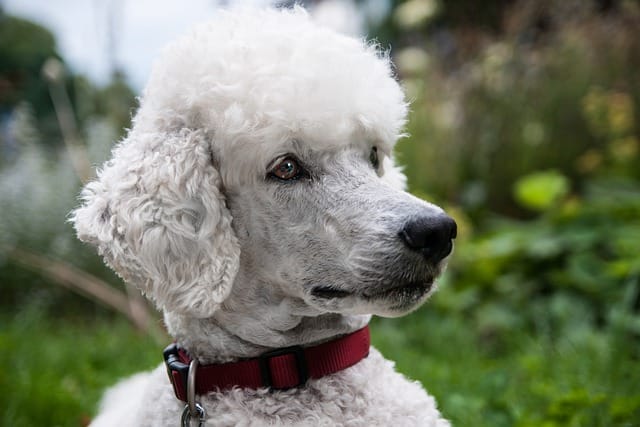
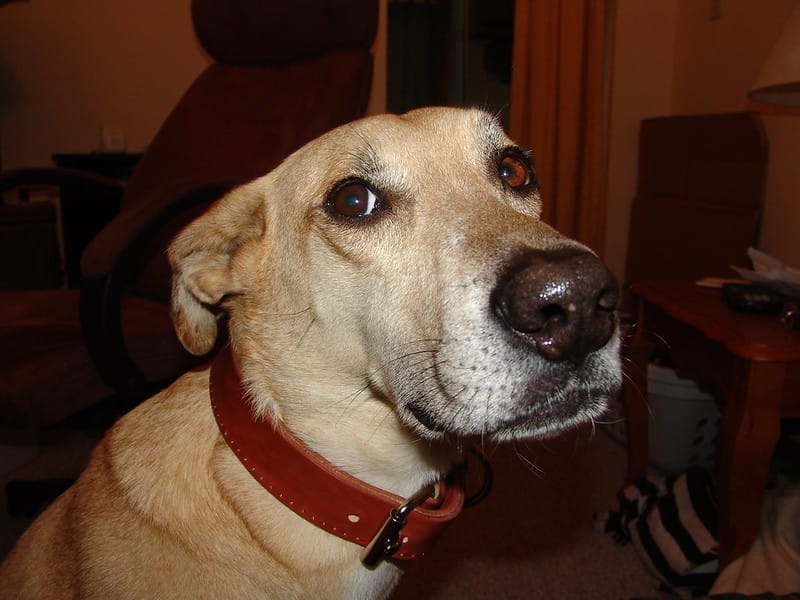
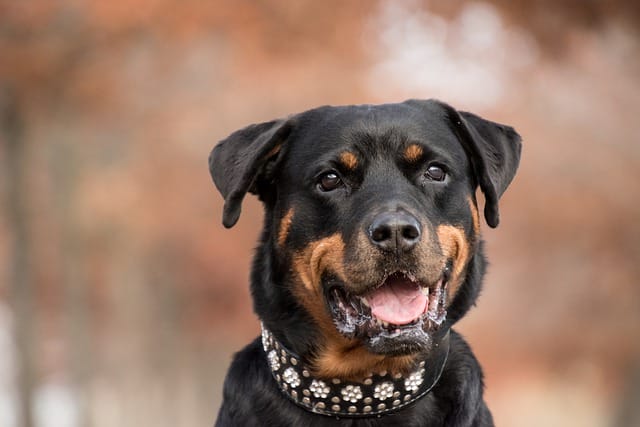
Diy dog collars are all the rage lately. And for good reason – they’re a great way to show your dog some personality and style, while also saving money.
But with so many tutorials out there, it can be tough to know where to start. That’s why we’ve put together our top DIY dog collar tutorials – so you can get started today!
The Classic DIY Dog Collar
This is the perfect starting point for any aspiring DIY dog collar maker. It’s simple, easy to follow, and results in a classic looking dog collar.
What you’ll need
- 1 inch wide webbing
- 1 inch wide buckle
- Thread
- Scissors
Instructions
- Cut a length of webbing to fit your dog’s neck, with about 2 inches of extra for the buckle.
- Fold the webbing in half, and sew the ends together using a zigzag stitch.
- Sew the buckle onto the webbing, making sure it’s in the center.
- Zigzag stitches around the edge of the collar to keep it from fraying.
- Trim any excess thread, and you’re done!
The Leather DIY Dog Collar
If you’re looking for a more sophisticated look, a leather DIY dog collar might be the perfect option for you. It’s a bit more challenging than the classic collar, but the results are worth it.
What you’ll need
- 1/2 inch wide leather strap
- 1/2 inch wide buckle
- Thread
- Scissors
- Ruler or measuring tape
Instructions
- Cut a length of leather strap to fit your dog’s neck, with about 2 inches of extra for the buckle.
- Fold the leather in half, and sew the ends together using a zigzag stitch.
- Sew the buckle onto the leather, making sure it’s in the center.
- Zigzag stitches around the edge of the collar.
The Denim DIY Dog Collar
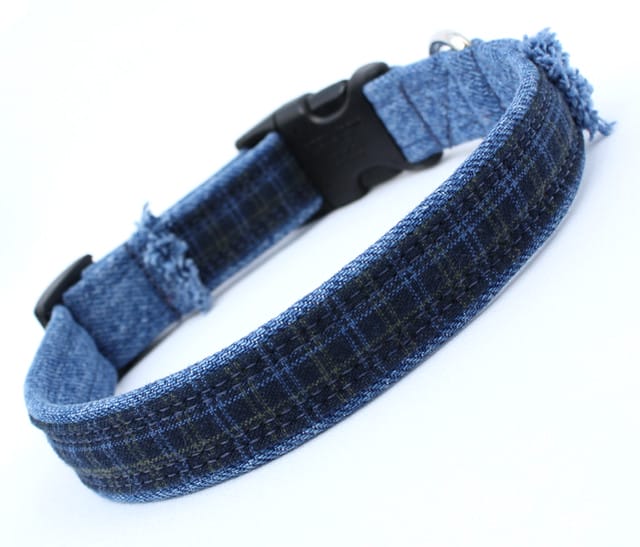
If you’re looking for a funky and stylish dog collar, look no further than the denim DIY option. It’s simple to make and easy to adjust, making it perfect for any pup.
What you’ll need
- 1/2 inch wide denim strap
- 1/2 inch wide buckle
- Thread
- Scissors
Instructions
- Cut a length of denim strap to fit your dog’s neck, with about 2 inches of extra for the buckle.
- Fold the denim in half, and sew the ends together using a zigzag stitch.
- Sew the buckle onto the denim, making sure it’s in the center.
- Zigzag stitches around the edge of the collar to keep it from fraying.
The Patterned DIY Dog Collar
If you want your dog to really stand out from the crowd, a patterned DIY dog collar is the way to go. You can use any fabric you like – the sky’s the limit!
What you’ll need
- 1/2 inch wide fabric strap
- 1/2 inch wide buckle
- Thread
- Scissors
Instructions
- Cut a length of fabric strap to fit your dog’s neck, with about 2 inches of extra for the buckle.
- Fold the fabric in half, and sew the ends together using a zigzag stitch.
- Sew the buckle onto the fabric, making sure it’s in the center.
- Zigzag stitches around the edge of the collar.
- Trim any excess thread, and you’re done!
The Reflective DIY Dog Collar
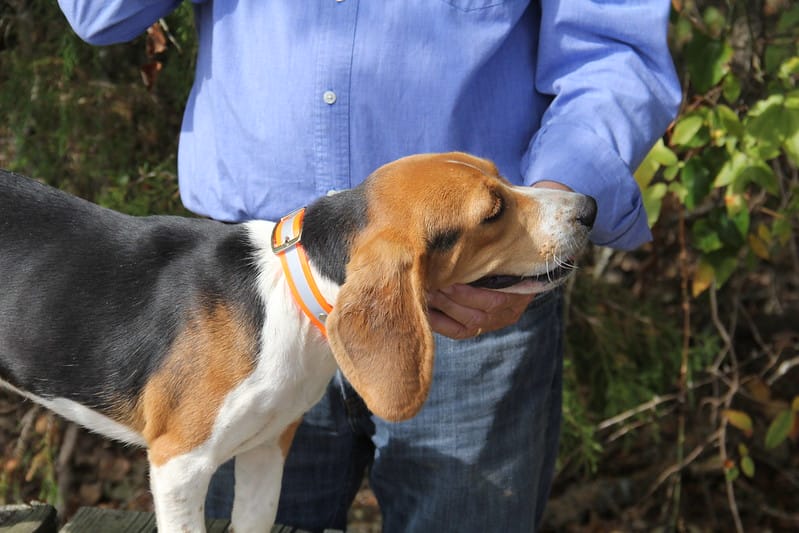
If you’re looking for a safety collar for your dog, a reflective DIY dog collar is a great option. It’s easy to make and will help keep your pup safe on walks and runs.
What you’ll need
- 1/2 inch wide reflective strap
- 1/2 inch wide buckle
- Thread
- Scissors
Instructions
- Cut a length of reflective strap to fit your dog’s neck, with about 2 inches of extra for the buckle.
- Fold the strap in half, and sew the ends together using a zigzag stitch.
- Sew the buckle onto the strap, making sure it’s in the center.
- Zigzag stitches around the edge of the collar to keep it from fraying.
The Waterproof DIY Dog Collar
If you live in an area with a lot of rain or snow, a waterproof DIY dog collar is a great option for your pup. It’s easy to make and will keep your dog’s neck dry and comfortable.
What you’ll need
- 1/2 inch wide waterproof strap
- 1/2 inch wide buckle
- Thread
- Scissors
Instructions
- Cut a length of waterproof strap to fit your dog’s neck, with about 2 inches of extra for the buckle.
- Fold the strap in half, and sew the ends together using a zigzag stitch.
- Sew the buckle onto the strap, making sure it’s in the center.
- Zigzag stitches on the edge of the collar.
The Light-Up DIY Dog Collar
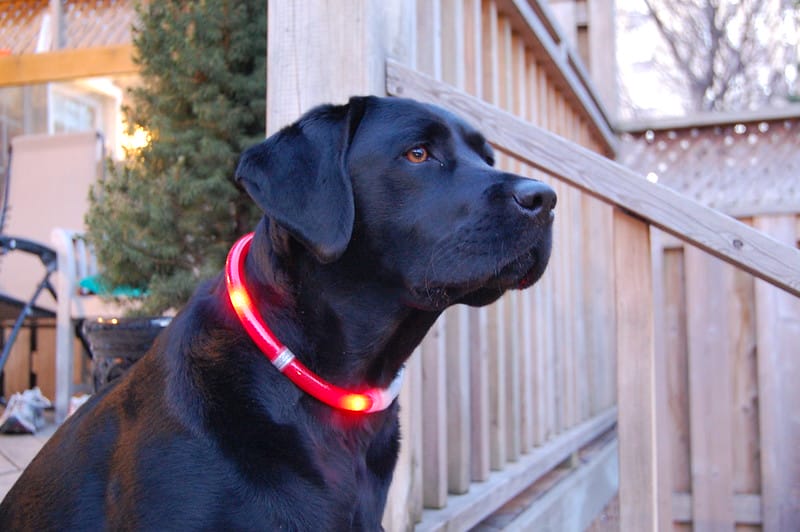
For a fun and unique dog collar, try a light-up DIY option. It’s easy to make and will help keep your pup safe on walks and runs.
What you’ll need
- 1/2 inch wide reflective strap
- 1/2 inch wide buckle
- Thread
- Scissors
- LED light
Instructions
- Cut a length of reflective strap to fit your dog’s neck, with about 2 inches of extra for the buckle.
- Fold the strap in half, and sew the ends together using a zigzag stitch.
- Sew the buckle onto the strap, making sure it’s in the center.
Led light instructions
1. Cut a small hole in the center of the strap, big enough to fit the LED light.
2. Insert the LED light into the hole, and sew it in place.
3. Turn the light on, and you’re ready to go!
The Floral DIY Dog Collar
For a pretty and unique dog collar, try a floral DIY option. It’s easy to make and will help your pup stand out from the crowd.
What you’ll need
- 1/2 inch wide fabric strap
- 1/2 inch wide buckle
- Thread
- Scissors
- Floral fabric
Instructions
- Cut a length of fabric strap to fit your dog’s neck, with about 2 inches of extra for the buckle.
- Fold the fabric in half, and sew the ends together using a zigzag stitch.
- Sew the buckle onto the fabric, making sure it’s in the center.
- Cut a piece of floral fabric to fit around the strap, and sew it in place.
- Zigzag stitches around the edge of the collar to keep it from fraying.
- Trim any excess thread, and you’re done!
Diy Paracord Dog Collar
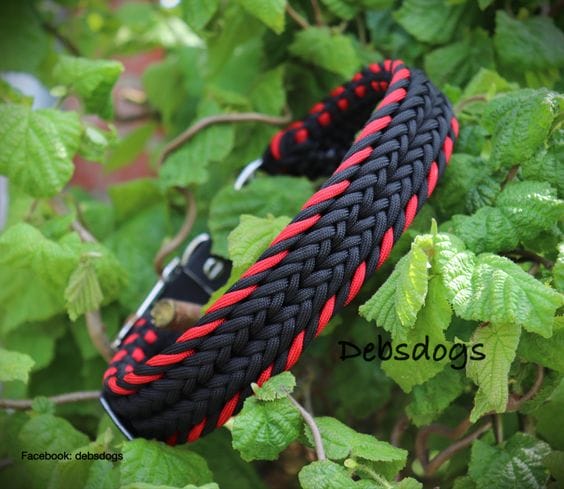
What you’ll need
-1/2 inch wide fabric strap
-1/2 inch wide buckle
-Thread
-Scissors
-Paracord
Instructions
1. Cut a length of fabric strap to fit your dog’s neck, with about 2 inches of extra for the buckle.
2. Fold the fabric in half, and sew the ends together using a zigzag stitch.
3. Sew the buckle onto the fabric, making sure it’s in the center.
4. Cut a length of paracord, and tie it around the fabric strap.
5. Zigzag stitches around the edge of the collar to keep it from fraying.
If you’re looking for a fun, easy project to do with your dog, look no further than these DIY dog collars!
These collars are comfortable and stylish, and best of all, they’re made from materials you probably already have lying around the house.
So get creative and have some fun with your furry friend—try out a few different designs and see which one your pup likes best.
And if you really want to spoil them, why not make a matching set of DIY dog toys? Your pooch will be the envy of all their friends.
Thanks for reading, and happy crafting!
- Bluetick Coonhound: A Guide to America’s Baying Blue Hound - July 21, 2026
- Can Cats Eat Salmon? Benefits, Risks & the Safest Way to Feed It - July 20, 2026
- Can Cats Eat Blueberries? What Cat Owners Need To Know - July 15, 2026
GIPHY App Key not set. Please check settings