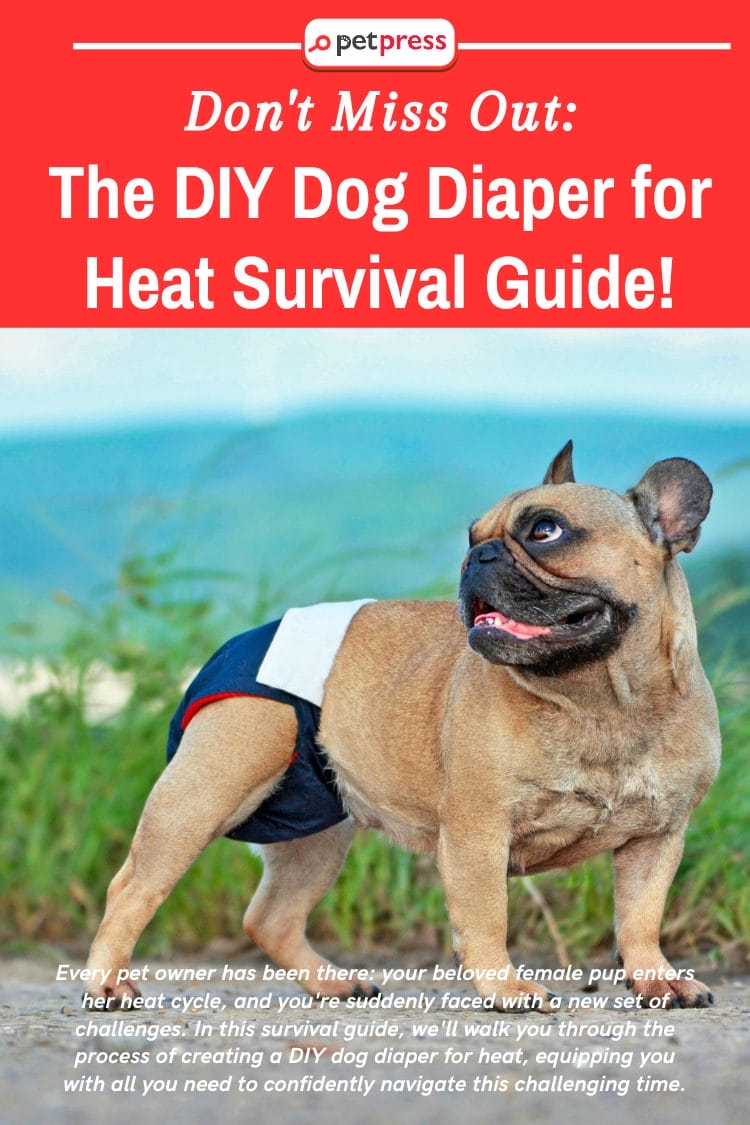
Every pet owner has been there: your beloved female pup enters her heat cycle, and you’re suddenly faced with a new set of challenges. Physiological changes, mood swings in your furry friend, and yes, the inevitable mess. As you find yourself cleaning rugs and furniture more frequently than before, you may start wondering if there’s a better solution, and that’s where a DIY dog diaper for heat comes into play.
We understand how overwhelming this period can be, both for your dog and yourself. Coping with your dog’s heat cycle can seem daunting, but remember, you’re not alone in this journey. Countless pet owners have walked this path before and have come up with a host of innovative, practical solutions.
One of the most effective strategies is the creation of a homemade dog diaper—an affordable, easy, and customizable way to make your and your dog’s lives a lot easier during her heat cycle.
In this survival guide, we’ll walk you through the process of creating a DIY dog diaper for heat, equipping you with all you need to confidently navigate this challenging time. So, sit, stay, and read on—help is on the way!
What is dog heat?
Before we delve into the DIY dog diaper for heat, understanding what “dog heat” means is crucial. Dog heat, or the estrous cycle, is the period in a female dog’s life when she becomes receptive to breeding with males. This cycle is the canine equivalent of the menstrual cycle in human females, although there are several key differences.
Dog heat typically begins when a female dog is between six and twelve months old, although this can vary depending on breed and size. In general, smaller breeds will start their first heat cycle earlier, while larger breeds may only experience their first heat once they’re up to two years old. Most female dogs will have a heat cycle approximately every six months, but again, this can vary between breeds and individual dogs.
The heat cycle consists of four stages:
1. Proestrus: This initial phase lasts approximately 9–10 days. You might notice swelling in your dog’s vulva and a bloody discharge during this time. Interestingly, even though male dogs will be attracted to her, she won’t be receptive to them.
2. Estrus: Following proestrus, the estrus stage lasts 9–10 days. Your dog’s discharge will lighten, possibly becoming a yellowish color. It’s during this phase that your dog will be receptive to males and can become pregnant.
3. Diestrus: This phase signals the end of your female’s fertility for this cycle. It can last anywhere from 60 to 90 days. Hormonal changes occur, whether she’s pregnant or not.
4. Anestrus: This is a period of inactivity between heat cycles, and it can last anywhere from 2 to 3 months.
Understanding the signs, symptoms, and stages of your dog’s heat cycle can help you manage it more effectively. Don’t worry; with accurate information and the right tools (like our DIY dog diaper for heat), you’ll navigate this phase successfully.
Why DIY Dog Diapers?
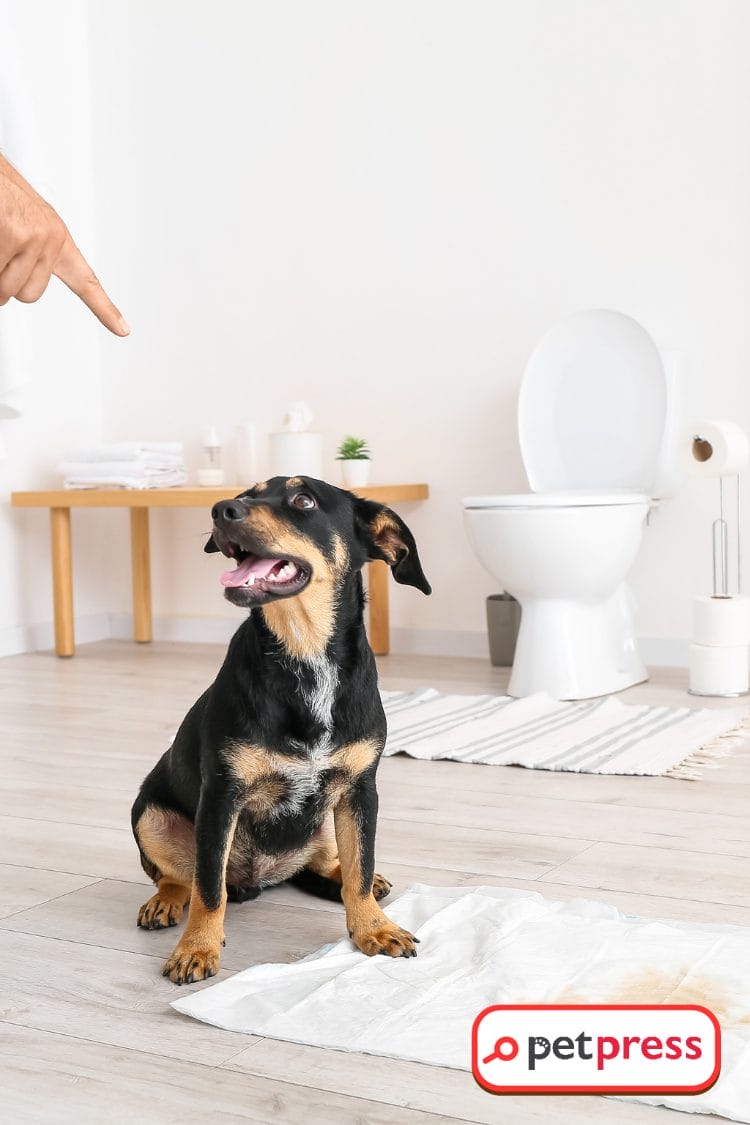
During their heat cycle, female dogs can leave spots and stains around your home that are tough to clean. That’s where dog diapers come in handy. They help manage your dog’s heat cycle and keep your surroundings clean, making this period less stressful for both of you.
But why go for DIY dog diapers for heat when plenty are available in stores? Here’s why:
1. Cost-effective: Over time, the cost of purchasing disposable dog diapers can add up. In contrast, creating your dog’s diaper is a one-time investment. You’ll likely already have most of the required materials at home, making DIY diapers an economical option.
2. Customization: Every dog is unique in size and shape. A DIY dog diaper allows you to tailor the diaper to your dog’s exact measurements, ensuring a perfect and comfortable fit.
3. Environmentally friendly: Disposable dog diapers contribute to landfill waste. By opting for a reusable DIY diaper, you’re choosing a more sustainable and eco-friendly option, joining the fight against excessive waste generation.
4. Healthier Option: Some dogs can have allergic reactions to the materials used in commercial diapers. With a DIY diaper, you have full control over the materials used, ensuring your dog’s comfort and safety.
Just like Emma, you too can experience the benefits of a DIY dog diaper for your furry friend’s heat cycle. It’s an easy, affordable, and eco-friendly solution that’s worth considering!

Materials Needed for a DIY Dog Diaper for Heat
Creating a DIY dog diaper for heat is surprisingly simple and requires only a few common household items. Here’s what you’ll need:
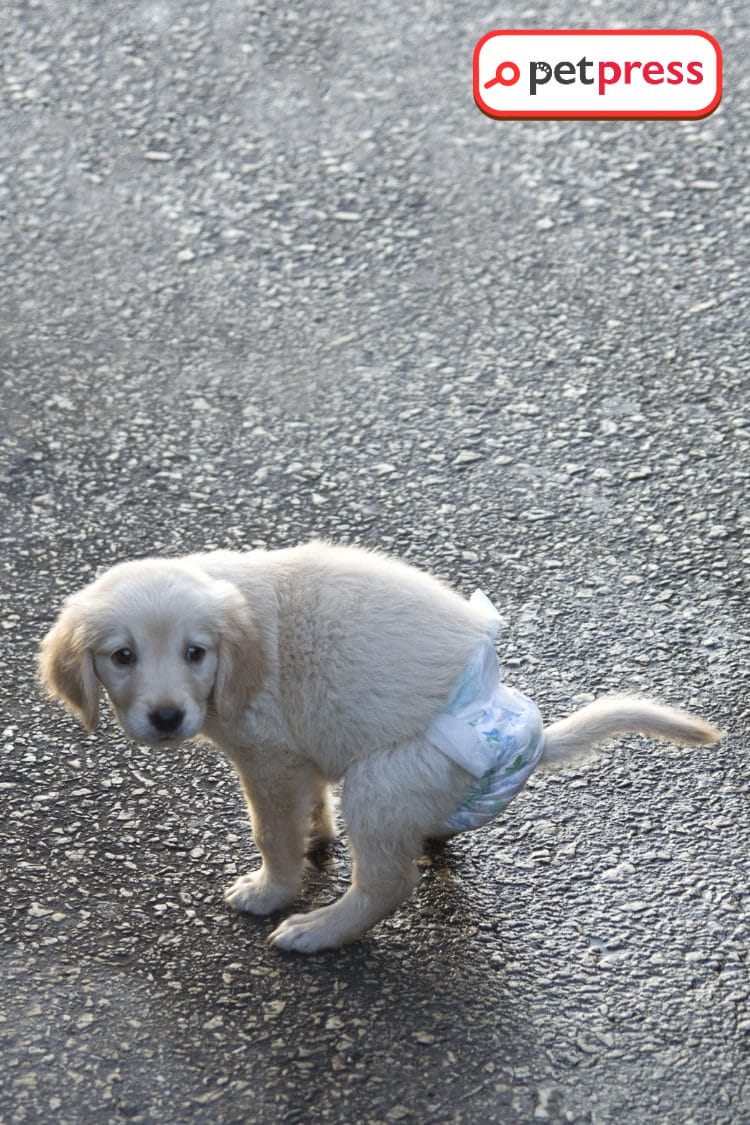
1. Baby Diapers or Incontinence Underpad: This forms the core of your DIY dog diaper. It’s absorbent and available in a variety of sizes. For smaller dogs, a baby diaper can work. For larger breeds, an adult incontinence underpad might be more suitable.
2. Scissors: You’ll need these to cut holes for your dog’s tail in the diaper or underpad, ensuring a comfortable fit.
3. Measuring Tape: To ensure the diaper fits your dog well, you’ll need to measure your dog around her lower waist.
4. Adhesive Tape or Velcro Strap: These will help secure the diaper around your dog’s waist. Velcro straps can be more comfortable and are reusable, making them a greener choice.
5. Baby Powder (Optional): This can be used to prevent any possible diaper rash. Make sure it’s talc-free to avoid potential health risks for your dog.
If you don’t have a baby diaper or an incontinence underpad, an old towel or soft cloth could be used as a substitute. You’ll also need absorbent materials like sanitary pads or specially-made pet pads to add to the towel or cloth for extra absorbency.
With these materials at hand, you’re ready to make a comfortable, cost-effective DIY dog diaper for heat that can make this challenging period much easier for you and your furry friend. Stick around as we walk you through the process in the next section!
Step-by-Step Guide to Making a DIY Dog Diaper for Heat
Creating a DIY dog diaper for heat may sound tricky, but with our detailed guide, you’ll get the hang of it in no time. Let’s walk through the process step by step:
1. Measure Your Dog:
The first step is to measure your dog’s waist. This ensures the diaper will fit snugly and comfortably without causing any discomfort or risking falling off. Using a measuring tape, measure the circumference of your dog’s lower waist (just in front of her back legs). Remember this measurement, as you’ll need it later.
2. Choose the Right Diaper/Underpad Size:
Based on your dog’s waist size, choose a baby diaper or an adult incontinence underpad. The diaper or underpad should be large enough to cover your dog’s backside while leaving enough room to secure it around the waist.
3. Cut a Hole for the Tail:
Once you’ve chosen the right size diaper, it’s time to make a hole for your dog’s tail. When she wears the diaper, her tail should be out so it doesn’t get soiled, and she’s more comfortable. To do this, mark a spot on the diaper where your dog’s tail would naturally sit, then use the scissors to cut a small hole in that spot.
4. Fit the Diaper:
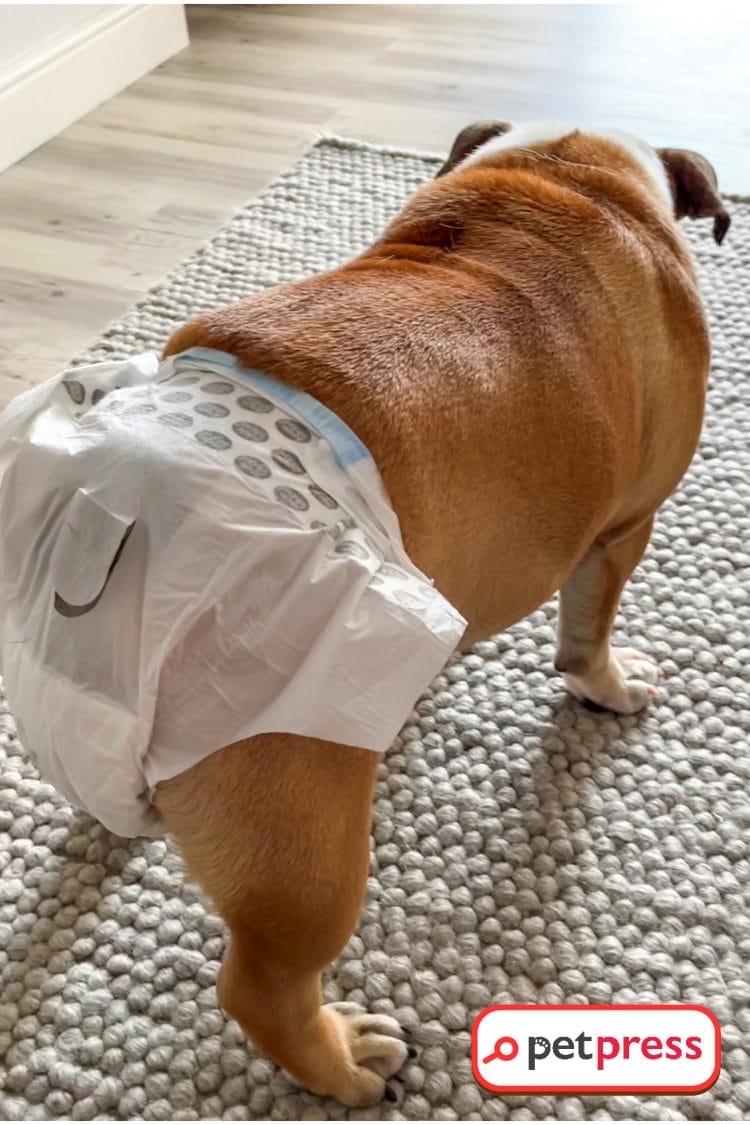
Now it’s time to fit the diaper on your dog. Start by gently lifting your dog’s tail and threading it through the hole you have cut. Align the diaper with her lower waist, ensuring it covers her backside properly. The end of the adhesive should go under your dog’s belly, and the other end should go over it.
5. Secure the Diaper:
Using the adhesives on the diaper or the additional adhesive tape or Velcro strap, secure the diaper around your dog’s waist. Be cautious to make sure it’s not too tight; the diaper should be snug but comfortable. If you’re using a Velcro strap, simply wrap it around the waist and fasten it.
6. Check the Fit:
Finally, it’s crucial to check the fit. The diaper should fit comfortably around your dog’s waist without slipping, and her tail should comfortably fit through the hole without restriction. If needed, adjust the cut of the tail hole or the tightness of the diaper as necessary to ensure comfort.
And voila! You’ve created a DIY dog diaper for heat. Remember, it’s crucial to change the diaper regularly, especially when it becomes soiled, to ensure your pet remains clean and comfortable. In the next sections, we’ll walk you through the care and maintenance of your DIY dog diaper, along with some useful tips and tricks.
Caring for Your DIY Dog Diaper For Heat
Maintaining and cleaning your DIY dog diaper for heat is essential for your pet’s comfort and hygiene. Here’s how to ensure your dog’s diaper stays in prime condition:
- Cleaning: The diaper should be changed and cleaned as soon as it becomes soiled. This helps prevent any discomfort, potential rashes, or infections. If you’re using disposable materials like sanitary pads within the diaper, it’s best to replace them immediately once used.
- Washing: If you’ve opted for a fabric-based diaper, it’s advisable to wash it thoroughly after each use. Hand-wash or machine-wash it in warm water using a pet-safe laundry detergent. Ensure it is completely dry before reusing it to prevent any skin irritation.
- Storage: When not in use, store your DIY dog diaper in a clean, dry place to prevent it from accumulating bacteria or mold.
- Wear and Tear: Regularly inspect the diaper for signs of wear and tear. If you notice the diaper is deteriorating, replace it to ensure comfort and efficacy.
Tips and Tricks for a Successful DIY Dog Diaper
Here are a few insider tips to make your DIY dog diaper project a success:
- Measure Twice, Cut Once: Ensuring the correct measurements is key. A too-small diaper can cause discomfort, while a too-big one can easily slip off.
- More Absorbency: Consider adding extra absorbent layers, such as sanitary or pet pads, to the diaper’s interior for extended use.
- Comfort is Key: Keep an eye on your pet’s comfort. If your pet seems uneasy or tries to remove the diaper constantly, it might need adjustment for better fit and comfort.
- Patience is Virtuous: Remember, your pet might take some time to get used to the diaper. Try to introduce it gradually and reward your pet once they’re comfortable with the diaper on.
By implementing these care strategies and useful tips, you’re all set for a successful DIY dog diaper experience. Now both you and your pet can navigate her heat cycle with ease and comfort.
Conclusion
Navigating your dog’s heat cycle can, at times, seem overwhelming, but with the right knowledge and tools, it can become a manageable process. Our comprehensive guide on creating a DIY dog diaper for heat is intended to simplify this journey for you.
We equipped you with a detailed and easy-to-follow guide on creating your DIY dog diaper for heat, followed by essential tips on its maintenance for prolonged usability.
As you try out this DIY project, remember that you’re enhancing your pet’s comfort during her heat cycle and contributing positively to the environment by reducing waste.
FAQs About DIY Dog Diaper for Heat
Diapers can be incredibly helpful during your dog’s heat cycle to manage the spotting or bleeding that can occur. They keep your home clean and make the process less stressful for both you and your pet.
The diaper should be changed and cleaned as soon as it becomes soiled. This maintains hygiene and prevents discomfort, potential rashes, or infections in your pet.
Absolutely, if fitted correctly. The goal of a DIY dog diaper is to ensure your dog’s comfort while effectively managing her heat cycle. It’s important to ensure the diaper isn’t too tight or too loose to allow your pet to move naturally.
If you’re using a fabric-based diaper, it can be hand-washed or machine-washed in warm water with a pet-safe laundry detergent. Make sure the diaper is completely dry before reusing it.
Ensuring accurate measurements, adding extra absorbency, maintaining your pet’s comfort, and being patient with your pet are the keys to a successful DIY dog diaper project. Remember, introducing a diaper may take a little getting used to for your pet, so patience is key!
Dive Deeper: Unleash More Pet Care Secrets in Our Other Engaging Articles!
Shiny, Healthy Coat: Easy DIY Dog Coconut Oil Shampoo Guide
DIY Dog Shampoo for Odor: Get Rid of Pet Bad Smells
An Easy Guide to DIY Dog Ear Cleaner: Say Bye to Vet Bills
- Can Cats Eat Broccoli? Is It Safe or Should You Avoid It? - July 9, 2026
- Can Cats Eat Mango? Vet-Reviewed, Risks & Safe Feeding Guide - July 8, 2026
- Can Cats Eat Popcorn? What Every Cat Owner Needs to Know - July 3, 2026
GIPHY App Key not set. Please check settings