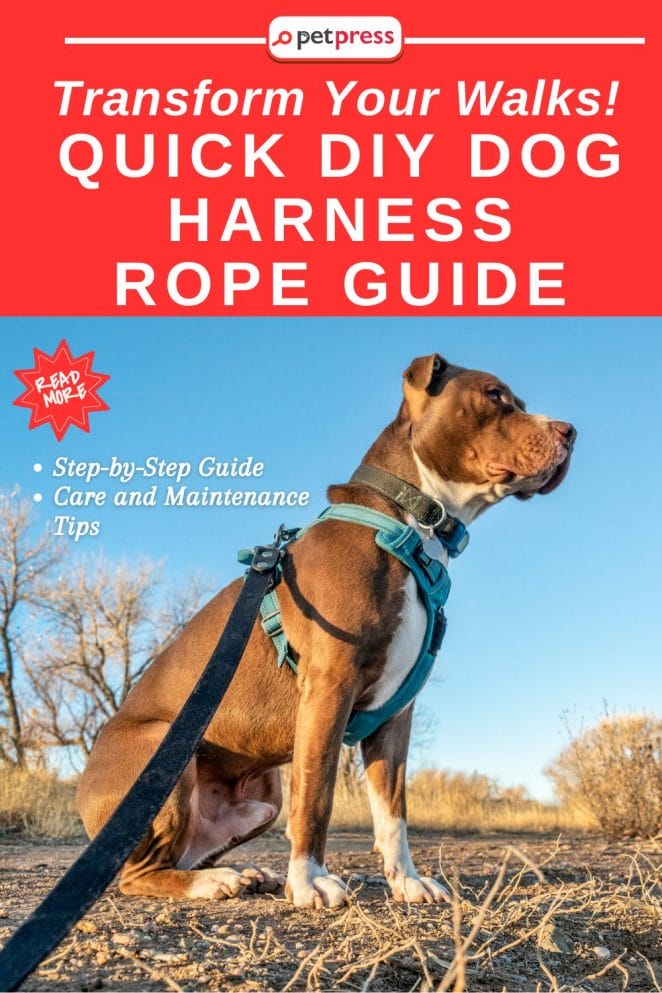
Welcome to the world of pet ownership, where walks with your furry friend aren’t just a chore; they’re an adventure. If you’re like me, you know that every canine companion is unique, and their gear should be too. That’s where a DIY dog harness rope comes into the picture.
Traditional collars can often place pressure on your dog’s throat, which may lead to health concerns in the long run. On the other hand, a dog harness distributes the pressure more evenly and provides better control over your pet. It’s not just about comfort; it’s about ensuring the safety and well-being of our beloved four-legged family members.
Enter the wonderful option of a DIY dog harness rope. Have you ever considered the cost-effectiveness of creating your own personalized dog harness? Beyond the savings, it also presents an opportunity to express your creativity and strengthen your bond with your pet. This is something you’ll likely not find in a store-bought harness.
Imagine being able to design a custom-made harness that fits perfectly and puts your dog’s comfort first. Picture the sense of pride you’ll experience every time you take your pooch for a walk, knowing that you made the beautiful and functional harness that they’re happily bounding about in.
We assure you, that making your own DIY dog harness rope is not as daunting as you might think. In fact, it can be an enjoyable activity. It’s simple, fun, and absolutely rewarding. So, if you’re ready to transform your walks and create a unique accessory for your pet, stick around.
In this blog post, we will guide you through an easily understandable process for making a DIY dog harness rope. So, grab your creativity hat (and maybe a cup of coffee), and let’s get started on this exciting DIY journey together!
What is a DIY dog harness rope?
A DIY dog harness rope is a custom-made pet accessory crafted by pet owners themselves. It’s exactly what it sounds like a dog harness that’s designed and made using a sturdy rope, following a simple yet effective blueprint that anyone can easily replicate.
The beauty of the DIY dog harness rope lies not just in its simplicity but also in its flexibility. It allows pet owners to take control over the sizing, design, and comfort of the harness. Whether your dog is small or large, slender or bulky, young or old, you can customize the harness to perfectly fit. This means no more worrying about ill-fitting store-bought harnesses that may chafe or restrict your dog’s movement.
This handy accessory adds a layer of safety and control during walks, training sessions, or any outdoor adventures with your furry friend. The gentle pressure distribution of a well-made harness is much safer and more comfortable for your canine companion than a traditional collar.
In addition to the practical benefits, making your own DIY dog harness rope can be a satisfying and rewarding experience. It’s an opportunity to engage in a fun and productive project, express your creativity, and, in the process, create a special bond with your pet. It’s more than just a utilitarian item; it’s a labor of love.
So, why buy when you can DIY? Allow your pet to strut around in a unique, comfortable, and functional harness made with nothing but love and dedication. Let’s revolutionize the way we care for our pets, starting with a DIY dog harness rope!

Why Should You Make a DIY Dog Harness Rope?
Creating your own DIY dog harness rope may seem like an unconventional task, but the rewards it offers are numerous and far surpass the effort involved.
High Level of Personalization
One of the most exciting aspects of a DIY project is the level of personalization it provides. By creating your own dog harness, you’re not just assembling materials; you’re creating a one-of-a-kind accessory tailored to your pet’s size, comfort, and style. Whether you choose to mirror your dog’s playful personality through vibrant colors or prefer a minimalist design, the options are limitless.
Cost-Saving Benefits
Why spend a small fortune on store-bought harnesses when you can create a high-quality one at a fraction of the cost? With a DIY dog harness rope, you have the chance to reuse materials you might already have at home.
Even if you choose to buy, the cost of raw materials is typically significantly lower than a ready-made harness. Plus, there’s the added bonus of durability, as you have total control over the quality and sturdiness of the materials you use.
Bonding Experience and Emotional Connection
There’s a unique sense of fulfillment that comes from crafting something with your own hands, especially when it’s for someone you love. Crafting a DIY dog harness rope isn’t just an exercise in creativity; it’s a bonding experience.
As you measure your pet for size, choose the perfect materials, and get to work, you’re not only creating a practical tool but also strengthening your bond with your four-legged friend.
Easy Adjustments
One of the common issues with store-bought harnesses is the fit. Too loose, and your dog might wriggle out; too tight, and it could cause discomfort or even injury. A DIY harness rope is easily adjustable to your dog’s size and comfort level. This means you can have a perfect fit every time, ensuring safe and comfortable walks.
In short, making a DIY dog harness rope is about much more than creating a tool for walks or training. It’s about expressing love for your pet, providing them with ultimate comfort, and saving money without compromising on style or quality. So, let’s roll up our sleeves and kickstart this exciting DIY project!
Materials Needed for DIY Dog Harness Rope
Creating your own DIY dog harness rope is surprisingly simple and requires only a few basic materials that are easy to find. Here is a list of everything you need for this project:
- Rope: The core component of your harness. Choose a sturdy, weather-resistant rope that can comfortably bear your dog’s weight. Paracord, for example, is a popular choice due to its strength, durability, and availability in various colors. You’ll need approximately 12 feet of it for an average-sized dog.
- Two O-Rings: These metal rings serve as the central connection points for the harness. Make sure they’re durable and large enough to thread your chosen rope through twice.
- Carabiner: An essential piece for attaching the leash to the harness. Opt for one that’s sturdy yet lightweight and easy to open and close.
- Measuring Tape: It’s crucial to get accurate measurements of your dog’s body to ensure a comfortable fit for the harness.
- Scissors: For cutting the rope to the right lengths.
- Lighter: To seal the ends of the rope and prevent fraying.
You can find all these materials in local craft supply stores, pet shops, or online platforms like Amazon, eBay, or Etsy. Always opt for high-quality materials to ensure the durability and safety of your DIY dog harness rope. Now that we have everything we need, let’s get to the exciting part: crafting the harness!
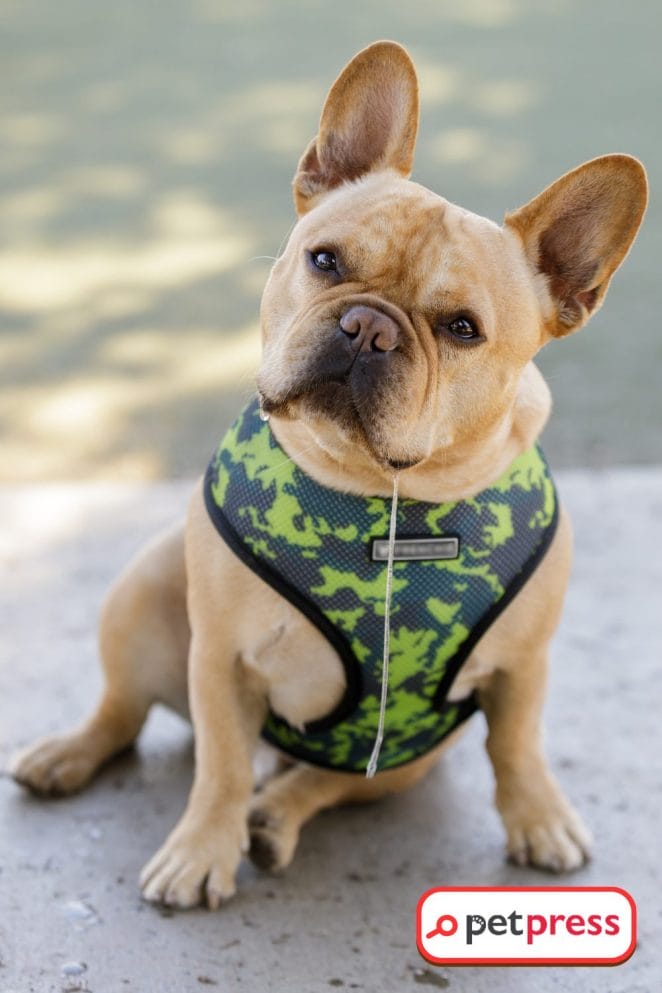
Step-by-Step Guide on How to Make a DIY Dog Harness Rope
Creating your own DIY dog harness rope doesn’t require any special skills or tools. All you need is a little patience and creativity. Here’s a step-by-step guide to help you through the process:
Step 1: Measure your dog.
Measure your dog’s girth around the widest part of its chest using the measuring tape. This measurement is the basis for the size of your harness.
Step 2: Cut the rope.
Based on your measurements, cut two lengths of rope. One piece should be the measurement of your dog’s girth plus one foot. The other piece should be five times the length of the first. Seal the ends of each cut piece with a lighter to avoid fraying.
Step 3: Thread the first O-Ring.
Take the longer rope and fold it in half. Thread it through one of the O-rings, forming a loop on one side and the two loose ends on the other.
Step 4: Form the chest piece.
Thread the two loose ends through the other O-ring. Pull it up to form what will be the chest piece of the harness. Adjust so that the chest piece fits your dog’s girth measurement comfortably.
Step 5: Form the body piece.
Thread the two ends back through the first O-ring to form the body piece. This should wrap around the body of your dog, fitting comfortably but snugly.
Step 6: Secure the harness.
Tie a secure knot with the two loose ends right behind the first O-ring. This knot will keep the harness from loosening while in use.
Step 7: Attach the carabiner.
Now take the shorter rope. Loop it through the first O-ring and tie both ends to the carabiner. This will serve as the attachment point for the leash.
Step 8: Test the fit.
Place the DIY harness on your dog to test the fit. The chest piece should rest across the chest, and the body piece should wrap snugly but comfortably around the body. The leash attachment should rest just above the dog’s shoulders.
Remember, a well-fitted harness is crucial for your dog’s comfort and safety. If the harness is too loose, your dog might slip out. If it’s too tight, it could cause discomfort or injury.
Once you’re happy with the fit, you’ve successfully crafted a DIY dog harness rope! Remember, practice makes perfect. The more you work on it, the better you’ll get. Plus, the joy of seeing your dog wearing a handcrafted harness that’s perfectly suited to them is absolutely worth the effort!
And now, for the final step, it’s time to show off your creation. Take your furry friend out for a walk and observe how they enjoy their new, custom-made accessory. You’ve done a great job! Let’s make our next project even more exciting!
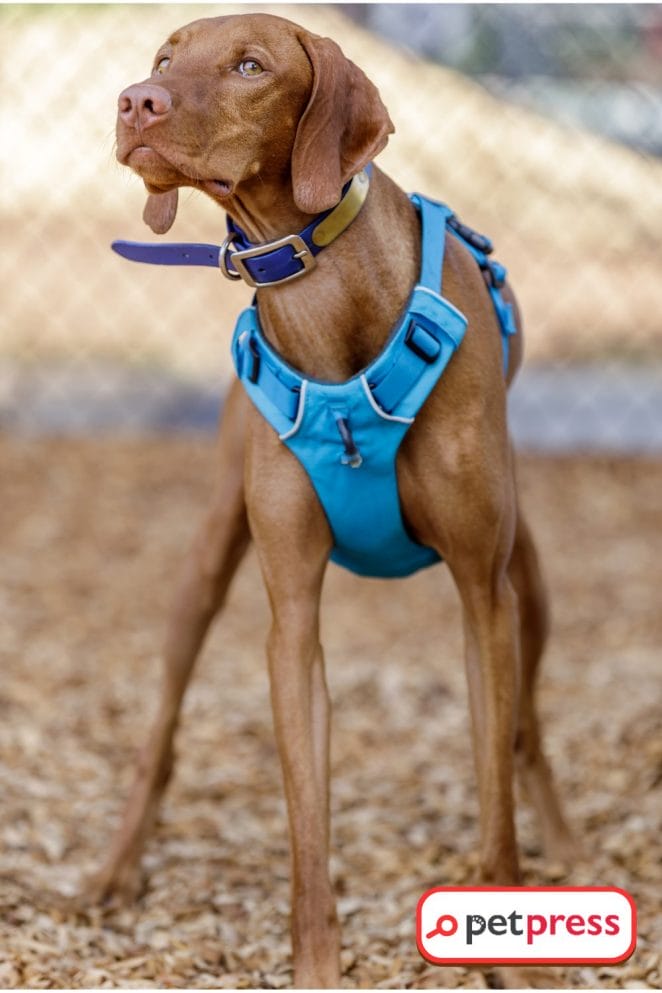
How to Use the DIY Dog Harness Rope Effectively
Using your DIY dog harness rope effectively starts with putting it on correctly. Make sure the larger loop (body piece) goes over your dog’s head and that the smaller loop (chest piece) is at the front. The leash attachment point should sit just above the shoulders. Adjust as needed to ensure a snug but comfortable fit.
While out on walks or during training sessions, always ensure the harness fits just right—not too tight to restrict movement or cause discomfort, and not too loose that it could slide off. Use the carabiner to attach the leash, keeping you in control during your walks.
The effectiveness of your DIY dog harness rope also depends on your handling. Make sure to give clear and consistent signals through the leash. Remember, the harness is a tool designed to enhance communication between you and your pet, thus making your training sessions or walks more enjoyable.
Care and Maintenance for Your DIY Dog Harness Rope
Like any other pet accessory, your dog harness rope requires regular care and maintenance to ensure its durability and safety.
Cleaning your dog harness rope is as simple as soaking it in warm, soapy water, gently scrubbing it, and leaving it to dry out completely before using it again. Be sure to remove any dirt and debris that may accumulate over time.
Inspect the rope and carabiner frequently for any signs of wear and tear. Should you notice any fraying on the rope or issues with the carabiner, replace these parts immediately to avoid any safety hazards during your walks or training sessions.
With this guide, you’re all set to keep your DIY dog harness rope in top shape and enjoy many wonderful moments with your dog. Happy walking and training!
Conclusion
We’ve traversed the exciting path of creating a custom, cost-effective, and comfortable dog harness rope. You now know how to measure your fur friend, gather the required materials, and fashion a harness that’s not only practical but also strengthens the bond between you two. Plus, we’ve covered vital tips on how to use it effectively during walks and training sessions, as well as maintenance tips to ensure its longevity.
FAQS: DIY Dog Harness Rope
Start by measuring your dog’s chest girth, cutting two lengths of rope based on this measurement, threading the rope through the O-rings to form the harness, securing it with a knot, and attaching the carabiner for leash attachment.
A well-fitted harness should be snug but comfortable. The chest piece should rest across the chest, and the body piece should wrap snugly around the body. The leash attachment should rest just above the dog’s shoulders.
Regular cleaning with warm, soapy water and drying it out completely is essential. Also, keep an eye out for any signs of wear and tear, such as fraying on the rope or issues with the carabiner, and replace these parts as needed.
Yes, the DIY dog harness rope is an excellent tool for dog training. It provides better control over your dog’s movements, allowing for effective communication and training.
A DIY dog harness rope allows for personalization based on your dog’s size and comfort. It’s a cost-effective alternative to store-bought harnesses and also offers a great bonding experience with your pet. Plus, it’s easily adjustable for a perfect fit every time.
Dive deeper into the world of DIY pet care—explore more informative and exciting articles now!
Unveiled: DIY Dog Cone Collar Designs Your Pets Can’t Resist!
DIY Dog Treats With Pumpkin: Explore the Easy Recipe Inside!
Secrets Revealed: DIY Dog Toothpaste – A Survival Guide!


GIPHY App Key not set. Please check settings