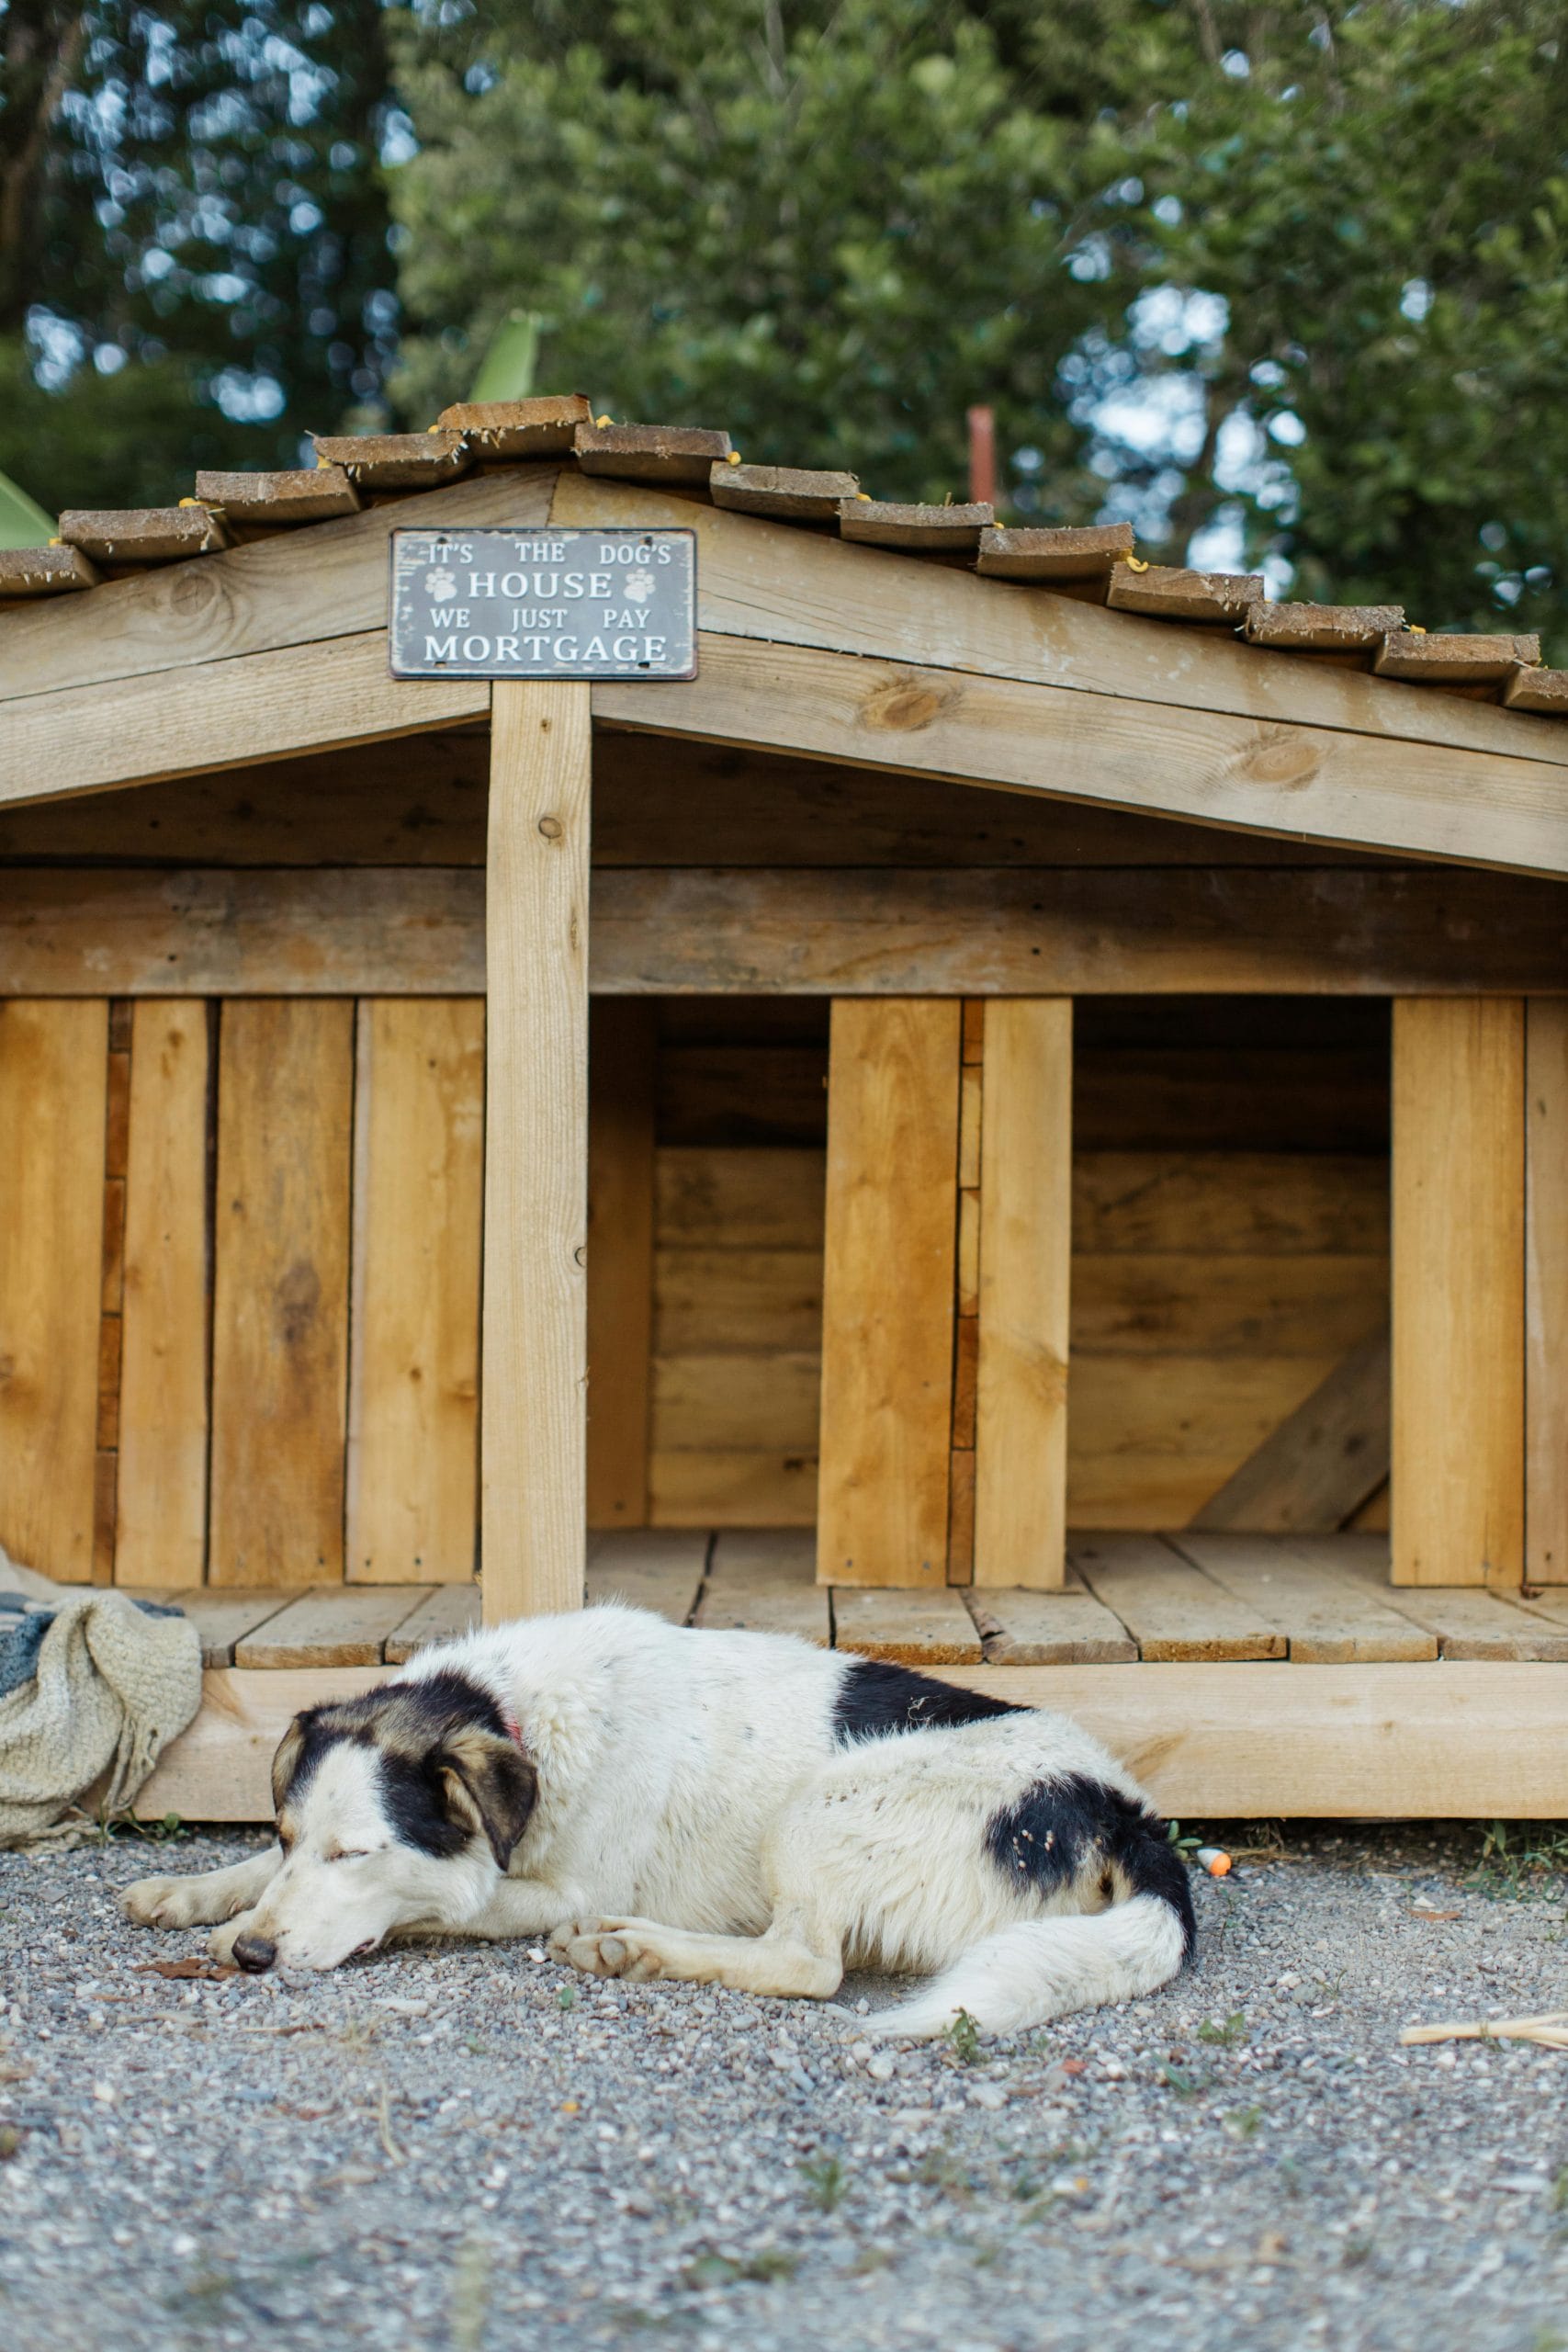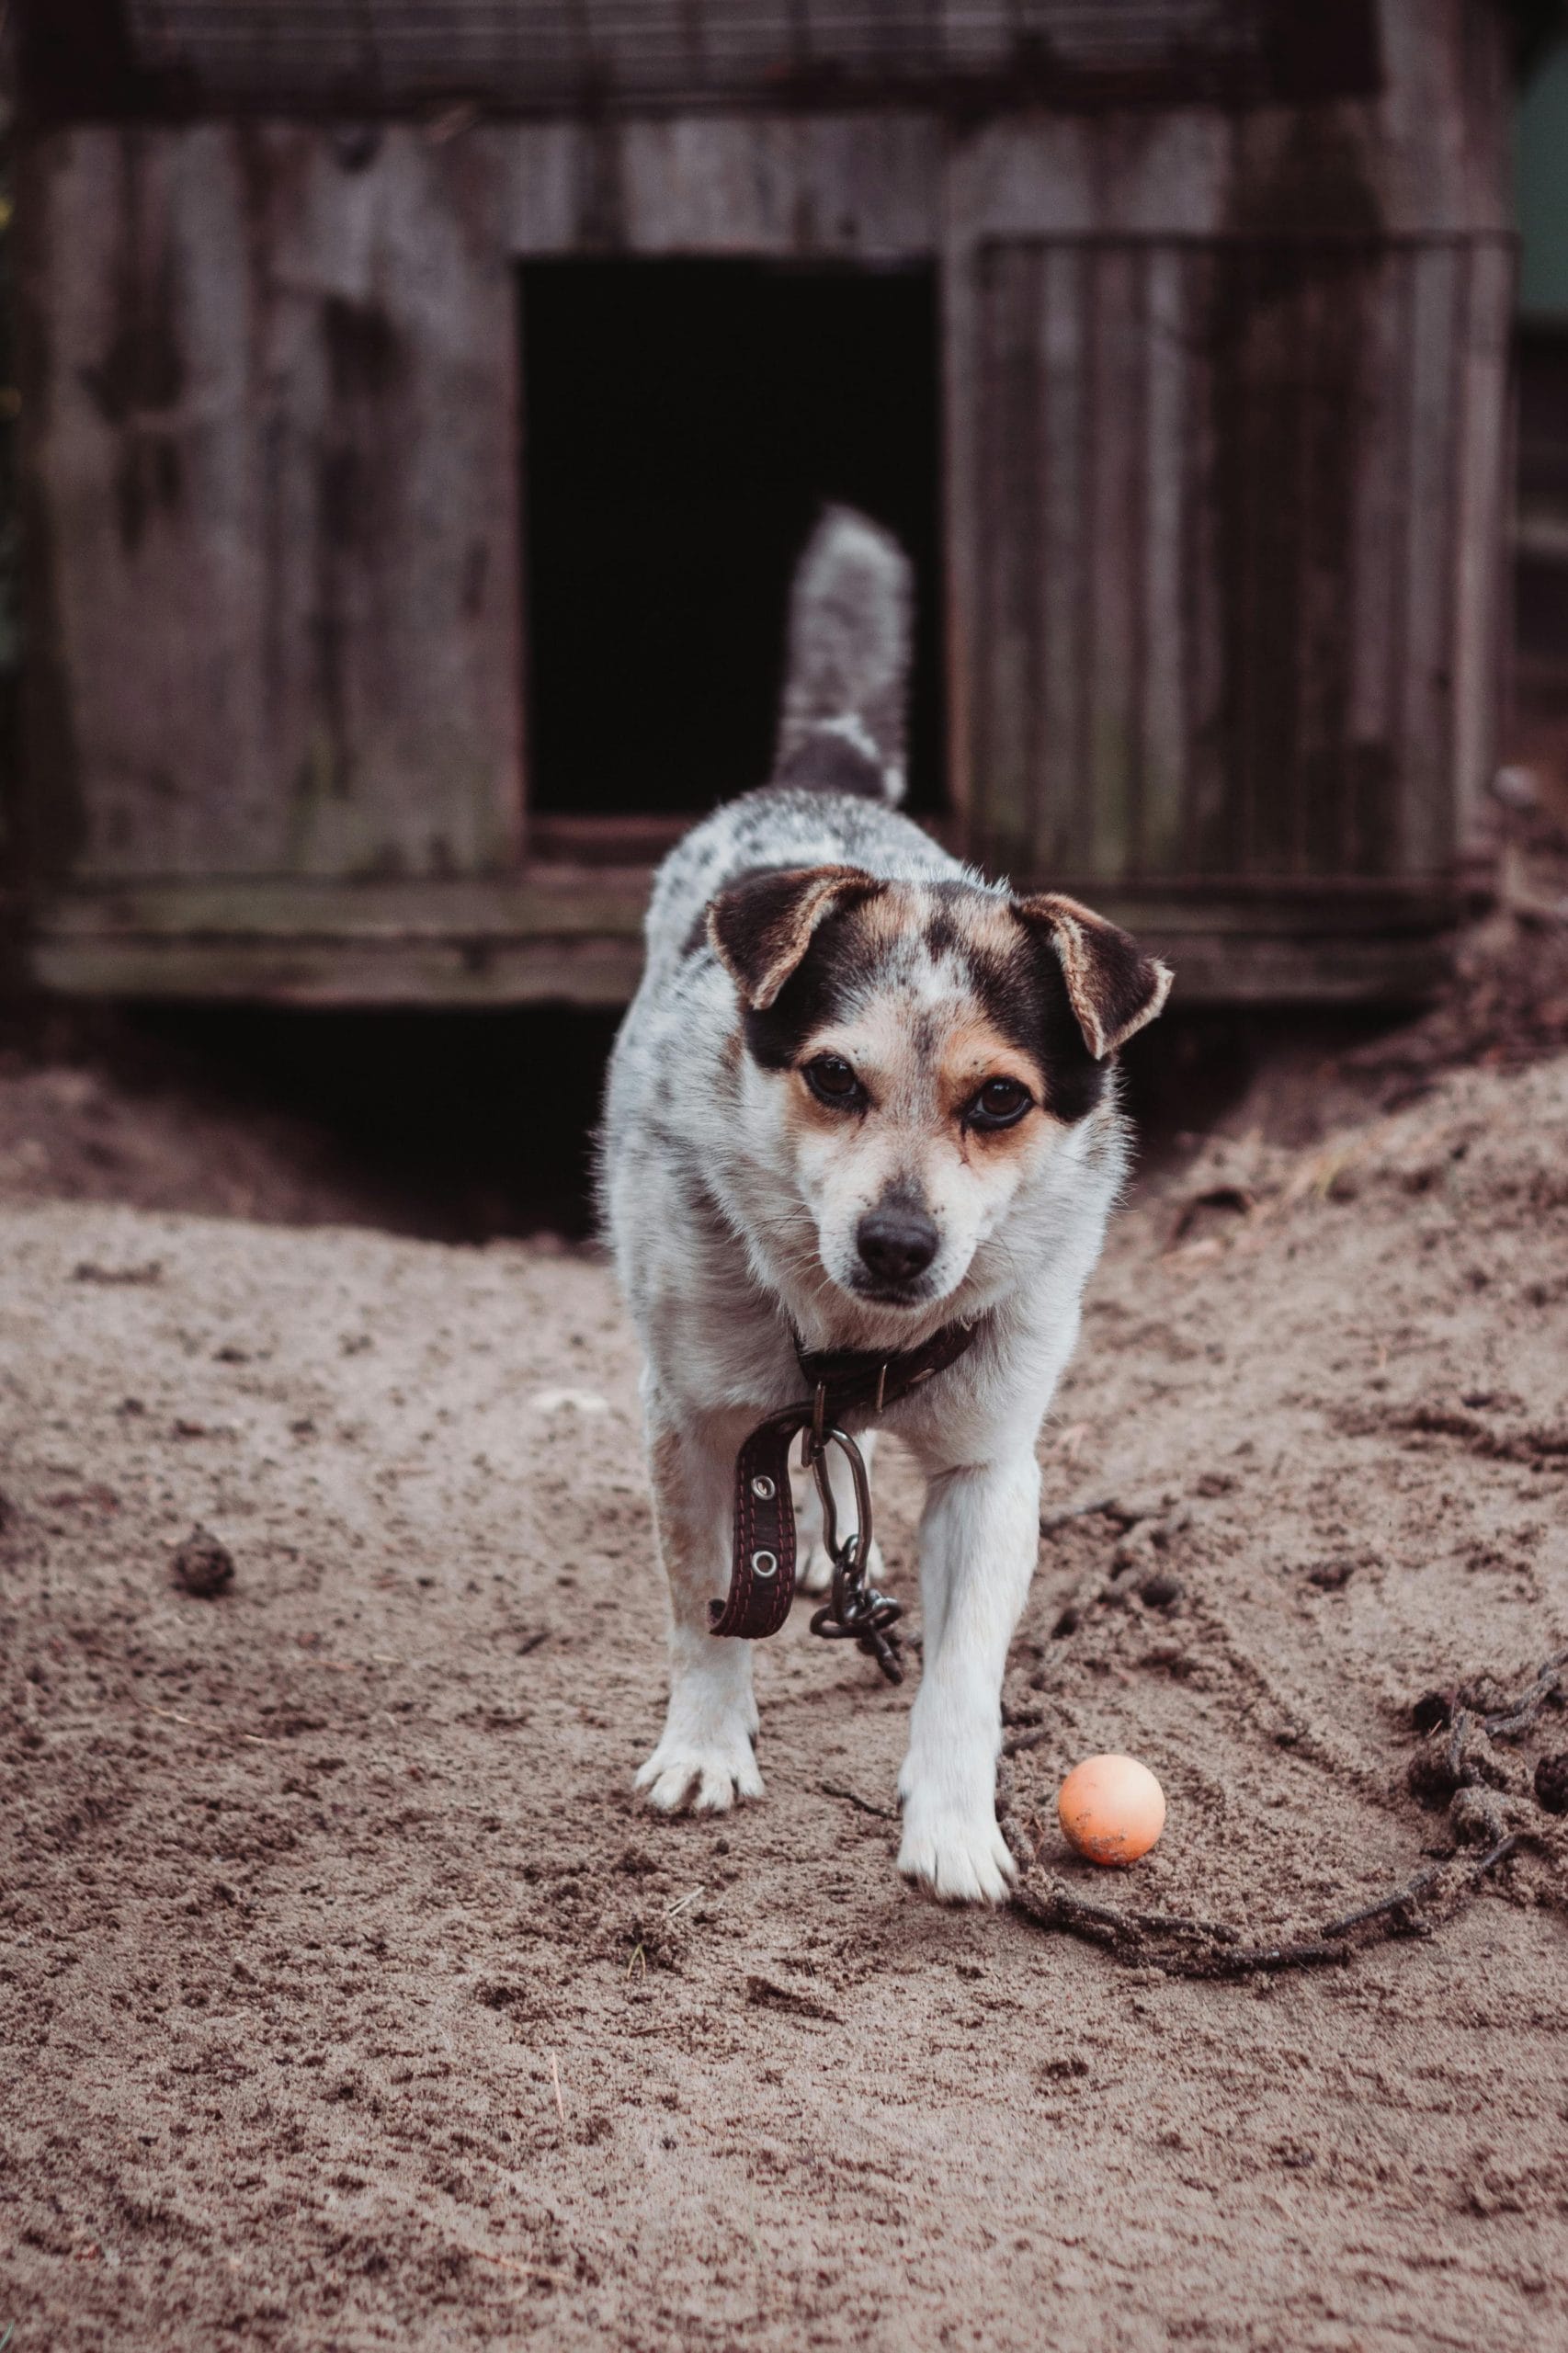
July marks the celebration of Dog House Repair Month, an initiative dedicated to ensuring that our beloved canine companions have a safe, comfortable, and well-maintained home.
A well-kept dog house not only provides shelter from the elements but also contributes to the overall health and happiness of your pet.
This month is the perfect time to inspect, repair, and upgrade your dog’s house, ensuring it remains a cozy haven.
In this guide, we’ll explore the history of Dog House Repair Month, offer step-by-step repair instructions, highlight the benefits of maintaining your dog’s house, and answer some frequently asked questions.
History of Dog House Repair Month
Dog House Repair Month was established by pet care enthusiasts and organizations dedicated to animal welfare.
The initiative aims to raise awareness about the importance of regular maintenance and repair of dog houses, emphasizing the need for proper shelter.
Over time, exposure to weather conditions, wear and tear, and general usage can compromise the structural integrity of dog houses, potentially putting pets at risk.
By designating a specific month for these repairs, pet owners are encouraged to take proactive measures in maintaining their pets’ homes, ensuring they are safe, comfortable, and durable.
How to Repair a Dog House?

# Step 1: Inspect the Dog House
Start by thoroughly inspecting the dog house. Look for signs of wear and tear, such as broken or loose panels, sharp edges, splintered wood, rusted nails, and leaks.
Check the roof, walls, floor, and entrance for any damage that could compromise the safety or comfort of your dog.
# Step 2: Gather Materials and Tools
Depending on the extent of the repairs needed, gather the necessary materials and tools. Common items may include:
- Hammer and nails
- Screwdriver and screws
- Sandpaper
- Wood filler or sealant
- Replacement wood panels or shingles
- Paint or weatherproofing sealant
- Insulation materials
# Step 3: Make Structural Repairs
Begin by addressing any structural damage. Replace broken or rotted wood panels, secure loose boards, and fix any unstable sections.
Ensure the roof is intact and free from leaks. If necessary, replace damaged shingles or roofing materials.
# Step 4: Smooth Surfaces
Sand down any rough or splintered areas to prevent injuries to your dog.
Use wood filler to repair any cracks or gaps in the wood. Ensure all surfaces are smooth and safe for your pet.
# Step 5: Weatherproofing
Apply a weatherproofing sealant to the exterior of the dog house to protect it from rain, snow, and harsh weather conditions.
This will help extend the life of the dog house and keep the interior dry and comfortable.
# Step 6: Insulation
Consider adding insulation to the dog house, especially if you live in an area with extreme temperatures.
Insulate the walls and floor to provide additional warmth in winter and keep it cool in summer. You can use foam insulation boards or thermal blankets for this purpose.
# Step 7: Paint and Finishing Touches
Apply a fresh coat of pet-safe paint to the dog house, both for aesthetic appeal and added protection against the elements.
Choose non-toxic paints that are safe for animals. Add finishing touches such as new bedding or a door flap to enhance comfort.
Benefits of Dog House Repair

Ensures Safety
A well-maintained dog house eliminates hazards such as sharp edges, splinters, and unstable structures, ensuring your dog’s safety.
Provides Comfort
Repairing and insulating the dog house creates a comfortable environment, protecting your pet from extreme weather conditions and providing a cozy space to rest.
Promotes Health
A clean and dry dog house reduces the risk of infections, allergies, and illnesses that can arise from damp or dirty living conditions.
Extends Longevity
Regular maintenance and repairs extend the lifespan of the dog house, making it a more cost-effective investment in the long run.
Enhances Aesthetic Appeal
A freshly painted and well-maintained dog house adds to the overall beauty of your yard, reflecting your care and attention to your pet’s well-being.
Conclusion
Dog House Repair Month is an excellent reminder for pet owners to inspect, repair, and upgrade their furry friend’s shelter.
By taking the time to address any issues, you ensure a safe, comfortable, and healthy environment for your dog.
Regular maintenance not only extends the life of the dog house but also enhances your pet’s quality of life.
Celebrate this month by giving your dog’s house the attention it deserves, ensuring it remains a cosy haven for years to come.

Frequently Asked Questions
It’s recommended to inspect your dog’s house at least twice a year, ideally during Dog House Repair Month in July and again before winter sets in. Regular inspections help identify and address potential issues before they become major problems.
When painting a dog house, use non-toxic, water-based paints that are specifically designed for pet safety. Avoid paints with harmful chemicals and ensure the paint is fully dry and odour-free before allowing your dog to use the house.
Yes, you can use regular home insulation, but make sure it is installed securely and covered to prevent your dog from chewing or ingesting it. Foam insulation boards and thermal blankets are good options for dog houses.
To make your dog’s house more weather-resistant, apply a weatherproofing sealant to the exterior, ensure the roof is leak-proof, and consider adding a door flap to keep out rain and wind. Insulating the dog house also helps maintain a stable temperature inside.
Yes, elevating the dog house off the ground is beneficial as it prevents moisture from seeping in and keeps the interior dry. Use bricks, wooden pallets, or a raised platform to lift the dog house a few inches above ground level.
- Dogs Pooping Blood: A 2026 Guide for Concerned Pet Parents - February 23, 2026
- How to Celebrate a Dog’s First Birthday on a Budget: 2026 Guide - February 18, 2026
- Best Shampoo for Sensitive Skin Dog Grooming: 2026 Guide - February 12, 2026


GIPHY App Key not set. Please check settings