In this comprehensive guide, we are diving deep into the world of DIY snuffle mat patterns.
You will learn exactly why scent work is vital for animal welfare, the specific materials that are safe for your pets, and a variety of construction methods ranging from “no-sew” basics to advanced fabric puzzles.
We will also cover essential safety tips and maintenance advice to ensure your creation lasts through years of enthusiastic sniffing.
By the time you finish reading, you will have all the inspiration and technical know-how needed to create a bespoke enrichment masterpiece that keeps your pet entertained, calm, and mentally sharp.
Why Your Pet Needs a Snuffle Mat
Before we get into the literal “fabric” of the project, it is important to understand why we are doing this. For dogs, sniffing is how they process the world; it is as essential as seeing is for humans. Cats, too, are natural hunters who thrive when they have to “work” for their food rather than just eating from a static bowl. The Science of Sniffing
When a dog or cat engages in scent work, it triggers the release of dopamine in their brain. This isn’t just “fun”—it is a form of mental exercise that can be more exhausting than a long walk. Ten minutes of snuffling is often equated to an hour of physical exertion. This makes DIY snuffle mat patterns an incredible tool for:
- Reducing Anxiety: The repetitive motion of sniffing and searching is naturally soothing.
- Slowing Down Fast Eaters: If your pet “inhales” their food, a mat forces them to take small, measured bites.
- Senior Pet Care: For older animals with limited mobility, scent work provides vital engagement without straining their joints.

Essential Materials for Your DIY Projects
To get started, you don’t need a professional workshop. Most of these items can be found at a local craft store or even repurposed from things you have at home.
- Anti-Fatigue Rubber Mats: These serve as the sturdy base. Look for the kind with holes (often used in kitchens or workshops).
- Fleece Fabric: This is the gold standard for DIY snuffle mat patterns. Fleece doesn’t fray when cut, it’s soft on sensitive noses, and it’s machine washable.
- Fabric Scissors or a Rotary Cutter: Sharp tools are essential for cutting through thick fleece.
- A Ruler or Measuring Tape: Consistency in your strip sizes makes for a much neater finished product.
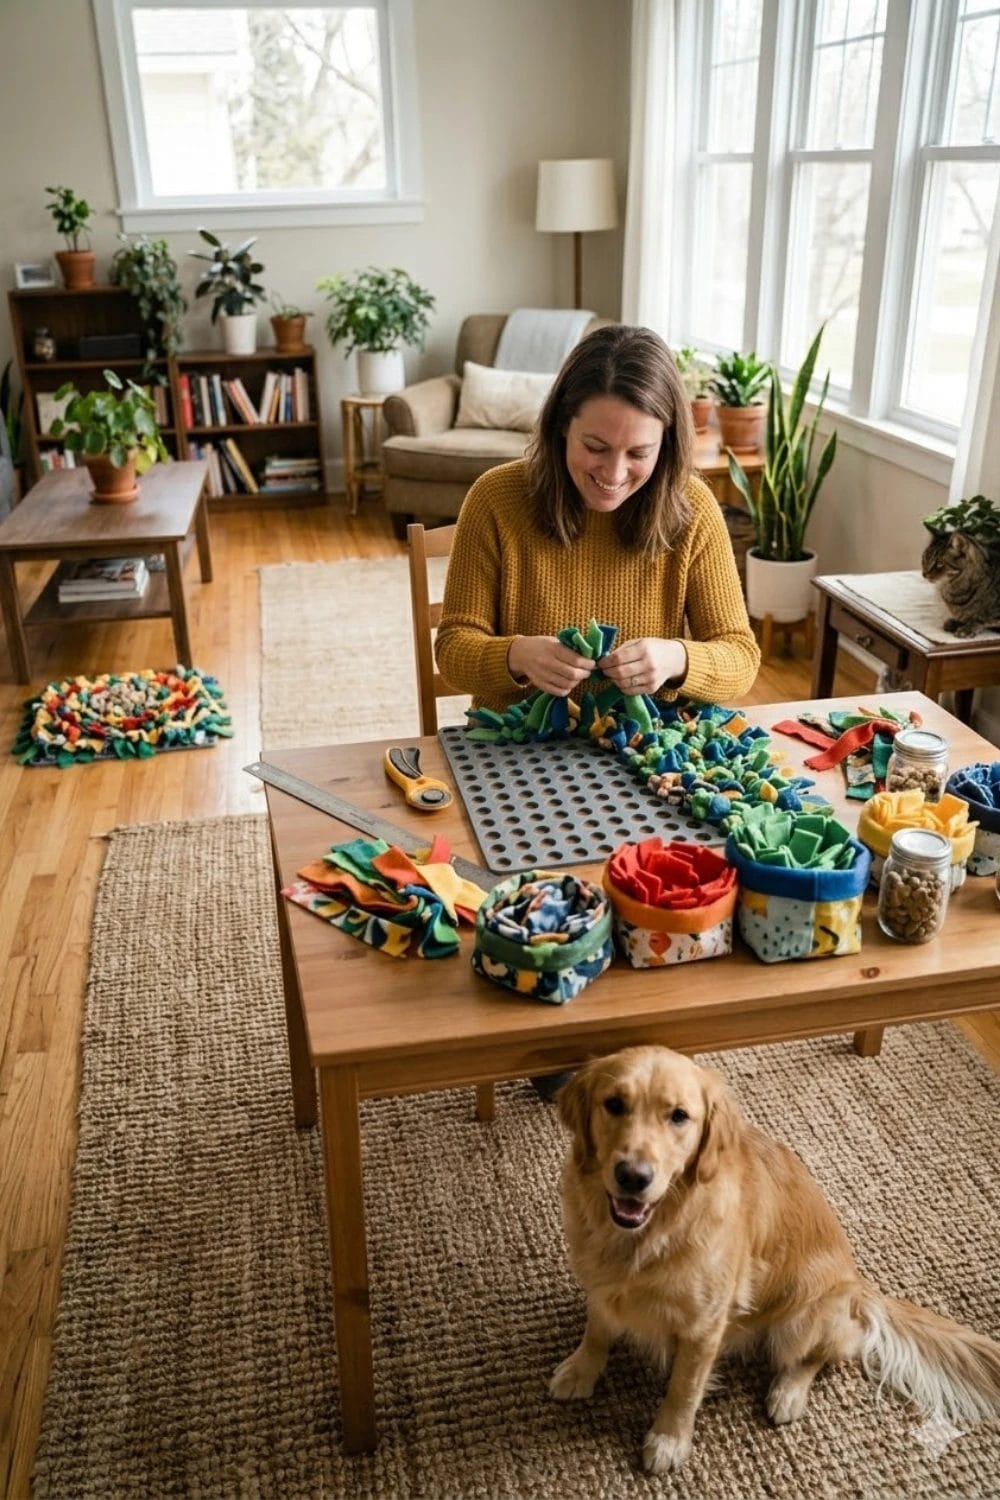
Pattern 1: The Classic Tied Fleece Grid (No-Sew)
This is the most popular entry point for beginners. It requires zero sewing skills and results in a dense, lush mat that hides treats exceptionally well.
Step 1: Preparing Your Base
Start with a rubber sink mat or a heavy-duty rubber floor mat with holes. A standard size for a medium dog is usually 12″ x 12″, while a cat might prefer a smaller 8″ x 8″ version.
Step 2: Cutting the Strips
You will need a lot of fleece. For a standard mat, plan on cutting approximately 200 to 300 strips.
- Length: 6 to 8 inches.
- Width: 1 to 1.5 inches. Pro Tip: Use multiple colors to create a vibrant pattern or to help you keep track of which holes you have already filled.
Step 3: The Tying Process
Thread one end of a fleece strip through a hole and the other end through the adjacent hole. Tie a simple, tight double knot on the top side.
- The Horizontal Pass: Fill all the horizontal gaps first.
- The Vertical Pass: Go back and tie strips through the vertical gaps.
- The Diagonal Pass (Optional): If you want an ultra-dense mat, add a third layer diagonally.
Pattern 2: The Upcycled T-Shirt Looped Design
If you have a pile of old cotton T-shirts, this is one of the most eco-friendly DIY snuffle mat patterns you can try. While cotton is thinner than fleece, it provides a different tactile experience that many cats find intriguing.
Why Use Cotton?
Cotton holds scents differently than synthetic fibers. For cats, you can even “rub” the mat with catnip to double the excitement.
- Cut the T-shirts into continuous loops: Cut across the body of the shirt to create large “yarn” rings.
- Lark’s Head Knot: Instead of a standard knot, use a “Lark’s Head” (looping the fabric through itself) to attach the strips to a mesh base. This creates a “looped” texture rather than a “shaggy” one.
- Vary the Heights: Leave some loops long and cut others short to create a varied “terrain” for your pet to explore.
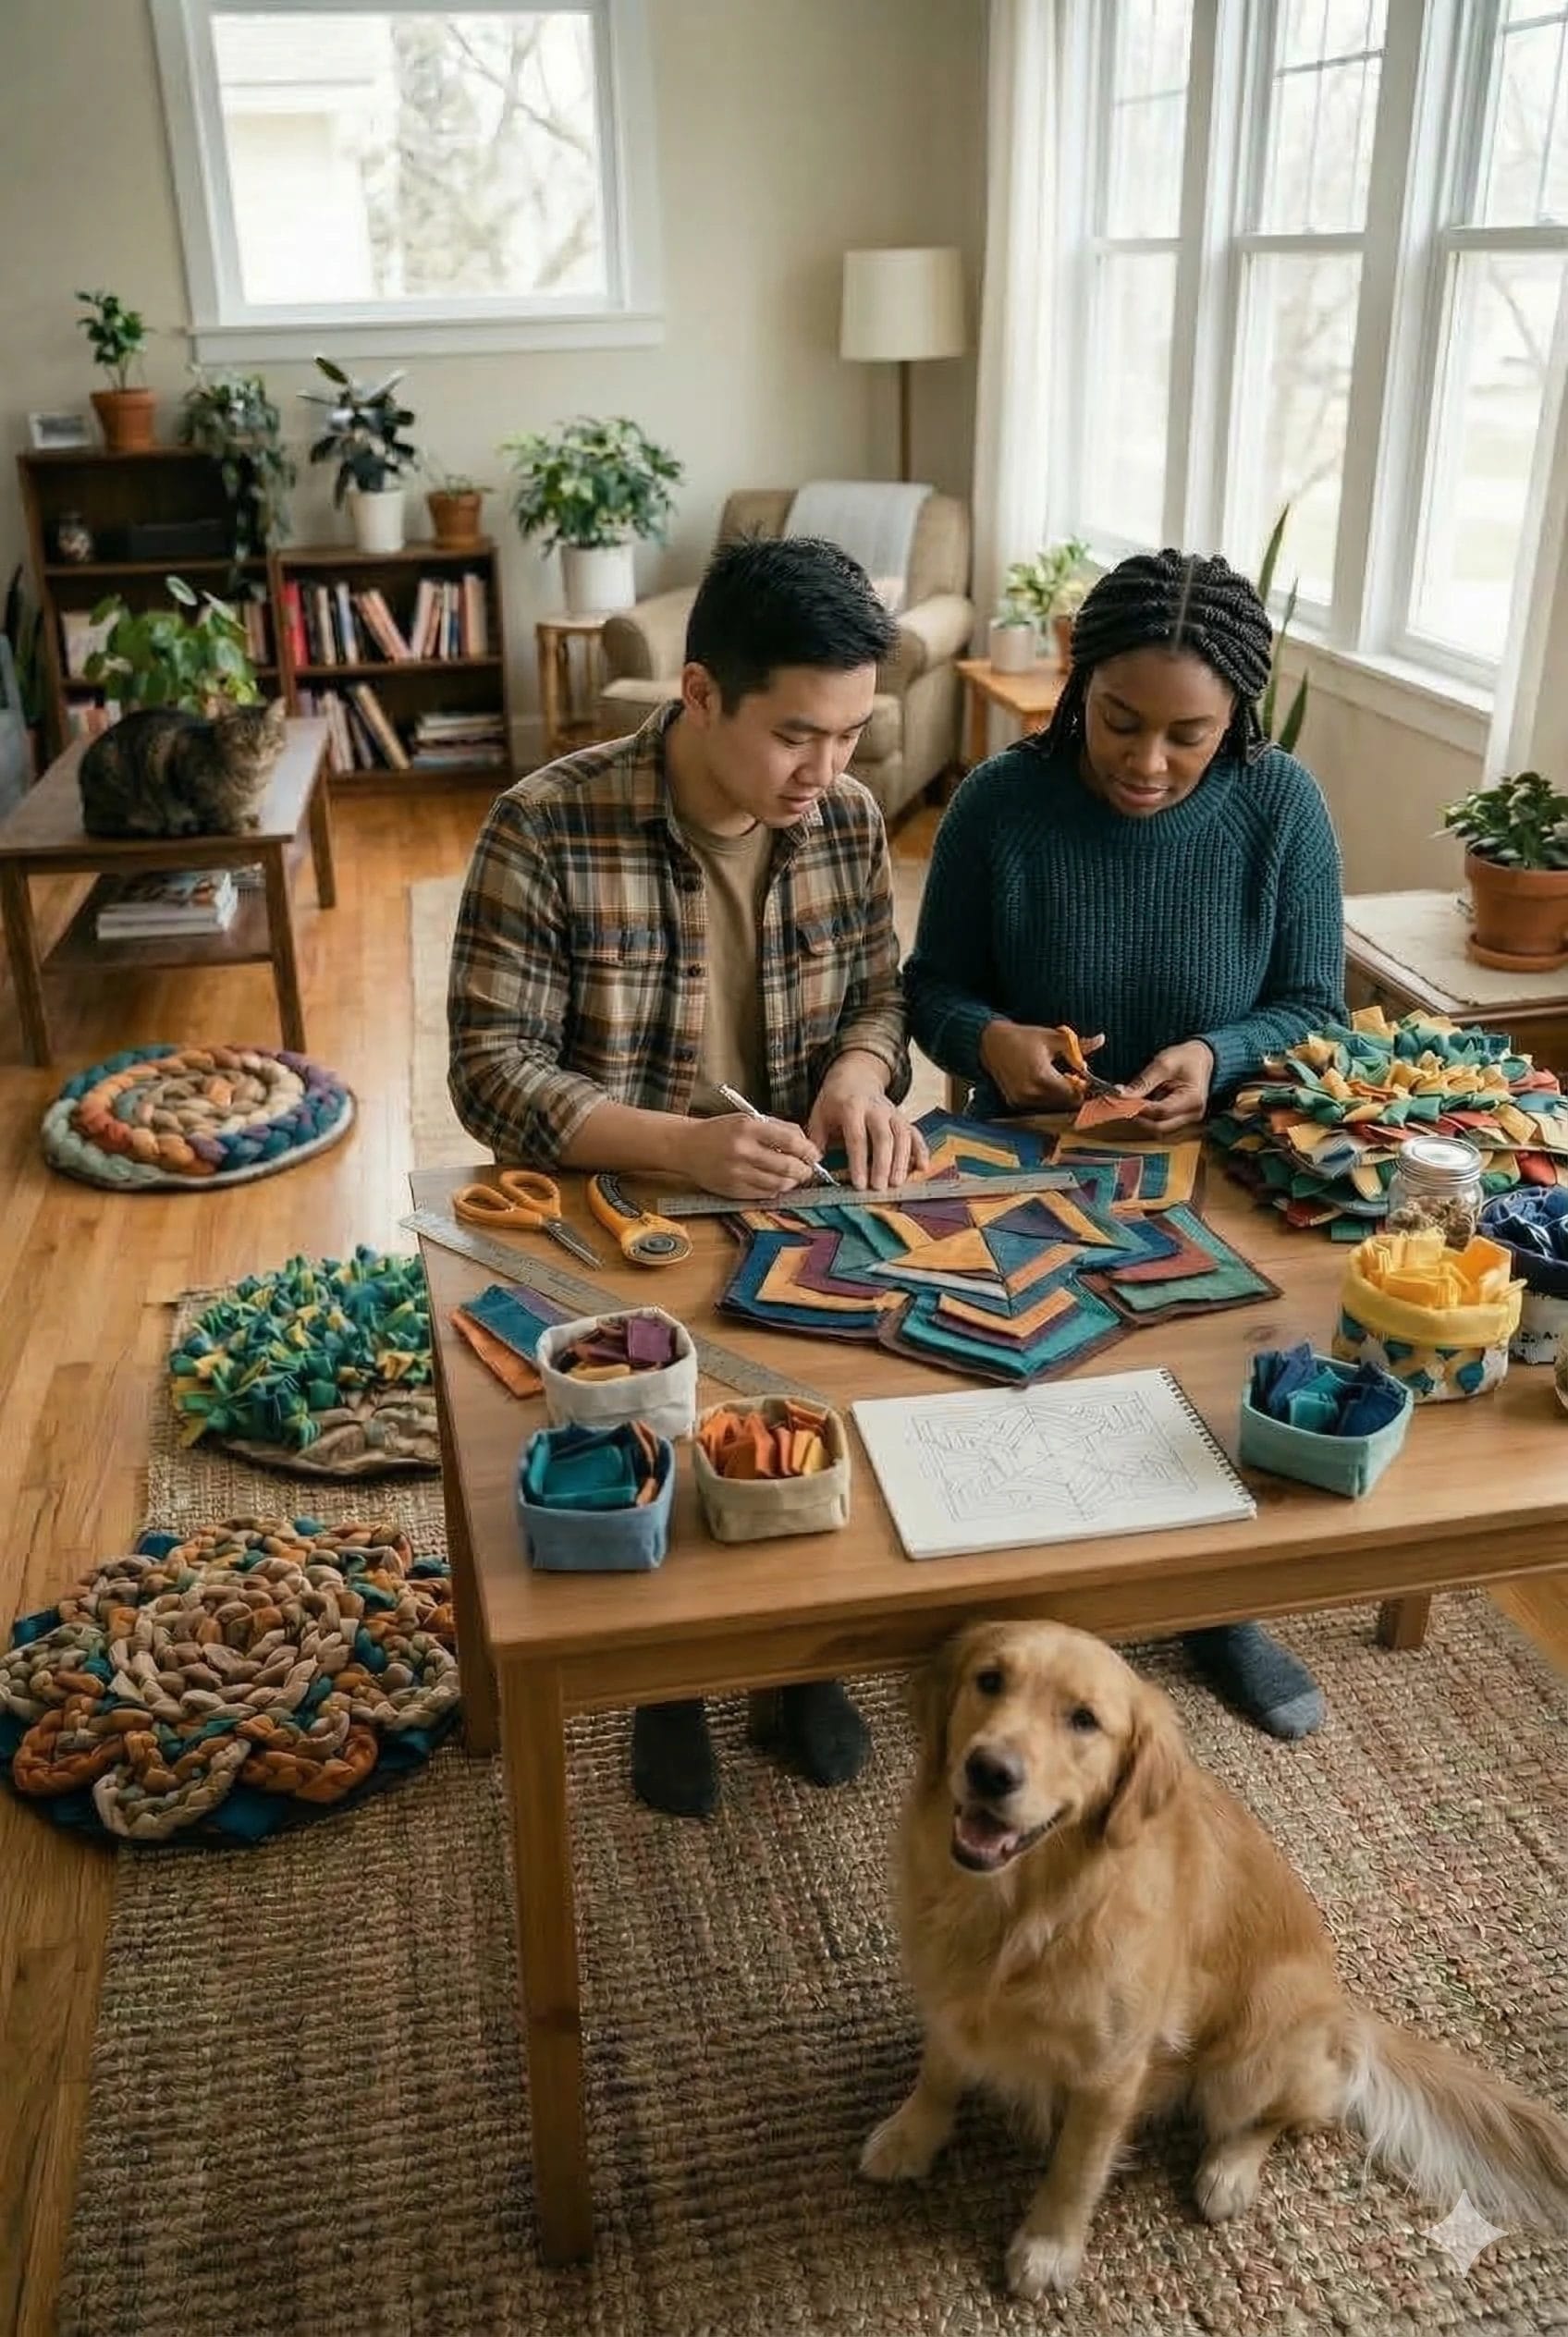
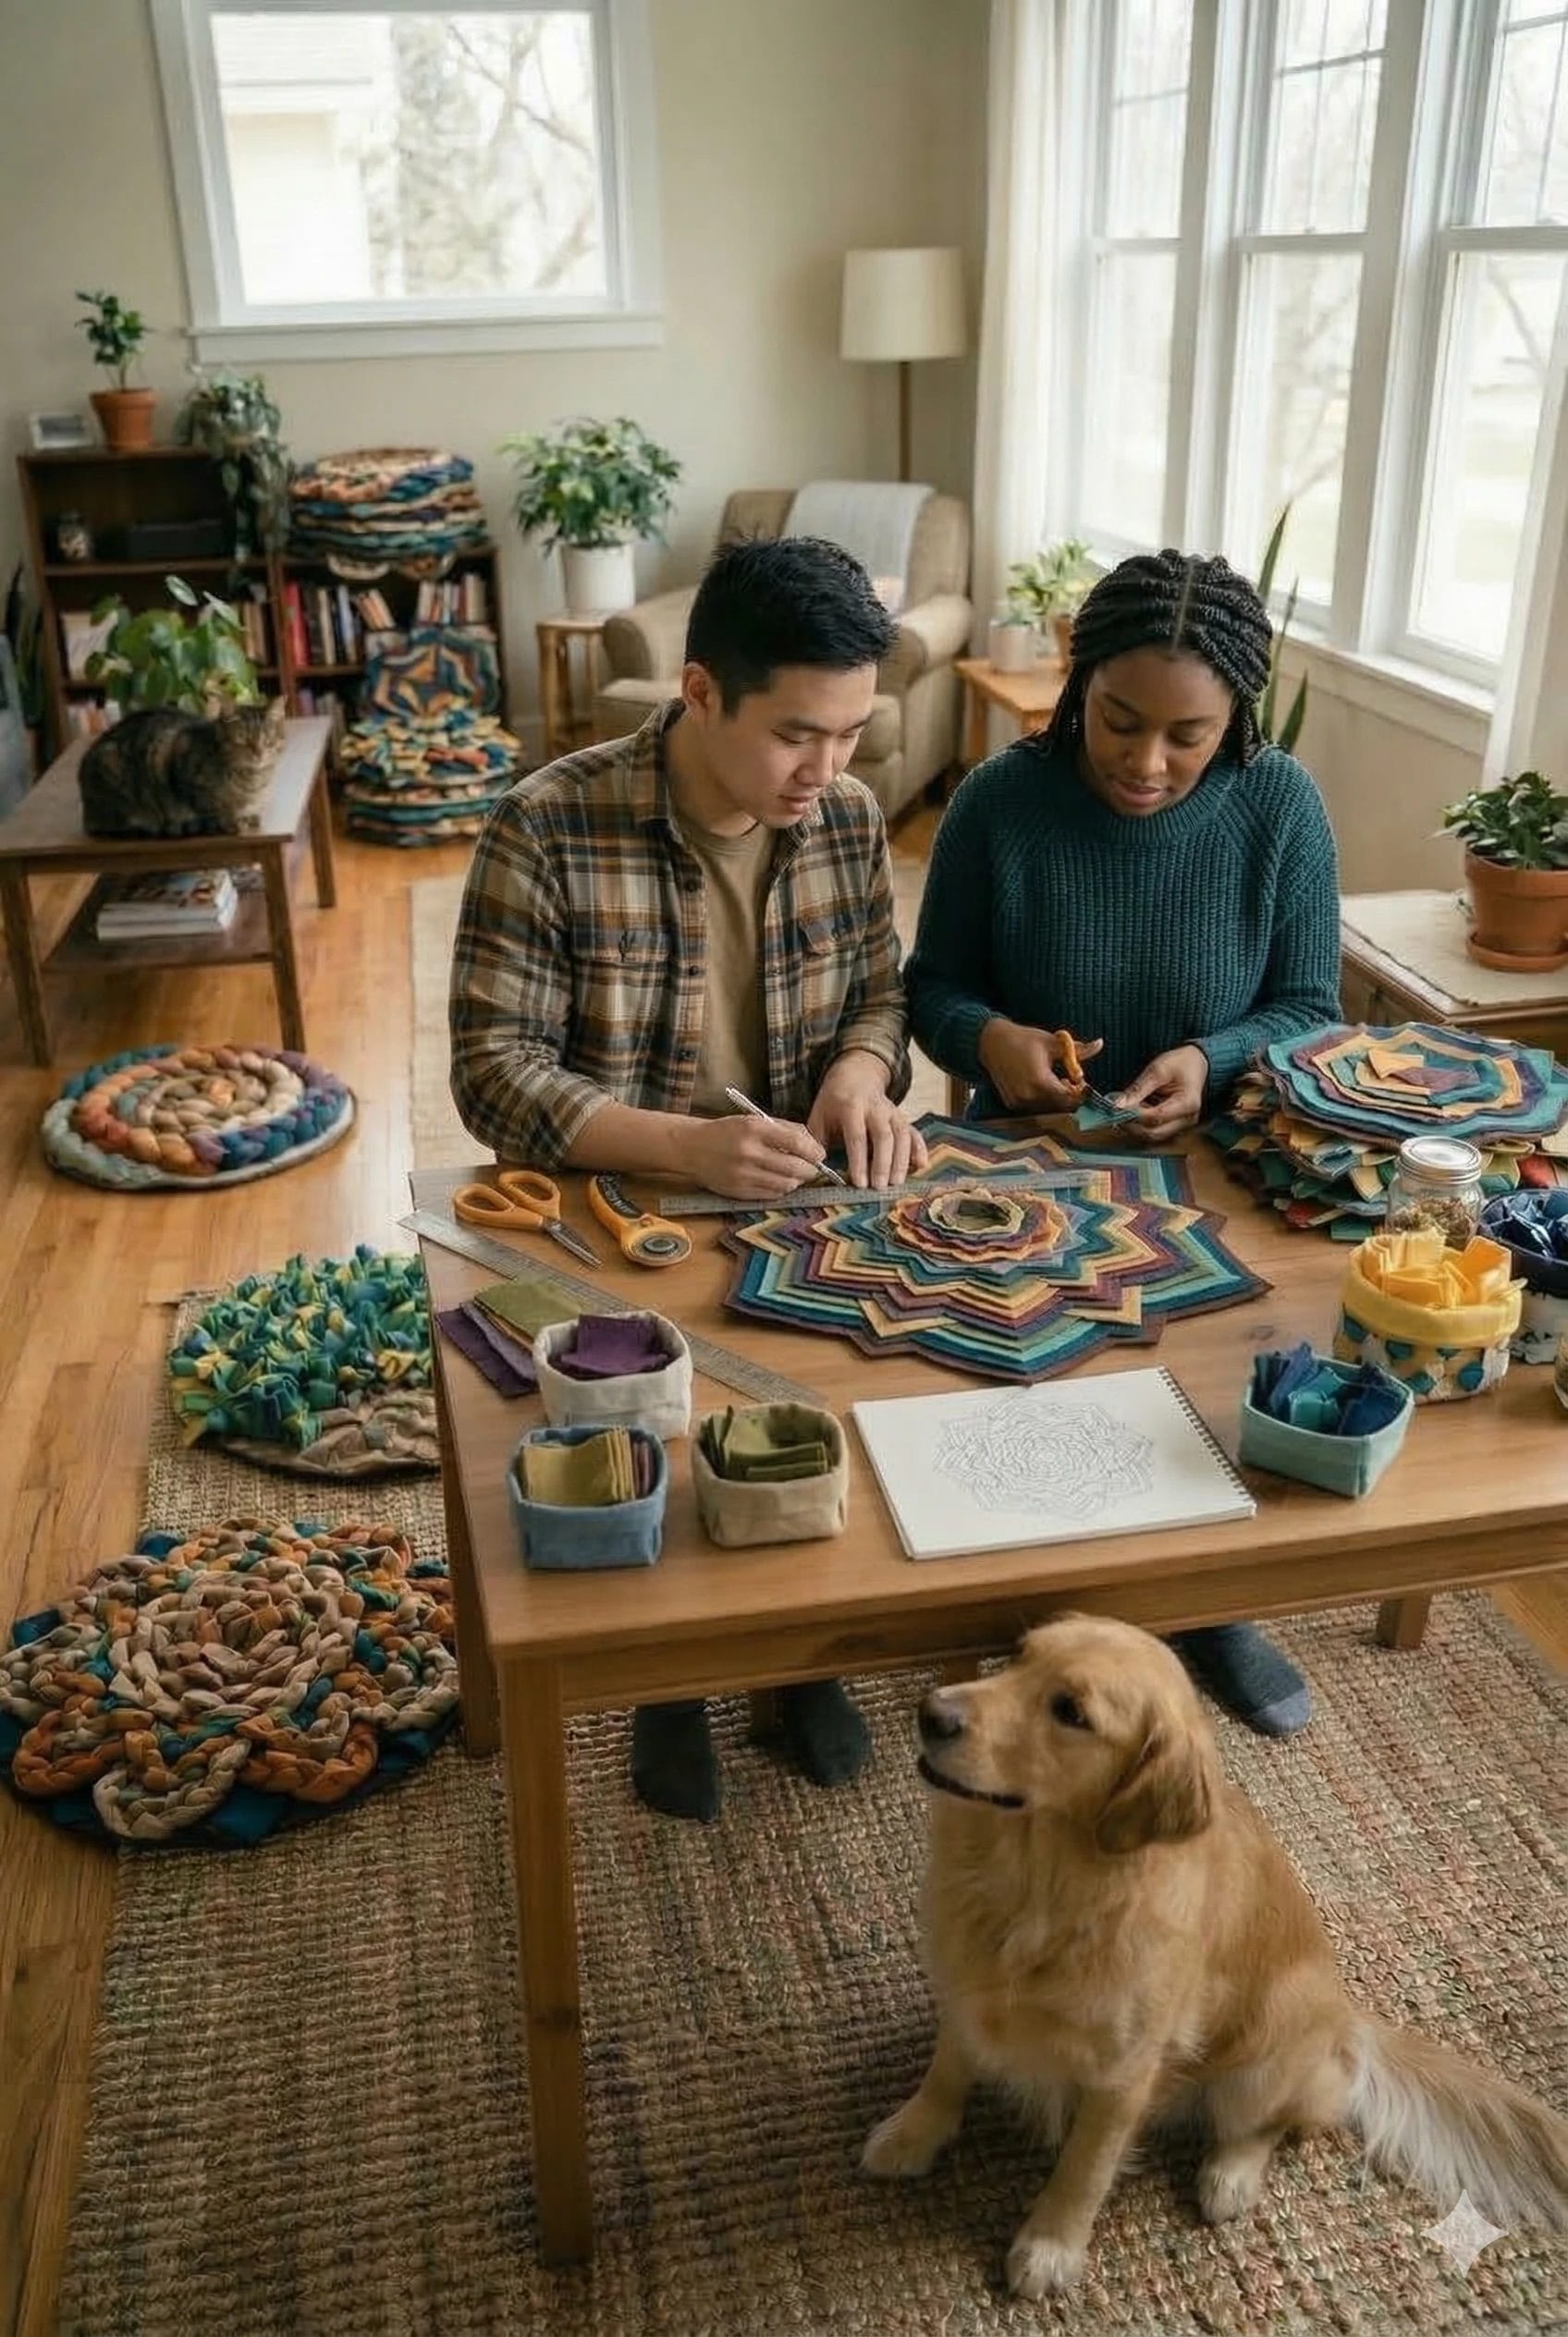
Pattern 3: The “Garden” Mat for Advanced Snufflers
Once your pet has mastered the basic grid, it’s time to level up. This pattern involves creating 3D shapes on top of a flat fabric base. This is one of the more complex DIY snuffle mat patterns, usually requiring a sewing machine or strong fabric glue.
Creating Fabric “Flowers”
- The Rosette: Roll a long strip of fleece into a spiral and stitch the bottom to the mat. Treats can be tucked deep into the “petals.”
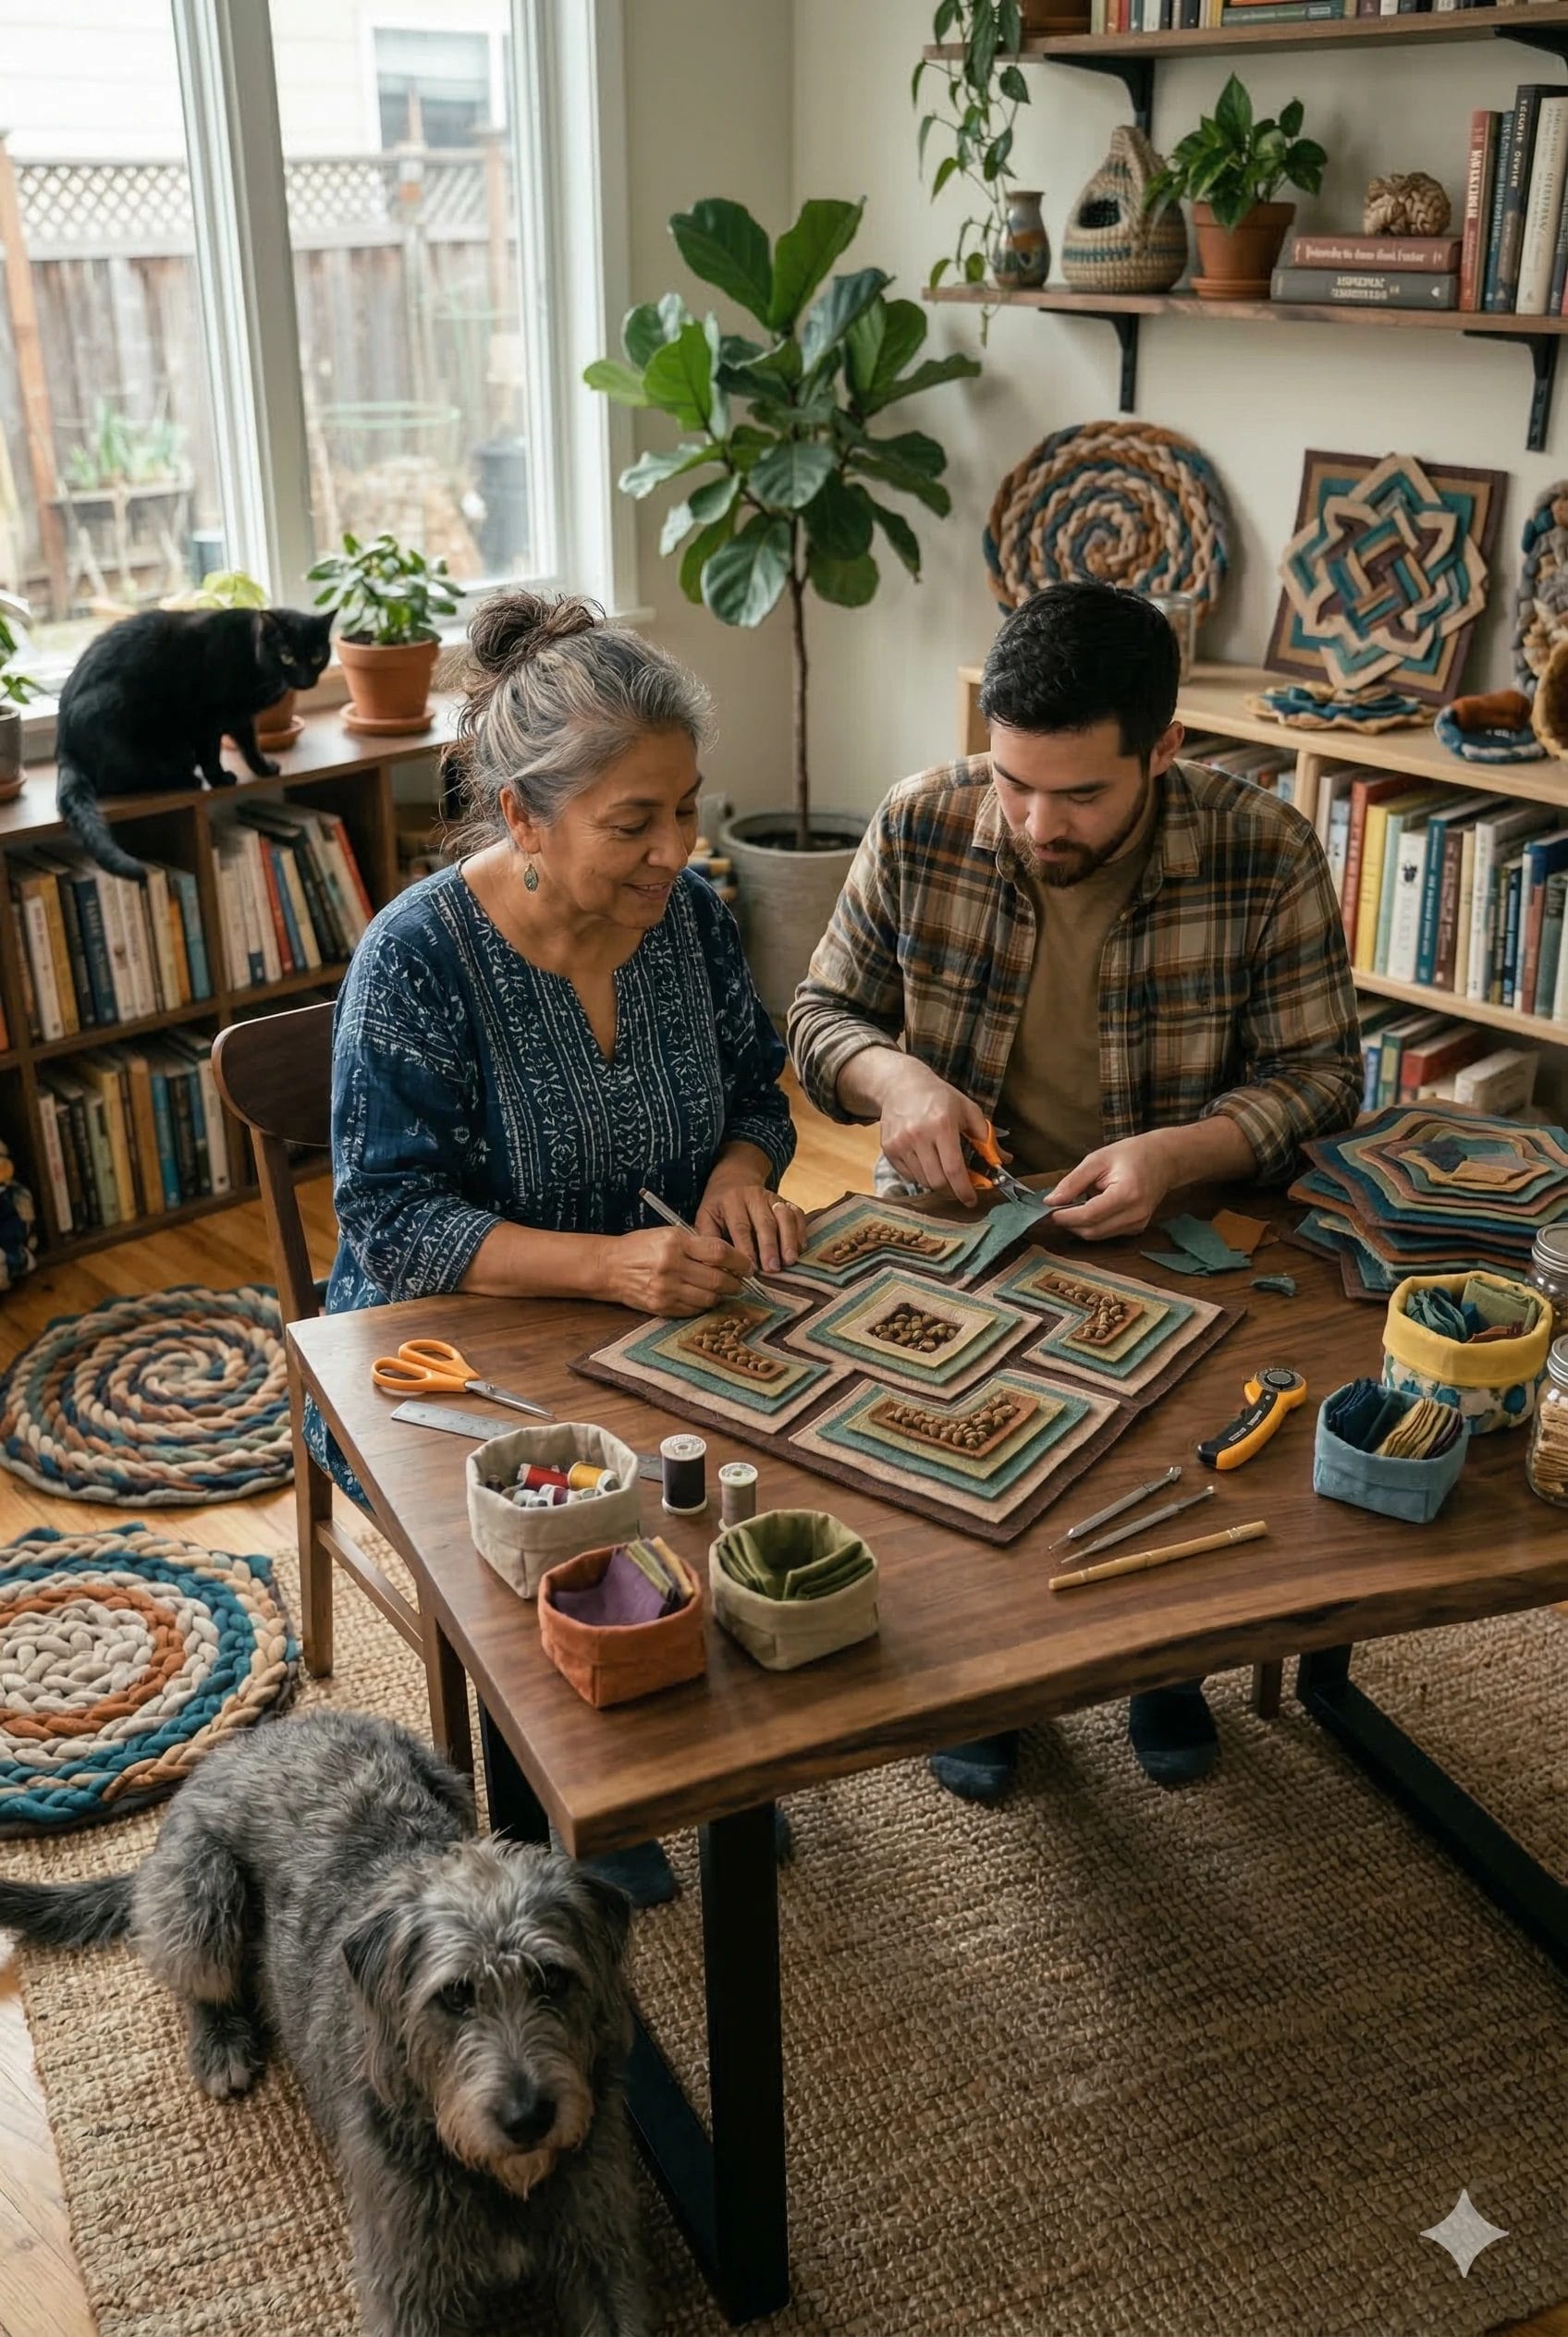
- The Grass Patch: Sew dozens of thin, upright strips very close together in one corner of the mat to simulate long grass.
- The Pocket Forest: Sew small squares of fabric onto the base on three sides, creating “pockets” where larger treats can be hidden.
Tailoring the Experience: Dogs vs. Cats
While the mechanics are similar, dogs and cats interact with these puzzles differently. Your DIY snuffle mat patterns should reflect their specific hunting styles.
For the Canine Explorer
Dogs are “shovels.” They use their noses and paws to push fabric aside.
- Density is Key: Use thicker fleece and more strips to withstand the weight of a dog’s snout.
- Weight the Base: Dogs are prone to picking up the mat and shaking it to get the treats out. Using a heavy rubber base prevents “cheating.”
For the Feline Hunter
Cats are “tweezers.” They use their paws to delicately hook items out of tight spaces.
- Incorporate Texture: Add bits of felt, silk, or even crinkle paper between the fleece strips to stimulate their senses.
- Smaller Gaps: Cats have smaller noses, so the “hiding spots” can be tighter and more intricate.
Safety First: Guidelines for Responsible Play
While DIY snuffle mat patterns are generally safe, they are not indestructible. Supervision is the most important rule of enrichment.
Monitoring for “Chewers”
If your dog is a “power chewer” or likes to eat fabric, the snuffle mat should only be out during active play sessions. Once the treats are gone, put the mat away. This prevents the dog from deciding that the fleece itself is the next snack.
Cleaning and Hygiene
Because these mats hold food, they can get “funky” quite quickly.
- Machine Washable: If you used fleece and a rubber base, you can usually toss the whole thing in the washing machine on a cold, gentle cycle.
- Air Dry Only: High heat can melt the rubber base or “pill” the fleece. Always air dry your mat to keep it fresh.
Maximizing the Value of Your DIY Snuffle Mat Patterns
To keep your pet from getting bored, you need to vary the “difficulty” of the puzzle.
- The “Kibble Scatter”: Start by just dropping food on top of the fleece.
- The “Deep Bury”: As they get better, push the treats all the way to the bottom of the knots.
- The “Frozen Challenge”: For an extra challenge on a hot day, you can slightly dampen the fleece and freeze the mat for 20 minutes before hide-and-seek time.
Troubleshooting Common Issues
Sometimes, a DIY project doesn’t go exactly as planned. If your mat feels too thin, don’t start over! Simply cut more strips and tie them into the existing knots to increase the density.
If the mat is sliding around on your hardwood floors, you can glue “non-slip” shelf liner to the bottom of the rubber base.
The beauty of DIY snuffle mat patterns is their flexibility. There is no “perfect” way to make one, as long as it is safe and engaging for your specific animal. You are creating a tool for communication and joy between you and your pet.
Conclusion: Crafting Connection
Building a snuffle mat is more than just a weekend craft project; it is an investment in your pet’s mental health.
By utilizing these DIY snuffle mat patterns, you provide an outlet for natural behaviors that often go suppressed in a domestic environment.
You’ve learned how to select the best materials, how to execute different tying techniques, and how to tailor the experience for both dogs and cats.
The best part? Your pet doesn’t care if your knots are perfectly symmetrical or if the colors clash. They only care about the time you’ve spent making something just for them. So, grab some fleece, find a comfortable spot on the couch, and start tying!
Are you ready to see your pet’s nose in action? Gather your materials today and tag us in a photo of your finished masterpiece! If you found this guide helpful, share it with a fellow pet lover who wants to spice up their furry friend’s routine.
Frequently Asked Questions
The gold standard for these projects is anti-pill polar fleece. It is the preferred choice because it does not fray when cut into strips, meaning you won’t have loose threads that your pet could accidentally swallow.
To keep things hygienic, you should wash the mat once a week if you use it daily for dry kibble. If you use high-value treats that are slightly moist or oily, you may need to wash it more frequently.
Absolutely! In fact, many veterinarians and animal behaviorists recommend using DIY snuffle mat patterns for mealtime, especially for “scarfers” who eat too quickly.
While snuffle mats are great for feline enrichment, you should always supervise your cat during use. If your cat has a history of pica (eating non-food items), ensure the fleece strips are tied extremely tight so they cannot be pulled off and swallowed.
Once your pet masters the basic “kibble scatter”, you can increase the difficulty by tying the fleece strips closer together to create a denser forest.

- Can Dogs Eat Blueberries? The Answer Will Surprise You - July 10, 2026
- Can Dogs Eat Strawberries? What Every Dog Owner Needs to Know - July 2, 2026
- Best High Protein Wet Cat Food for Weight Gain: Complete Guide - June 26, 2026
GIPHY App Key not set. Please check settings