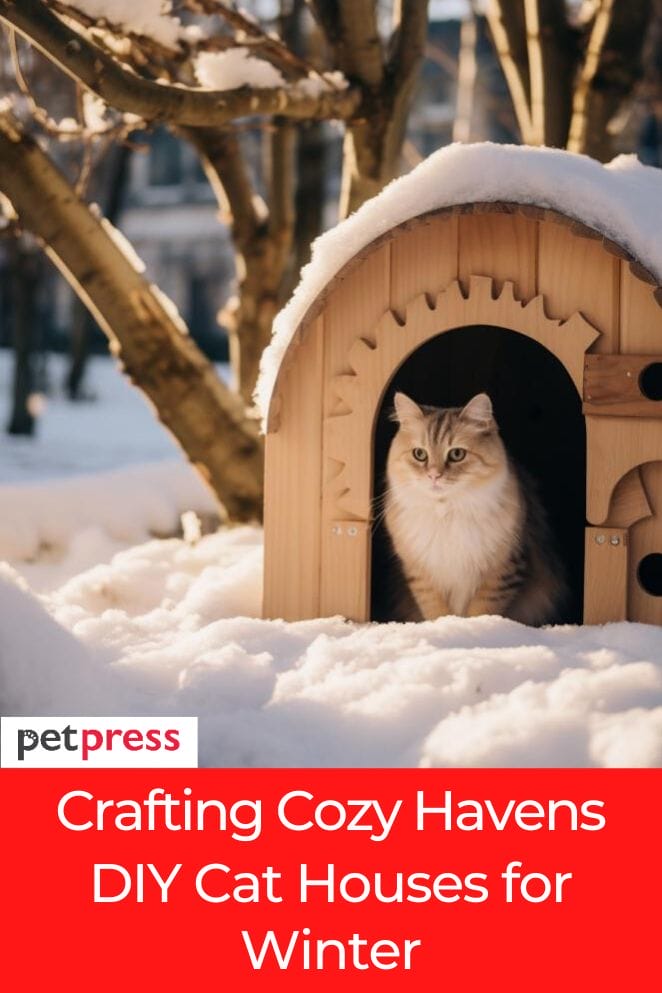
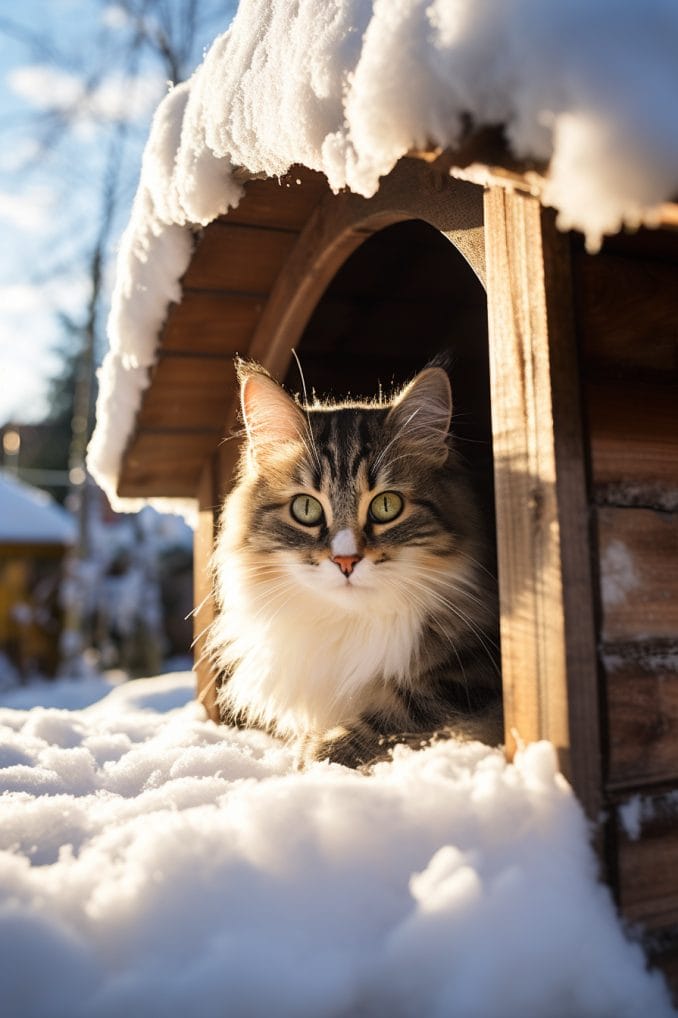
As winter descends upon us, it becomes imperative to prioritize the well-being of our feline companions by ensuring they stay warm and comfortable.
Despite their furry coats, cats can be susceptible to the cold, making it crucial to create a cozy and protective environment for them during the colder months.
In this do-it-yourself (DIY) guide, we will explore cost-effective and imaginative ways to construct a cat house, offering a snug retreat for your beloved pets.
From insulation to design considerations, this guide aims to provide practical and innovative solutions to keep your feline friends warm and content during winter.
DIY Cat House Ideas for Winter
Cardboard castle
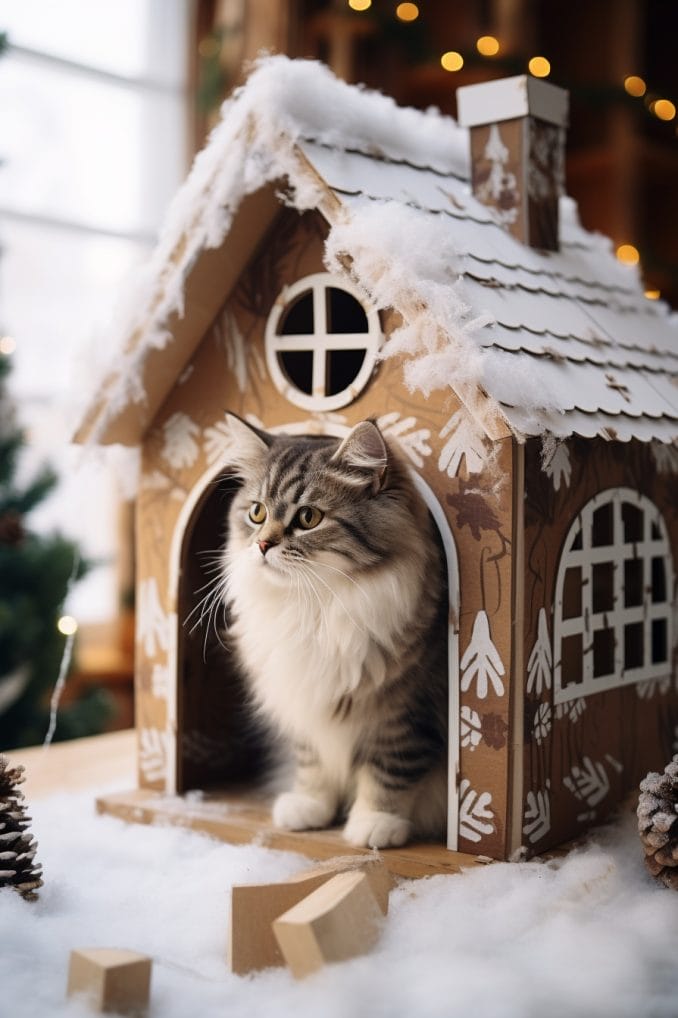
Constructing a cardboard castle for your feline friend is not only a wallet-friendly option but also a creative way to ensure your cat stays warm and cozy during the winter months.
This DIY project requires minimal materials and is easy to execute, making it a perfect solution for pet owners looking to provide a comfortable retreat for their cats.
- Related post: Perfect DIY Cat Tower
- Related post: A Step-by-Step Guide to DIY Cat Hammocks
Materials needed
- Cardboard boxes (various sizes depending on your design)
- Box cutter or scissors
- Insulation material (old blankets, foam, or even bubble wrap)
- Non-toxic glue or tape
- Marker for outlining
Step-by-step guide
- Choose your boxes: Select sturdy cardboard boxes of various sizes. The sizes will determine the layout and complexity of your cardboard castle.
- Plan the design: Consider the layout of your cardboard castle. Think about where the entrance will be and how the different boxes will connect to form a cozy space for your cat. Sketch a basic design to guide you during the construction process.
- Cutting and shaping: Use a box cutter or scissors to cut out entrances and windows in the boxes. Be mindful of the size to ensure your cat can comfortably enter and exit the cardboard castle. Consider creating multiple levels or compartments for added interest.
- Insulation layers: Line the interior of the boxes with insulation material. Old blankets, foam, or bubble wrap work well to provide warmth and comfort. Ensure that the insulation doesn’t obstruct the entrance or compromise the structural integrity of the castle.
- Assembling the castle: Connect the boxes according to your design using non-toxic glue or tape. Create a secure and stable structure that your cat can explore and enjoy. Make sure the castle is well-balanced to prevent any accidental collapses.
- Adding personal touches: Enhance the cardboard castle with additional features such as scratching surfaces, hanging toys, or even a soft cushion inside. Cats love the tactile sensation of cardboard, so leaving some surfaces exposed can be an added bonus.
- Placement: Once your cardboard castle is complete, choose a strategic location for it within your home. Cats appreciate a quiet and comfortable spot, so consider placing it in a secluded yet accessible area.
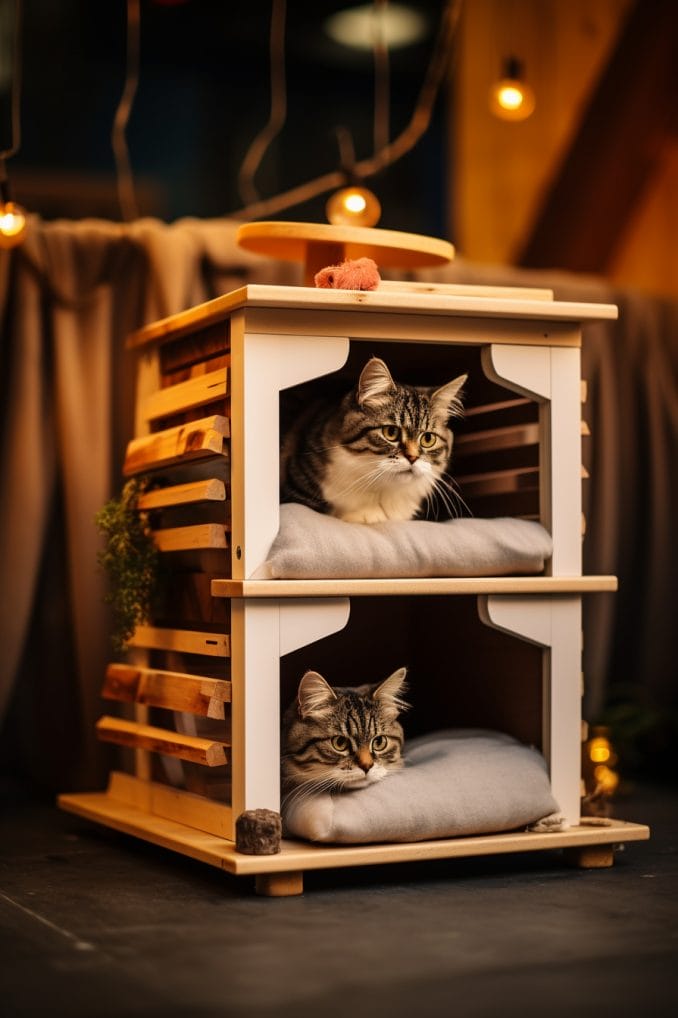
Pallet palace
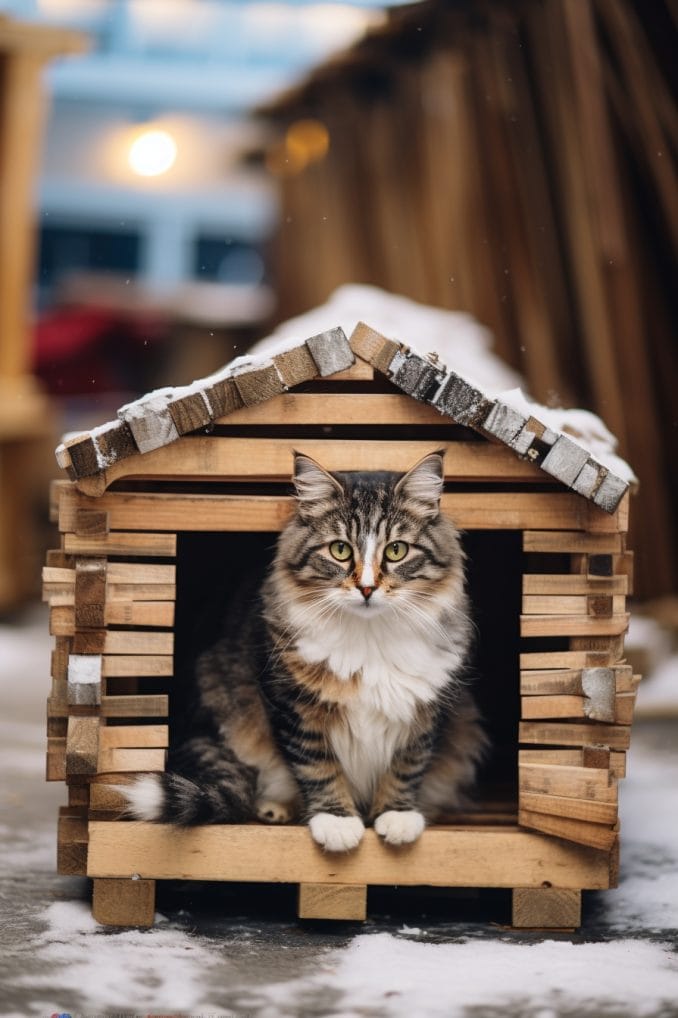
Embarking on the construction of a “Pallet Palace” for your feline companion is a more ambitious but rewarding endeavor.
This DIY project involves repurposing wooden pallets to create a robust and aesthetically pleasing shelter, offering both durability and a touch of rustic charm to your outdoor space.
Materials needed
- Wooden pallets (quantity depends on your design)
- Saw or jigsaw
- Sandpaper
- Non-toxic paint or sealant
- Insulation material (such as foam or straw)
- Nails and a hammer or a power drill
- Outdoor-friendly adhesive or glue
- Old carpet or blankets for additional insulation
Step-by-step guide
- Selecting pallets: Choose sturdy and clean wooden pallets for the construction. Ensure they are free from harmful chemicals, as the safety of your cat is a top priority.
- Planning the design: Sketch out a design for your Pallet Palace, considering the size and shape of the shelter. Think about where the entrance will be, how ventilation can be incorporated, and any additional features you want to include.
- Disassembling pallets: Carefully disassemble the pallets using a saw or jigsaw. This step allows you to repurpose the individual pieces for constructing the shelter.
- Sanding and sealing: Smooth out rough edges and surfaces of the pallet pieces using sandpaper. Apply a non-toxic paint or sealant to protect the wood from the elements and ensure the longevity of your Pallet Palace.
- Constructing the frame: Assemble the pallet pieces according to your design, using nails and a hammer or a power drill for a more secure structure. Create a frame that accommodates your cat comfortably.
- Adding insulation: Line the interior of the Pallet Palace with insulation material. This can include foam panels, straws, or even old blankets. Ensure that the insulation doesn’t interfere with the entrance or compromise the structural integrity of the shelter.
- Ventilation considerations: Plan for adequate ventilation to prevent the buildup of moisture inside the shelter. You can incorporate small openings or vents to maintain a comfortable and dry environment.
- Finishing touches: Enhance the Pallet Palace with any additional features you planned, such as a raised platform, scratching surfaces, or a cozy nook. Consider adding an old carpet or blankets for extra warmth and comfort.
- Outdoor placement: Once your Pallet Palace is complete, strategically place it in your outdoor space. Ensure it is sheltered from harsh weather conditions and provides a secure and inviting spot for your cat to relax.
Straw sanctuary
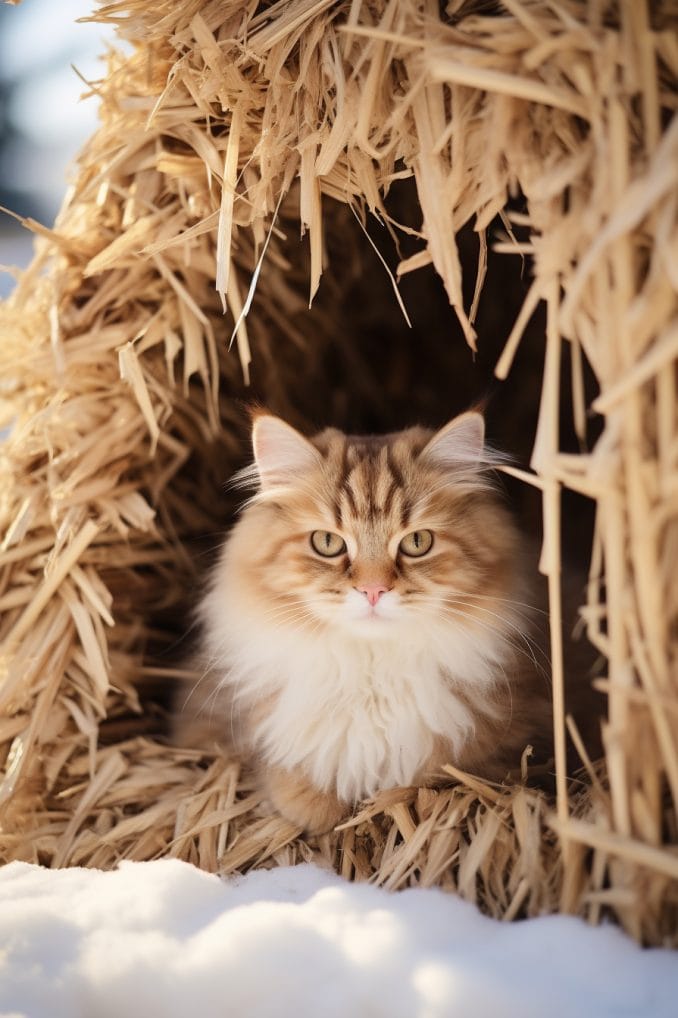
Building a “Straw Sanctuary” for your cat is a simple yet effective way to harness the insulating properties of straw for a warm and secure winter retreat.
This DIY project utilizes the natural benefits of straw, providing your feline friend with a snug bed inside their shelter.
It’s not only a cost-effective solution but also easily maintainable, ensuring your cat’s comfort without compromising safety.
Materials needed
- Wooden or cardboard structure (pre-built or created using previous DIY methods)
- High-quality straw
- Old blankets or towels (optional for added comfort)
- Scissors or a utility knife
- Non-toxic adhesive or ties
Step-by-step guide
- Prepare the shelter structure: Start with a suitable shelter structure, whether it’s a cardboard box, a wooden pallet creation, or any other design from previous DIY methods. Ensure it provides a comfortable and secure space for your cat.
- Clean and line the interior: Clean the interior of the shelter to remove any debris or rough surfaces. Line the inside with old blankets or towels for added comfort if desired. This step enhances the overall coziness of the sanctuary.
- Layering with straw: Begin layering the interior with high-quality straw. Straw serves as an excellent insulator, providing natural warmth for your cat. Create a thick and comfortable bed by piling straw in the designated area of the shelter.
- Create a straw bed: Arrange the straw to form a soft and inviting bed for your cat. Ensure it is evenly distributed and covers the floor of the shelter, creating a warm and cozy space for your feline friend to rest.
- Consider elevated platforms: If your shelter allows, consider creating an elevated platform within the structure using additional straws. Cats often enjoy having a raised spot to relax, and this also helps to prevent contact with cold surfaces.
- Secure the straw: To prevent the straw from shifting too much, especially if your cat is an avid explorer, secure it in place using non-toxic adhesive or ties. This ensures a stable and comfortable bedding for your cat.
- Regular maintenance: Remember to change the straw regularly to maintain cleanliness and freshness. This step is crucial for your cat’s well-being and ensures that the insulation properties of the straw remain effective.
- Strategic placement: Place the Straw Sanctuary in a strategic location, considering your cat’s preferences. It should be sheltered from harsh weather conditions while remaining easily accessible for your feline companion.
Recycled tire retreat
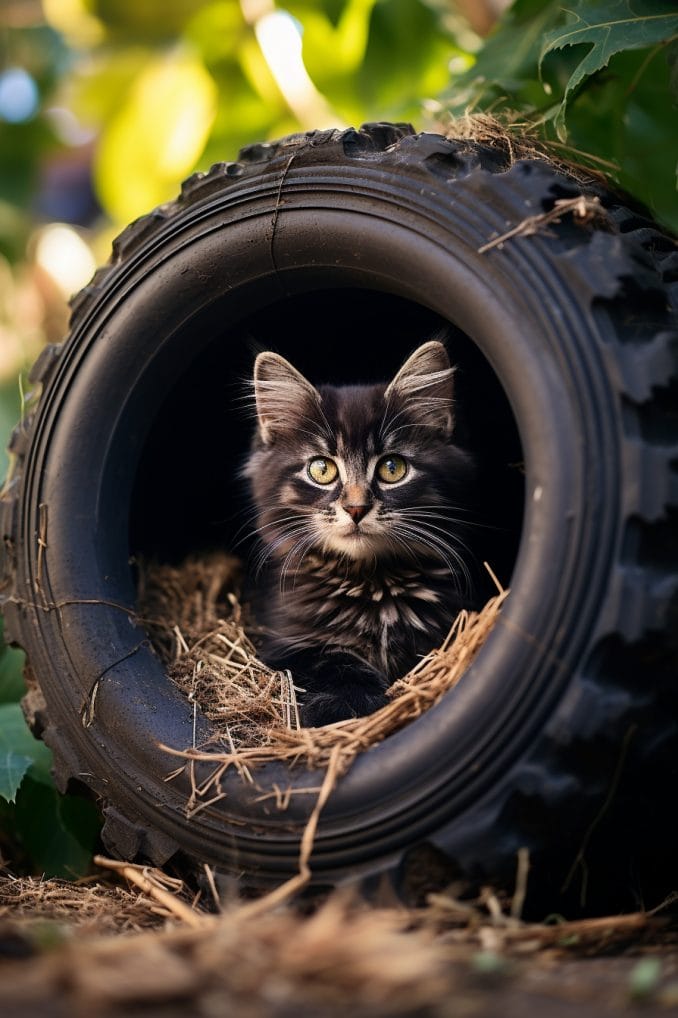
Transforming old tires into a “Recycled Tire Retreat” is a unique and resourceful way to provide your cat with a cozy and insulated shelter.
This eco-friendly DIY project repurposes discarded tires, stacking them creatively to form a comfortable space filled with warm bedding.
The circular shape of the tires naturally lends itself to creating a snug environment, while the rubber material offers insulation against the cold.
Materials needed
- Old tires (number depends on your design)
- High-quality, warm bedding (blankets, towels, or pet-specific bedding)
- Plywood or a sturdy base (optional)
- Non-toxic adhesive or ties
- Outdoor-friendly paint (optional for aesthetic purposes)
Step-by-step guide
- Gather and clean old tires: Collect old tires in good condition. Ensure they are free from sharp objects or debris that could pose a safety hazard to your cat. Clean the tires thoroughly to remove any dirt or residue.
- Design the tire configuration: Plan how you want to stack the tires to create the retreat. Consider the desired height and arrangement, keeping in mind that the circular shape of the tires will naturally provide a cozy interior space.
- Create a stable base (Optional): If you prefer a raised structure, consider placing the tires on a sturdy base made of plywood or another suitable material. This not only adds stability but also elevates the retreat, providing an extra layer of insulation.
- Stacking the tires: Stack the tires according to your design, securing them together using non-toxic adhesive or ties. Ensure a stable and secure structure, especially if you’re creating multiple levels. The stacked tires will form the walls of the retreat.
- Preparing the interior: Fill the interior space of the stacked tires with high-quality and warm bedding. Blankets, towels, or specialized pet bedding work well to create a comfortable and inviting space for your cat to rest.
- Consider additional features: Get creative by adding features like a soft cushion, a hanging toy, or scratching surfaces inside the tire retreat. These elements enhance the overall comfort and engagement of your feline friend.
- Outdoor-friendly paint (optional): If you want to enhance the aesthetics of the Recycled Tire Retreat, consider painting the outer surface of the tires with outdoor-friendly paint. This step adds a touch of personalization while also protecting the rubber from the elements.
- Strategic placement: Place the completed Recycled Tire Retreat in a location that provides both shelter from the weather and easy access for your cat. Consider an area with minimal exposure to rain and wind.
Upcycled furniture fortress
Creating an “Upcycled Furniture Fortress” is an innovative and sustainable way to repurpose unused furniture into a luxurious cat haven.
This DIY project not only provides a stylish retreat for your feline friend but also contributes to reducing waste.
By transforming old cabinets or dressers into deluxe cat houses and adding thoughtful touches like blankets, cushions, and even a small heating pad, you can offer your cat the ultimate winter sanctuary.
Materials needed
- Unused furniture (cabinets, dressers, or similar items)
- Blankets, cushions, or pet-specific bedding
- Small heating pad (optional)
- Non-toxic paint or sealant (optional for aesthetic purposes)
- Basic tools (screwdriver, hammer, etc.)
- Adhesive or ties
Step-by-step guide
- Assess and clean the furniture: Begin by thoroughly cleaning the chosen furniture. Inspect its stability and structural integrity. Make any necessary repairs to ensure a secure environment for your cat.
- Design the layout: Plan the layout of the fortress, considering where entrances, exits, and cozy compartments will be located. Take into account your cat’s preferences and behaviors to create an inviting space.
- Modify the furniture: Use basic tools to create entrances and exits for your cat. Consider adding ramps or steps for multi-level furniture. Ensure that modifications are cat-friendly and provide easy access.
- Line the interior with bedding: Line the interior of the furniture with blankets, cushions, or pet-specific bedding. This step adds insulation and creates a comfortable area for your cat to snuggle and rest.
- Optional aesthetic enhancements: If desired, apply non-toxic paint or sealant to the outer surfaces of the furniture. This not only enhances the appearance but also protects the material from environmental factors.
- Integrate a heating pad (Optional): If you live in a colder climate, consider incorporating a small heating pad into the fortress. Ensure that it is pet-safe and positioned securely to provide warmth without posing any risks.
- Secure the structure: Use adhesive or ties to secure the structure. Reinforce any areas that may need additional support, ensuring the fortress is stable and safe for your cat.
- Strategic placement: Place the Upcycled Furniture Fortress in a location that complements your home’s layout. Choose an area with minimal drafts and easy access for your cat, creating a seamless integration into your living space.
- Add enrichment features: Enhance the fortress by incorporating features like scratching surfaces, hanging toys, or elevated platforms. Encourage exploration and play to contribute to your cat’s physical and mental well-being.
Can House Cats Survive Winter?
The inquiry into whether house cats can withstand winter conditions is a common concern among pet owners.
While cats are inherently resilient animals, it’s essential to recognize that severe cold can pose potential risks to their well-being.
Specifically, indoor cats, accustomed to a controlled environment, might lack the natural adaptation to chilly temperatures.
In such cases, providing a warm sanctuary, such as the DIY cat houses discussed earlier, becomes paramount to ensure their comfort and safety.
Conversely, outdoor cats, exposed to varying weather conditions, may naturally develop thicker coats as a means of adaptation.
Despite this, even outdoor cats can benefit significantly from additional shelter during the colder winter months.
Offering a protective refuge, like the DIY cat houses outlined earlier, can play a crucial role in safeguarding them against the harsh elements.
What Do You Put in a Cat Shelter for the Winter?
Creating a comfortable and winter-ready cat shelter involves careful consideration of various elements to ensure your feline friend stays warm and cozy in colder temperatures.
Here’s a detailed guide on what to put in a cat shelter for the winter:
Bedding
Choose soft and insulating materials for the interior, such as blankets, towels, or pet-friendly heating pads.
These items provide a warm and inviting space for your cat to rest.
Ensure the bedding is comfortable and free from any potential hazards or choking risks.
Insulation
Incorporate suitable insulation materials to enhance the warmth inside the shelter.
Straw or hay are excellent choices, as they offer effective insulation without retaining moisture.
Moisture-retaining materials can make the shelter uncomfortably cold, potentially compromising your cat’s well-being.
Raised flooring
Elevate the cat house slightly to prevent direct contact with the cold ground.
This helps minimize heat loss and keeps your feline companion warm.
You can use wooden pallets or any sturdy materials to create a raised platform, ensuring a more comfortable and insulated environment.
Entrance flap
Attach a plastic or vinyl flap at the entrance of the cat shelter.
This serves a dual purpose: it helps keep the warmth inside and prevents the cold from entering.
Additionally, an entrance flap minimizes drafts, creating a snug and protected environment for your cat.
Ensure the flap is secured well, allowing your cat to enter and exit easily.
Ventilation
While insulation is crucial, proper ventilation is equally important.
Ensure there are small openings or vents in the shelter to allow for fresh air circulation.
This prevents the buildup of humidity, which can lead to dampness and discomfort for your cat.
- Related post: The Guide to DIY Cat Enrichment
- Related post: DIY Cat Enclosure for Feline Freedom
Conclusion
As responsible pet owners, it becomes our obligation to ensure that our feline companions have a secure and warm sanctuary during the winter.
These do-it-yourself (DIY) cat house ideas not only prioritize your pet’s comfort but also inject a creative flair into your living space.
It’s crucial to recognize that investing a bit of time and effort can go a long way in promoting the happiness and well-being of your cats throughout the winter season.
So, gather your tools, embrace the creative spirit, and embark on the journey of crafting a snug retreat for your cherished feline friend today!
- 10 Most Ugliest Dogs in the World And Why We Can’t Help But Love Them - June 25, 2026
- Blue Tongue Skink: Care Guide for New and Experienced Keepers - June 22, 2026
- Exotic Pet Insurance Costs: What Every Exotic Pet Owner Needs to Know - June 18, 2026
GIPHY App Key not set. Please check settings