
Cats, those enchanting explorers, have an undeniable affinity for squeezing into snug spaces.
If you’ve ever witnessed your furry companion joyfully leaping into a cardboard box, you’re well acquainted with their love for confined hideaways.
Enter the enchantment of a DIY cat tunnel!
This guide is your ticket to understanding the significance of a cat tunnel, the essential materials and tools, a seamless step-by-step crafting process, invaluable tips, and a conclusion that will leave you and your feline friend with a warm and contented feeling.
Why Your Cat Needs a Tunnel
Cats, with their innate curiosity and hunting instincts, thrive in environments that engage their natural behaviors.
One delightful way to cater to their adventurous side is by providing them with a cat tunnel.
This simple addition to your feline friend’s space can bring about numerous benefits, both physically and mentally.
- Related post: DIY Cat Enclosure for Feline Freedom
- Related post: Crafting Your DIY Cat Harness
Natural instincts and exploration
Cats are born hunters and explorers.
A cat tunnel taps into these instincts, creating an environment that mirrors the excitement of the great outdoors.
As your cat weaves through the tunnel, it’s akin to prowling through the wilderness, engaging their primal instincts and providing an outlet for their natural behaviors.
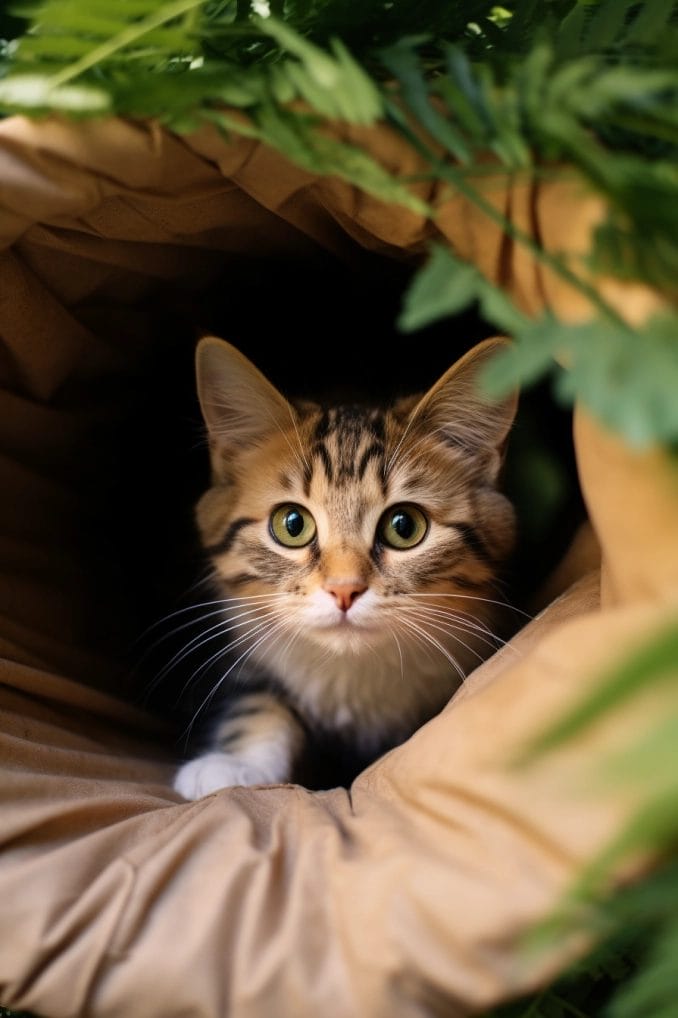
Cozy retreat and ambush spot
Beyond being a mere passageway, a cat tunnel doubles as a cozy retreat.
Cats love having a snug spot to call their own, and tunnels provide just that.
Additionally, the enclosed space serves as a perfect hiding spot for ambushes during playtime, adding an element of surprise that keeps your cat entertained and mentally engaged.
Playful exercise
Physical activity is crucial for a cat’s well-being.
Cat tunnels encourage exercise by enticing your feline friend to run, chase, and pounce.
The confined space of the tunnel adds an extra element of challenge, making the play more dynamic and ensuring that your cat gets the exercise it needs to stay fit and healthy.
Mental stimulation
Mental stimulation is just as vital as physical exercise for a cat’s overall health.
The twists and turns of a tunnel engage your cat’s mind, requiring them to strategize and navigate the space.
This mental workout helps prevent boredom, fostering a more content and satisfied feline companion.
Alleviating boredom
Boredom can lead to undesirable behaviors in cats, such as excessive grooming or destructive chewing.
A cat tunnel provides a source of entertainment, preventing boredom and its associated issues.
The tunnel becomes a haven for solo play, allowing your cat to entertain itself when you’re not available for interactive play.
Materials and Tools
Now that your cat is curious and ready to explore, let’s gather the materials and tools needed for this DIY cat tunnel project.
No need for advanced carpentry skills—just a few easily accessible items will do the trick.
Think cardboard, a craft knife, a ruler, and some adhesive.
Our goal is to keep it simple, affordable, and, most importantly, safe for your beloved feline friend.
- Cardboard: Look for sturdy cardboard that can withstand your cat’s playful antics.
- Craft knife: A craft knife is your precision tool for cutting and shaping the cardboard. Choose one with a sharp blade to ensure clean cuts.
- Ruler: The ruler serves as your guide for precise measurements. It ensures that your tunnel is well-proportioned and provides a smooth path for your cat to navigate.
- Adhesive: To assemble your cat tunnel, you’ll need a reliable adhesive. Choose a pet-safe glue or tape that doesn’t contain harmful chemicals.
Step-by-Step How to Make a Cat Tunnel
In the first steps of crafting your cat tunnel, precision is paramount.
By carefully measuring and cutting, you’ll lay the foundation for a cozy haven that your feline friend will adore.
Let’s delve into the details of these crucial initial steps.
Measure twice, cut once
Begin by using your ruler to measure and mark the desired length of your tunnel on the cardboard.
Take your time with this step—precision is key to ensuring that your cat’s tunnel is just the right size.
Measuring twice helps prevent mistakes, guaranteeing a seamless construction process.
Slice and dice
Armed with your marked measurements, it’s time to cut.
Grab your craft knife and carefully slice along the marked lines, creating two long strips of cardboard.
These strips will serve as the structural foundation of your cat tunnel.
Pay close attention to the cutting process, ensuring clean and straight lines for a polished final result.
Roll it up
Take one of the cut cardboard strips and gently curve it into a semi-circle.
Ensure a smooth curve by guiding the cardboard with care.
Once the semi-circle is formed, connect the ends, securing them in place with adhesive. This step shapes one-half of your cat tunnel.
Repeat the process with the second strip to create the other half.
Join the tubes
With two semi-circles in hand, it’s time to join them together. Align the ends of each semi-circle to create a complete tunnel shape.
Ensure a secure and stable connection by using adhesive to bond the two halves.
Take a moment to check the overall stability, guaranteeing a safe and sturdy environment for your cat’s playful adventures.
Decorate (optional)
If you’re feeling creative, this is the perfect opportunity to add a personalized touch to your cat tunnel.
Let your creative juices flow!
Consider decorating the exterior with your cat’s favorite colors or patterns.
Use safe and non-toxic materials that won’t harm your furry friend.
While this step is optional, it can enhance the aesthetic appeal of the tunnel and make it even more inviting for your cat.
Practical Tips for Optimal Enjoyment
Now that you’ve crafted your cat tunnel, let’s explore some tips to enhance the experience for your feline companion.
These practical suggestions focus on texture, cleanliness, and introducing toys for added engagement.
Texture matters
Consider incorporating various textures inside the tunnel to provide sensory enrichment for your cat.
Faux fur, carpet, or crinkly materials can add an extra layer of excitement to their exploration.
The tactile variety will keep your cat engaged and make their tunnel experience even more enjoyable.
Keep it clean
Opt for materials that are easy to clean when crafting your DIY cat tunnel.
Cats can be messy explorers, and keeping their tunnel clean ensures a purr-fect environment.
Choose materials that can be easily wiped down or, if possible, are machine washable.
Regular cleaning not only maintains hygiene but also prolongs the life of the tunnel.
Rotate toys
To prevent boredom and keep the excitement alive, introduce a variety of toys inside the tunnel.
Cats love surprises, so regularly swap out toys to maintain their interest.
This simple rotation ensures that your cat rediscovers the joy of play each time they enters the tunnel, fostering continued engagement and mental stimulation.
- Related post: DIY Cat Bridge: Construct a Feline Highway for Your Home
- Related post: DIY Cat Cave: Create a Cozy Retreat for Your Feline Friend
Conclusion
In crafting a DIY cat tunnel, you’re not just constructing a playful space; you’re enhancing your cat’s quality of life.
The simplicity of the project, combined with a dash of creativity, ensures that your feline companion will find joy and entertainment in their personalized haven.
As you embark on this endeavor, know that the reward lies in witnessing your cat’s happiness and the delightful adventures that unfold within their newfound tunnel.
- Can Cats Eat Blueberries? What Cat Owners Need To Know - July 15, 2026
- Can Cats Eat Carrots? What Every Cat Owner Should Know - July 13, 2026
- Can Cats Eat Broccoli? Is It Safe or Should You Avoid It? - July 9, 2026
GIPHY App Key not set. Please check settings