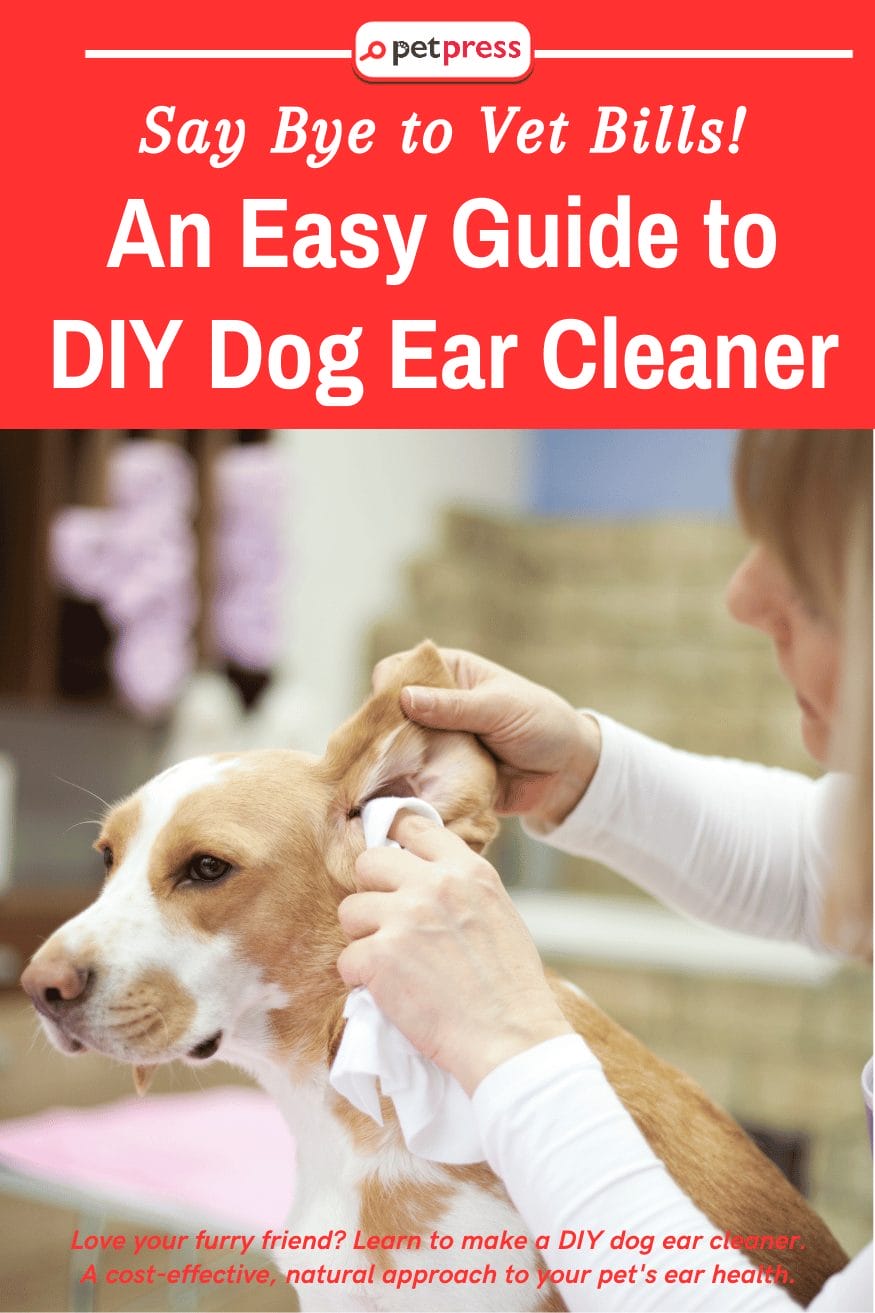
Hello, devoted dog aficionados! Ever wondered how to maintain your dog’s ear health while avoiding hefty vet bills? Welcome to the solution: DIY dog ear cleaners!
If you’re a pet owner like me, you know the importance of our furry friend’s health and happiness. Their wagging tails and joyfulness enrich our lives in countless ways. Yet in this bustling journey, an integral aspect of their health, their ear hygiene, often gets overlooked.
Neglected ear care can lead to discomfort or even infections for our pets, leading to frequent and expensive vet visits. These professional cleanings certainly ensure good dog ear health but aren’t exactly a dog’s favorite activity. However, there is an alternative that’s easy, affordable, and can be performed right at home.
With DIY dog ear cleaners, you can not only save a significant chunk on vet bills but also secure the comfort of using gentle, natural ingredients for your cherished companion. Eager to discover more about this cost-effective solution? Let’s delve deeper into the world of DIY dog ear hygiene!
Why Choose a DIY Dog Ear Cleaner
In our continuous quest to provide the best care for our canine companions, DIY dog ear cleaners emerge as an excellent option for multiple reasons.
Cost-Effective Care
First, the savings you can make are significant. Regular professional ear cleanings bring along recurring vet bills that can quickly add up. DIY dog ear cleaners, made with easily accessible and affordable ingredients, offer a cost-effective alternative. With a DIY approach, you can maintain your four-legged friend’s ear health without burning a hole in your pocket.
Control Over Ingredients
Secondly, making your dog’s ear cleaner gives you full control over what goes into it. This can be a game-changer, especially if your furry pal has allergies or sensitive skin. Commercial ear cleaning products can contain harsh chemicals that might irritate your dog’s ears. With a DIY cleaner, you can choose every ingredient, ensuring you use only those that are safe and gentle for your dog.
A Natural Approach
Finally, DIY allows for a more natural, non-toxic approach to pet care. Many pet owners are increasingly leaning towards holistic practices, steering away from artificial substances towards naturally-derived alternatives.
When you create your own dog ear cleaner, you have the opportunity to incorporate natural ingredients like vinegar, witch hazel, or soothing aloe vera. By choosing a DIY dog ear cleaner, you’re opting for a gentle, safe, and environmentally friendly solution.
So, whether you’re looking to save money, prefer a natural pet care approach, or want full control over what you’re using on your dog, DIY dog ear cleaners offer a multitude of benefits.
Ready to leap? Let’s dive into the world of DIY dog ear hygiene together.
Understanding Your Dog’s Ear Health
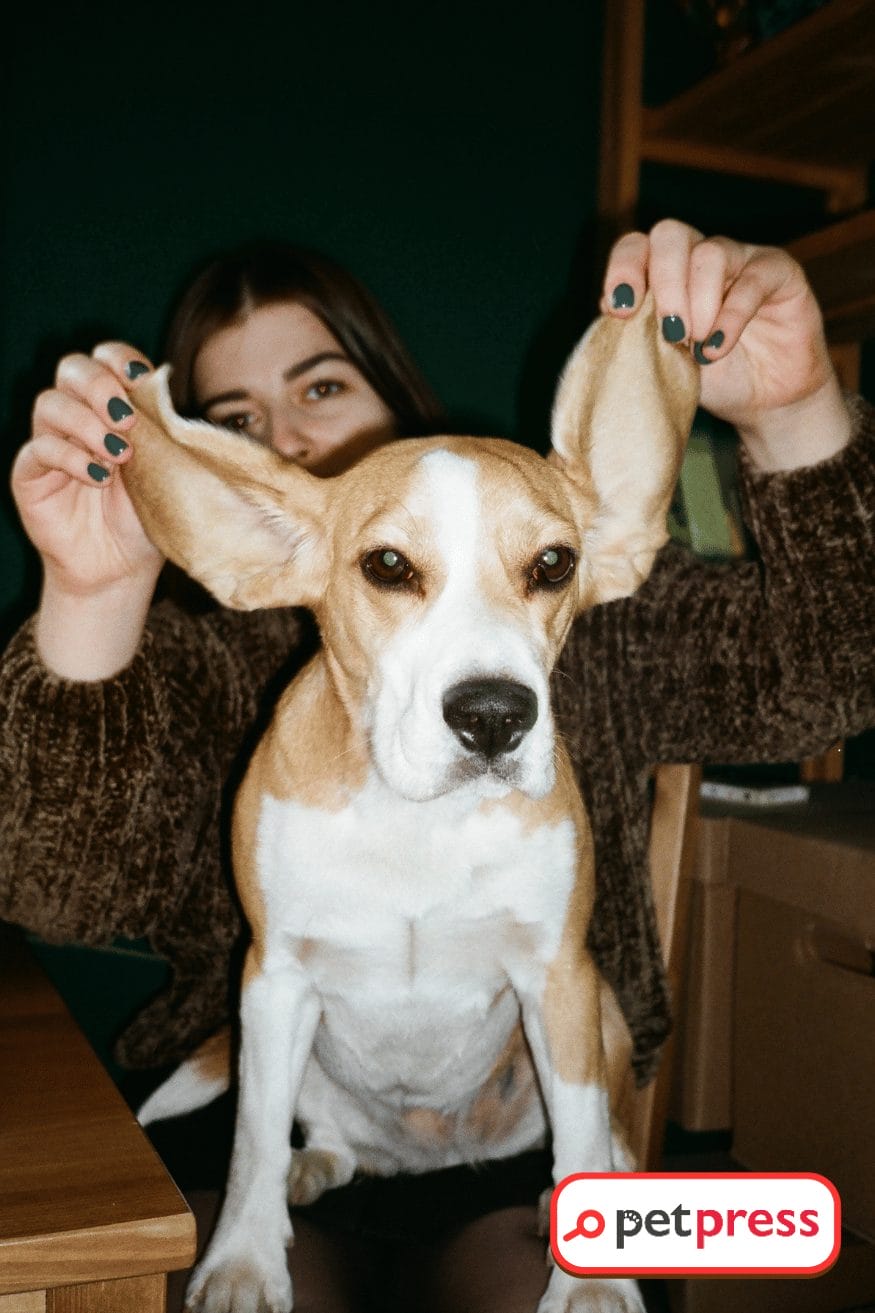
Before you embark on your journey towards DIY dog ear cleaning, it’s crucial to understand a little more about your dog’s ear health. A dog’s ears are fascinating structures, serving not only to pick up sounds but also to provide balance. But with those floppy, folded, or pricked-up ears comes the responsibility of regular ear care.
Identifying Common Ear Issues in Dogs
Dogs are vulnerable to a variety of ear issues, including infections, ear mites, and foreign bodies like ticks. Symptoms of these issues can include frequent scratching or pawing at the ears, head shaking, redness, swelling, discharge, and even an unpleasant smell.
If you notice these signs, it’s best to consult your vet before attempting any cleaning or treatments on your own, as these conditions often need specific medicines to be resolved.
Importance of Regular Cleaning
Dogs with floppy ears are particularly prone to ear problems due to the lack of ventilation, which can create a warm, damp environment perfect for bacteria and yeast to flourish. Regular ear cleaning can help prevent these issues by removing wax buildup and debris and keeping the ear canal dry.
Role of DIY Ear Cleaner
This is where DIY dog ear cleaners come into play. A well-made DIY dog ear cleaner can help maintain your pet’s ear hygiene, keeping infections and complications at bay. These homemade solutions can gently clean your dog’s ears without causing irritation or negatively affecting the ear’s natural balance. Used regularly, a DIY cleaner can contribute to overall ear health.
Remember, though DIY ear cleaners are fantastic for maintenance, they’re not a substitute for veterinary care in cases of serious conditions. If your dog shows signs of ear discomfort, always consult your vet.
Now, let’s move forward on our DIY ear-cleaning journey, ensuring our furry friends stay happy, healthy, and ready to perk up their ears for their favorite sounds!
Preparation Before DIY Dog Ear Cleaning
Before diving into the ear-cleaning process, it’s essential to have all your supplies at hand and ready to go. Here’s your checklist to ensure you’re fully equipped for your DIY dog ear-cleaning session.
Ingredients and Materials for DIY Dog Ear Cleaner
- White Vinegar or Apple Cider Vinegar: Safe for your dog’s ears, vinegar can help remove dirt and debris. It can also balance the pH level in your dog’s ears and prevent yeast growth.
- Hydrogen Peroxide Solution (3%): Helps to break down ear wax and dry up the ear canal. Make sure not to overuse it as it can dry out your dog’s skin.
- Distilled Water: It is used to dilute the other ingredients, making the solution gentle enough for your dog’s ears.
- Witch Hazel: Acts as a natural astringent and helps to reduce inflammation.
- Aloe Vera Gel (Optional): Provides additional soothing properties if your dog’s ears are a bit irritated.
- Glycerin or Mild Dish Soap: Helps to break down the ear wax and debris.
All these ingredients can be easily sourced from your local supermarket or health food store.
Materials Required
- Bottle or Jar: To mix and store your DIY ear cleaner.
- Syringe or Dropper: To apply the solution to your dog’s ears.
- Cotton Balls or Pads: To clean the outer ear and soak up any excess solution.
- Towels: To clean up any mess and to comfort your dog during the process.
Preparing Your Dog
Getting your dog ready for ear cleaning is equally important. Follow these simple steps to prepare your furry friend:
- Choose a Calm Environment: Clean your dog’s ears in a quiet, relaxed setting to help them stay calm during the process.
- Comfort Your Dog: Start by giving your dog a gentle ear massage. This will not only comfort them but also allow you to check for any signs of discomfort that might indicate a deeper issue.
- Treat Motivation: Have some of your dog’s favorite treats on hand to reward them during and after the process, making it a more positive experience for them.
Preparation is key to a successful DIY dog ear cleaning. With your supplies ready and your dog prepared, you’re ready to move on to the next step—making and using your DIY dog ear cleaner!
Step-By-Step Guide to Making Your DIY Dog Ear Cleaner
Now, you’re ready to create your very own DIY dog ear cleaner. This guide will walk you through the process in a simple manner. Let’s get started!
Ingredients:
- 1/2 cup of White Vinegar or Apple Cider Vinegar
- 1/2 cup of Distilled Water
- 1 teaspoon of Hydrogen Peroxide (3%)
- 1 teaspoon of Witch Hazel
- 1 teaspoon of Aloe Vera Gel (optional)
- A few drops of Glycerin or Mild Dish Soap
Materials:
- Bottle or Jar
- Syringe or Dropper
- Cotton Balls or Pads
- Towels
Steps to Make a DIY Dog Ear Cleaner:
- Mix the Ingredients: In your jar or bottle, combine the vinegar and distilled water. These will form the base of your DIY dog ear cleaner.
- Add the Other Elements: Add the hydrogen peroxide, witch hazel, and optional aloe vera gel to your mixture. If you’re using it, also put in a few drops of glycerin or mild dish soap.
- Shake it Up: Close the lid tightly and shake the bottle well to blend all the ingredients. You’ve now created your DIY dog ear cleaner!
Steps to Use a DIY Dog Ear Cleaner:
- Calm Your Dog Down: Start by comforting your dog and ensuring they’re calm and relaxed.
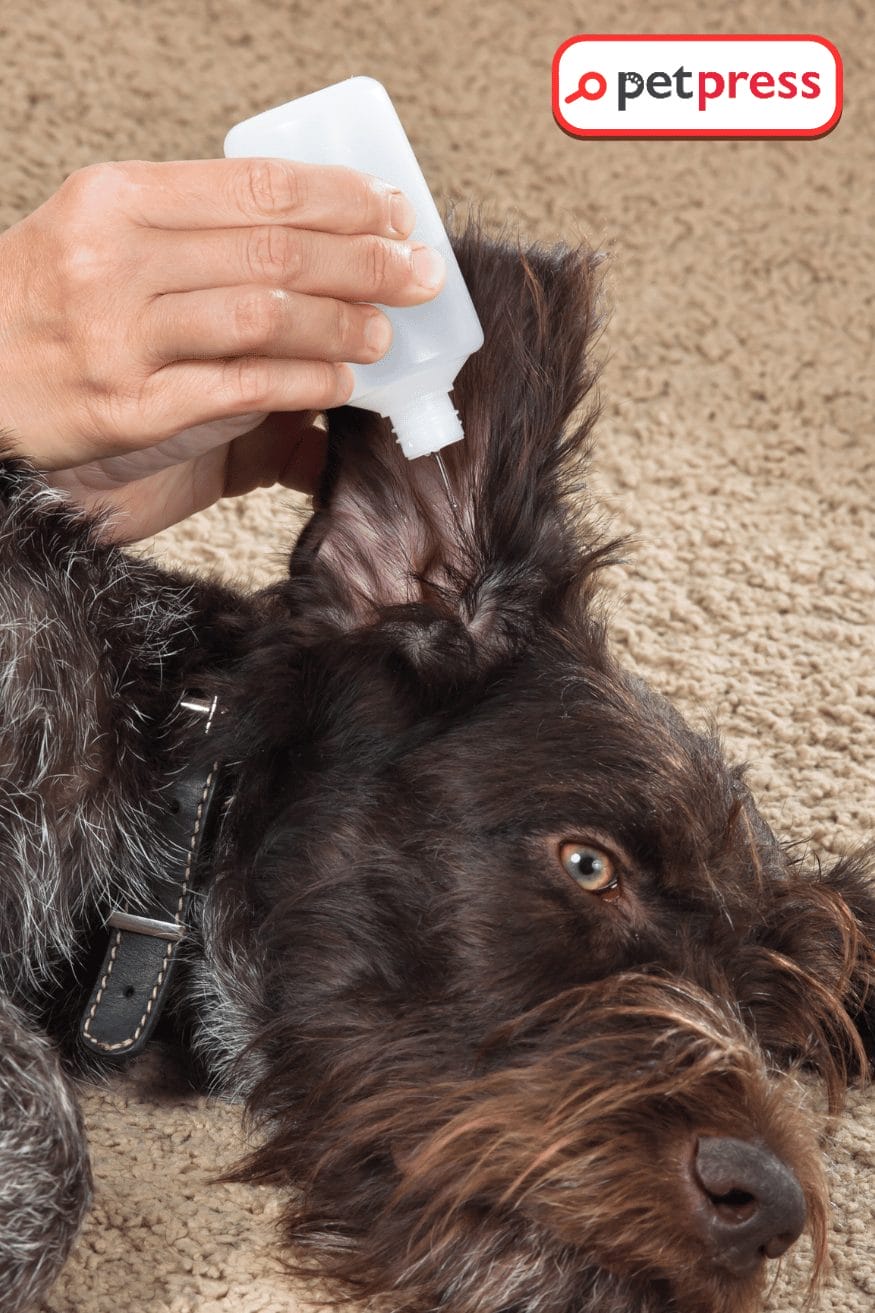
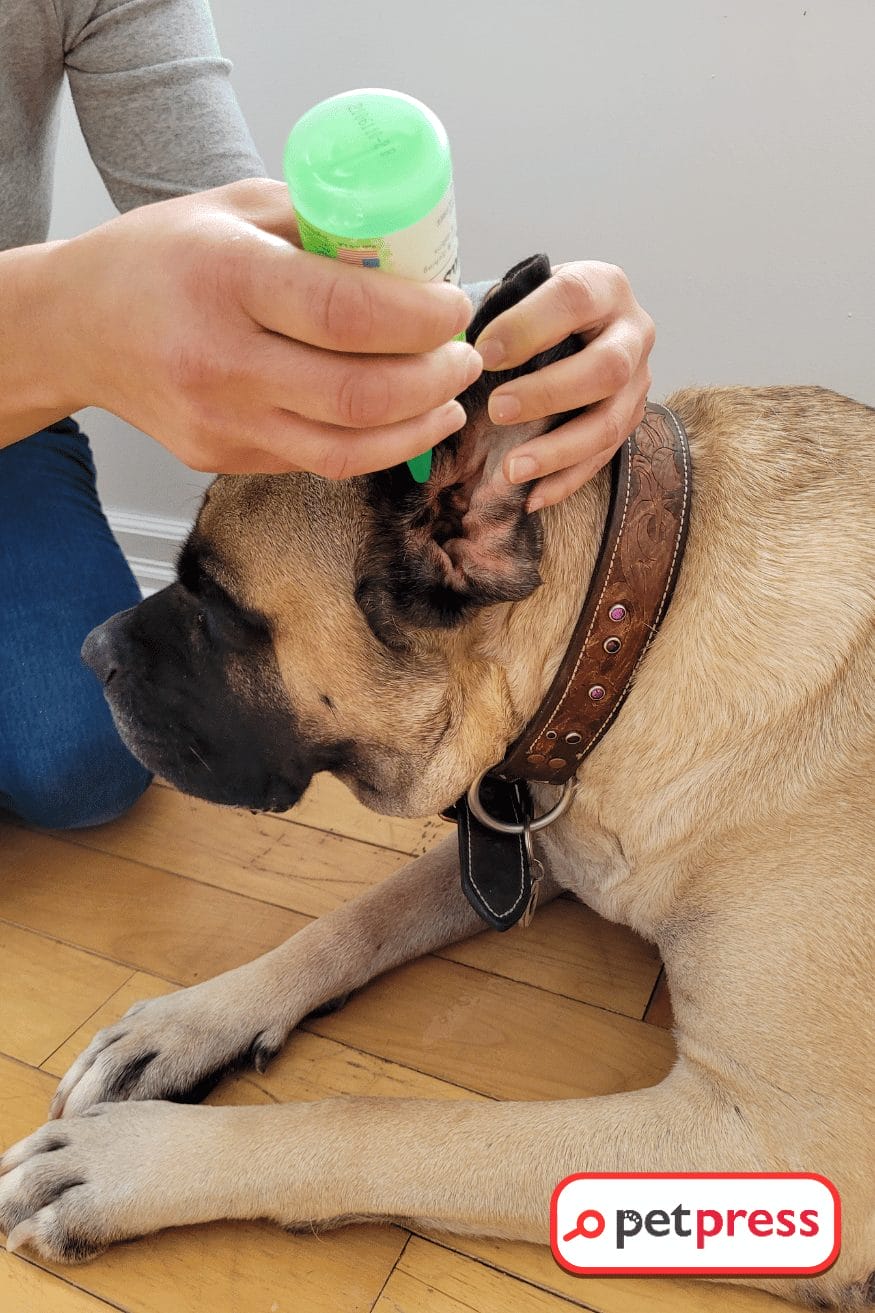
- Apply the Solution: Using a syringe or dropper, apply a few drops of the solution to your dog’s ear canal. Be careful not to insert the dropper too far into the dog’s ear.
- Massage the Ear: Gently massage the base of your dog’s ear to help the solution break up any debris or wax. You should hear a squishing sound—don’t worry, that’s normal!
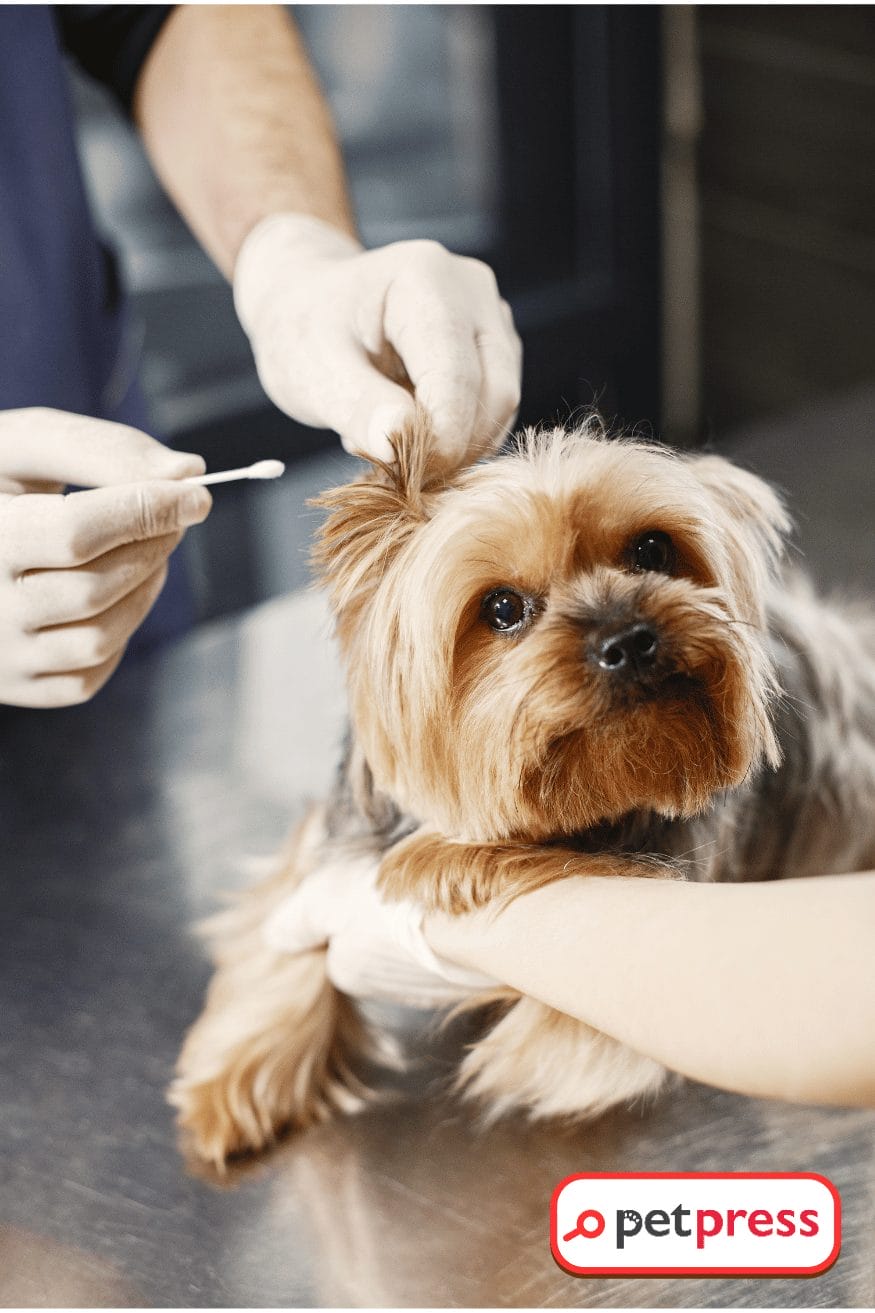
- Wipe Clean: Allow your dog to shake their head, then gently wipe the outer ear with a cotton ball or pad to remove any wax or debris. Never insert anything deep into the ear canal.
- Treat Time: Reward your furry friend with their favorite treat and plenty of praise for behaving well during the process!
Remember, all dogs are different, so the frequency of ear cleaning will depend on your dog’s breed, lifestyle, and ear health. Always consult your vet to determine what’s best for your pet. Now, you’re all set to take charge of your dog’s ear health while saving on those hefty vet bills!
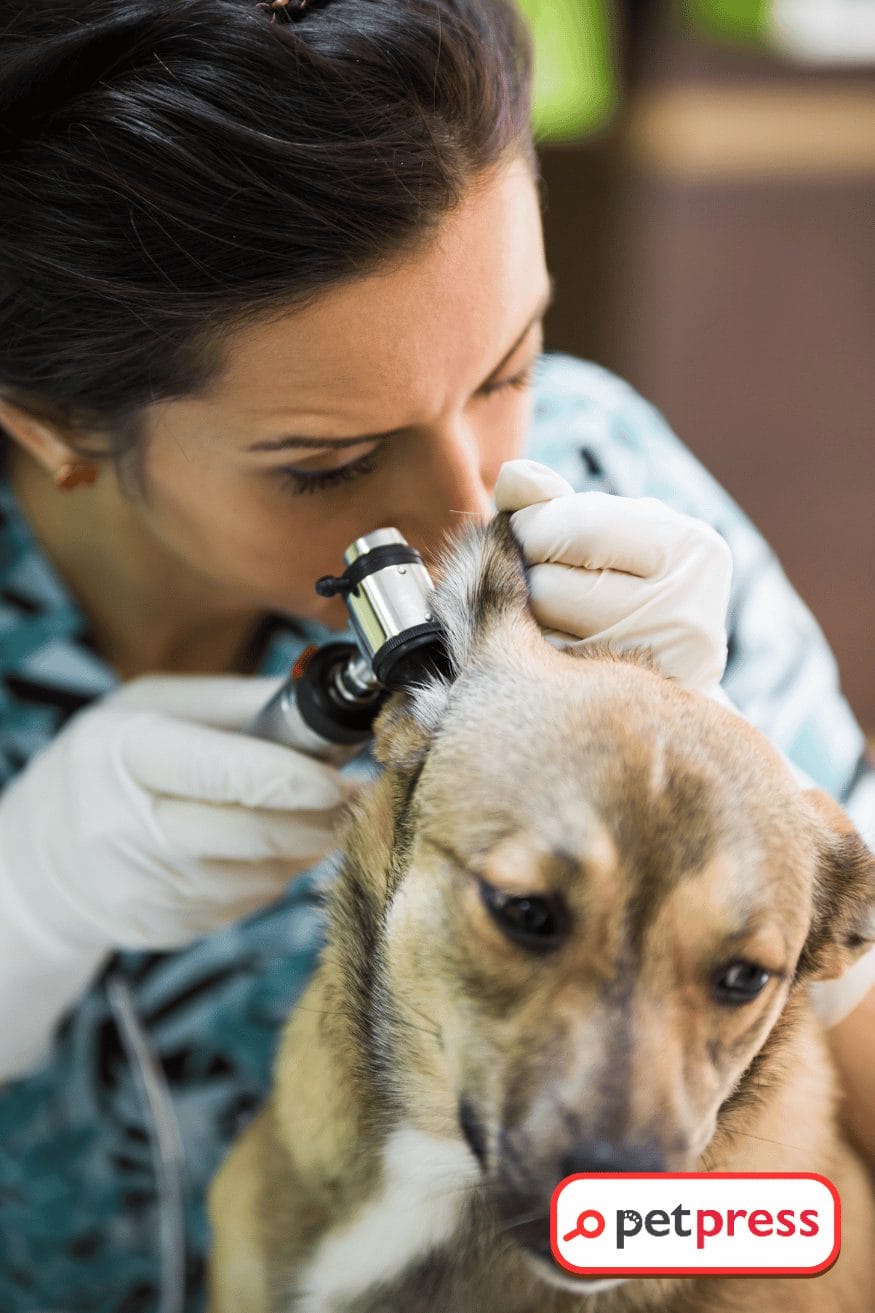
Dos and Don’ts When Using DIY Dog Ear Cleaner
To ensure the best outcome while using your DIY dog ear cleaner, it’s essential to follow a well-established set of guidelines. These dos and don’ts will help you avoid common mistakes and ensure your dog has a safe and comfortable ear-cleaning experience.
Do’s:
- Do Consult Your Vet: Before starting any DIY treatments, it’s always wise to consult your vet first. These professionals can provide valuable advice and guide you about your dog’s specific needs.
- Do Keep Calm: Your dog will pick up on your energy, so staying calm during the ear cleaning process will help your pet stay at ease too.
- Do Use the Right Amount: Overuse of the solution can cause irritation or dryness. A few drops of the cleaner are usually enough to do the job.
- Do Regularly Clean Your Dog’s Ears: Regular cleaning can help prevent ear infections and maintain overall ear health. However, the frequency depends on your dog’s breed, lifestyle, and ear health.
- Do Reward Your Dog: Always end the cleaning session on a positive note by rewarding your dog with praise or a treat.
Don’ts:
- Don’t Use on Inflamed or Infected Ears: If your dog has a severe ear infection, DIY solutions are not the answer. Always consult your vet in such cases.
- Don’t Force Cleaning: If your dog seems distressed or anxious, don’t force the cleaning process. It might be a sign of pain, discomfort, or just fear. In such cases, take a step back and consult your vet.
- Don’t insert anything deep into the ear canal: Cleaning should only involve the outer ear. Inserting anything deep into your dog’s ear could risk damaging the eardrum.
- Don’t Ignore Any Adverse Reactions: If your dog experiences adverse reactions like increased redness, swelling, or discomfort after using the DIY cleaner, stop using it immediately and consult your vet.
By keeping these dos and don’ts in mind, you can ensure a safe and effective ear-cleaning experience for your furry friend. Remember, the goal is to keep your companion happy and healthy!
Conclusion
Embarking on the journey of DIY dog ear cleaning can seem daunting at first, but with the right knowledge and tools, it can turn into an easy and effective routine. Not only does a DIY approach promise significant savings on vet bills, but it also allows you to take control of your dog’s health in the most natural way possible.
In this guide, we’ve walked you through the importance of maintaining your dog’s ear health and the benefits of a DIY dog ear cleaner. We’ve introduced you to a simple recipe for making your dog ear cleaner and provided a step-by-step guide on how to use it efficiently and safely. We’ve also covered the crucial dos and don’ts to remember during the process, ensuring your dog has a comfortable and effective ear-cleaning experience.
Remember, though, that while DIY solutions can be a fantastic way to maintain your dog’s ear health, they don’t replace professional care in cases of severe infections or issues. Always consult with your vet if you notice any signs of distress in your pet.
As pet owners, our ultimate goal is to ensure our furry companions are as healthy and happy as possible. With your new DIY dog ear cleaner, you’re well on your way to achieving that while also embracing a more natural and cost-effective pet care approach. Let’s continue to create an environment for our pets that’s full of love, care, and wagging tails!
FAQs About DIY Dog Ear Cleaner
The frequency depends on your dog’s breed, lifestyle, and current ear health. Generally, a monthly cleaning is enough for most dogs, but in some cases, a weekly cleaning may be necessary. It’s always best to check with your vet!
No, severe ear infections need professional treatment. If your dog has a serious infection, please consult your vet for the appropriate treatment.
Yes, this DIY solution can be used for any breed. However, the frequency of cleaning may vary based on the breed’s susceptibility to ear issues. Always consult your vet for tailored advice.
If your dog shows signs of discomfort or irritation after using the DIY cleaner, stop its use immediately and consult your vet. Always monitor your dog after introducing a new cleaning solution.
Cats have different needs and sensitivities than dogs, so it’s best to consult with your vet before trying any DIY solutions on your feline friends.
Craving more pet care tips? Fetch more insightful reads on our blog now!
DIY Dog Cone: Make Their Recovery Sweeter and Fashionable
Craft Your Pup’s Paradise: DIY Dog Ramp Outdoor in Easy Steps
Shiny, Healthy Coat: Easy DIY Dog Coconut Oil Shampoo Guide
- Does Cat Litter Melt Ice? The Complete Guide to Winter Safety - January 30, 2026
- Happy Tail Dogs: Understanding This Common Canine Condition - January 29, 2026
- How Cold Can Outdoor Cats Handle? Feline Winter Safety - January 27, 2026


GIPHY App Key not set. Please check settings