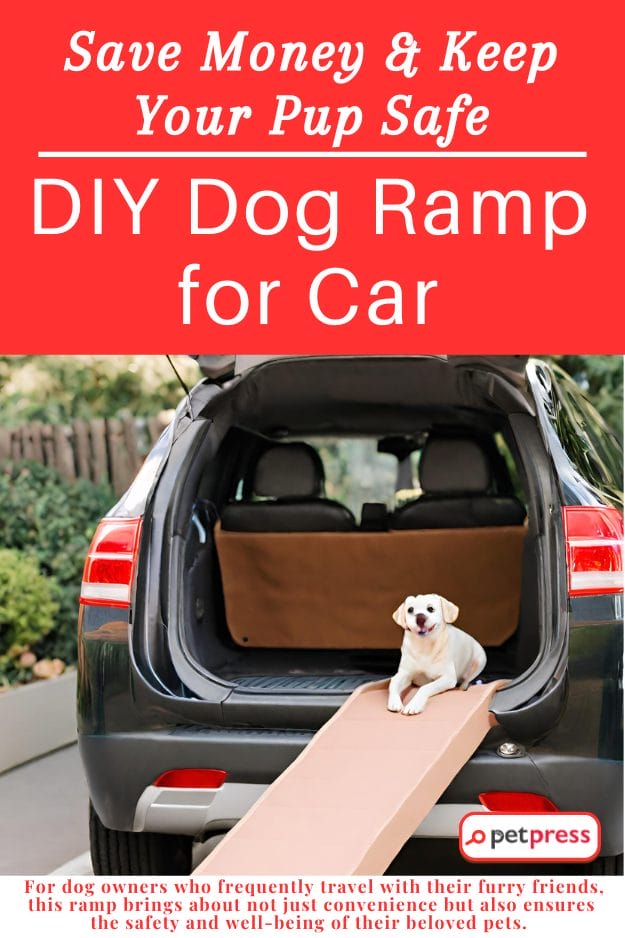
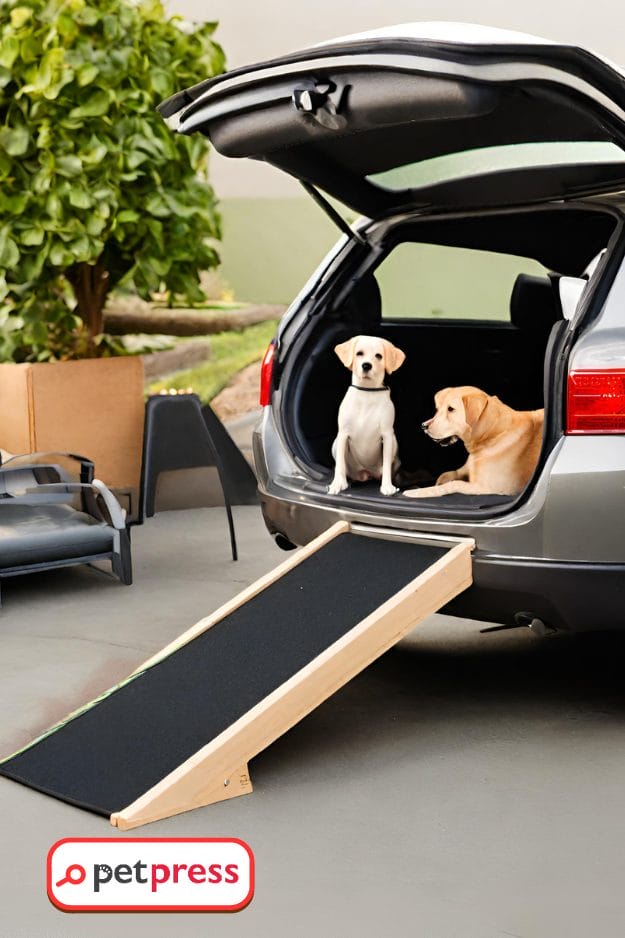
As our adorable furry friends age, they might not bound into the car with the same dynamic energy and spryness as they once were. This is where a DIY dog ramp for your car comes into play, acting as a bridge to easier access and a safer ride for your beloved pup.
Crafting a DIY dog ramp for your car might initially seem like quite a task, but when you dive deeper, it’s actually a fun, fulfilling project that reaps numerous benefits. For dog owners who frequently travel with their furry friends, this ramp brings about not just convenience but also ensures the safety and well-being of their beloved pets.
Embrace your inner handyman and join us on this journey to create a practical, cost-effective solution that your dog will absolutely love! So, let’s dive right in!
The Importance of a Dog Ramp for Your Car
Let’s be real; if you’re a dog owner, your pet’s health and happiness are right up there on your priority list. Therefore, understanding the significance of a dog ramp for your car is an essential part of pet parenthood. This seemingly simple tool can be a real game-changer, making travel safer and more comfortable for your furry buddy.
But why exactly does your dog need one, and is it worth carving out your weekend to build one? Let’s dive right in!
Why Your Dog Needs a Ramp
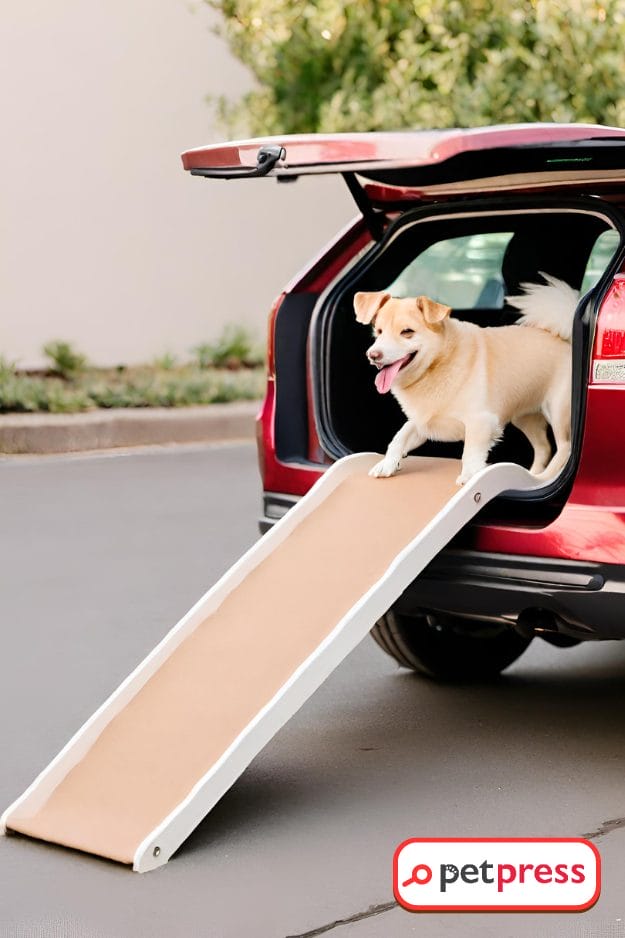
While many dogs can easily hop into the car when they’re young and spritely, age often brings with it certain limitations. Dogs, especially older or smaller ones, can struggle with the relatively high jump into a vehicle.
This awkward movement can put undue strain on their joints, leading to long-term health issues like arthritis, hip dysplasia, and other mobility challenges. Moreover, there’s always the risk of injuries from slipping or missing a step.
A DIY dog ramp for your car provides an easy, gradual incline for your pet to navigate, alleviating these concerns and reducing the strain on their bodies. It’s a simple solution that can significantly increase the quality of life for our four-legged friends, allowing them to continue joining us on our adventures without discomfort or risk.
Cost-Benefit Analysis: Buying vs. DIY
Investing in a dog ramp might seem like an unnecessary expense to some—until they see the price of store-bought versions. Pre-made ramps can be pricey, and they might not even be the perfect fit for your car or pet.
Building a DIY dog ramp is not just cheaper, but it also allows you to tailor it specifically to your dog’s needs and your vehicle’s dimensions. The time spent crafting is an investment in your pet’s comfort and well-being, and let’s not forget, it’s an incredibly satisfying task. The pride you’ll feel seeing your pet utilize something you’ve made with love is worth every moment spent building the ramp.
Simply put, creating a DIY dog ramp for your car isn’t just a worthwhile endeavor—it’s an enjoyable, economical, and sensible project that boosts your dog’s well-being and happiness.
The Basics: What You Need to Know
Before we plunge into the process of constructing a DIY dog ramp for your car, let’s get clear on some basics. This includes understanding what materials you’ll need and the safety precautions to follow to ensure a smooth and injury-free project.
Materials Required
Creating a DIY project is like cooking a fabulous meal; you need the right ingredients! Here’s a handy list of all the tools and supplies you’ll need to construct a sturdy and functional ramp for your furry pal:
- Plywood (size depends on your car and dog)
- Non-slip rug or outdoor carpet
- Wood glue
- Screws
- Screwdriver
- Saw (if you need to size down your plywood)
- Measuring tape
- Hinges (for a foldable ramp)
Ensure you have all these materials on hand before you start to keep the building process seamless.
Safety Precautions
As thrilling as DIY projects can be, they can also pose some risks if safety isn’t heeded. Here are some safety guidelines to help maintain a safe environment while you work on your DIY dog ramp for your car:
- Proper Handling of Tools: Be sure you’re comfortable using the tools required for this project. If you’ve never used a saw before, for instance, seek guidance or assistance.
- Protective Gear: Use safety goggles to protect your eyes, gloves to safeguard your hands, and appropriate footwear.
- Well-Ventilated Workspace: Ensure your workspace is adequately ventilated, particularly while using wood glue.
- Keep Your Workspace Clean: A cluttered workspace can lead to accidents. Keep your workspace tidy and organized to reduce the risk.
- Supervision for Kids: If you’re involving younger family members, ensure they are always supervised and away from potentially dangerous tools.
By keeping these precautions in mind, you can ensure that your DIY dog ramp project will be a fun, safe, and rewarding experience.
Step-by-Step Guide: Building Your DIY Dog Ramp for Car
Feeling ready to dive into this interactive and useful project? Great! Let’s channel your excitement and energy into creating something exceptional. With our detailed and beginner-friendly guide, you’ll see how quick and easy it is to build a DIY dog ramp for your car. Let’s get started!
Step 1: Planning & Designing
Before you rush into assembling, take a moment to thoughtfully plan and design your ramp. Keep in mind the size of your dog, the height of your car, and the incline that would be most comfortable for your furry friend. For example, a less steep ramp would ideally suit small breeds or older dogs.
Step 2: Gathering Materials
Once you have a clear design in mind, it’s time to gather the necessary materials for your project. Refer to our previously provided list to ensure you have everything handy before you begin.
Step 3: Measuring & Cutting
The next step is to measure and mark the plywood according to your design. Once done, proceed to cut it using a saw. Remember, if you’re not at ease with using a saw, you can always seek assistance from a friend or even hire a professional. Your safety is our priority!
Step 4: Assembling the Ramp
Start by attaching the non-slip rug or outdoor carpet to the plywood using the wood glue. Allow it to dry completely. If you’re building a foldable ramp, attach the two pieces of plywood with your hinges.
Step 5: Adding Safety Features
Think about your dog’s safety. You might want to add side rails to prevent your dog from slipping off the side of the ramp. You can construct these from smaller pieces of plywood, attaching them to the ramp with screws.
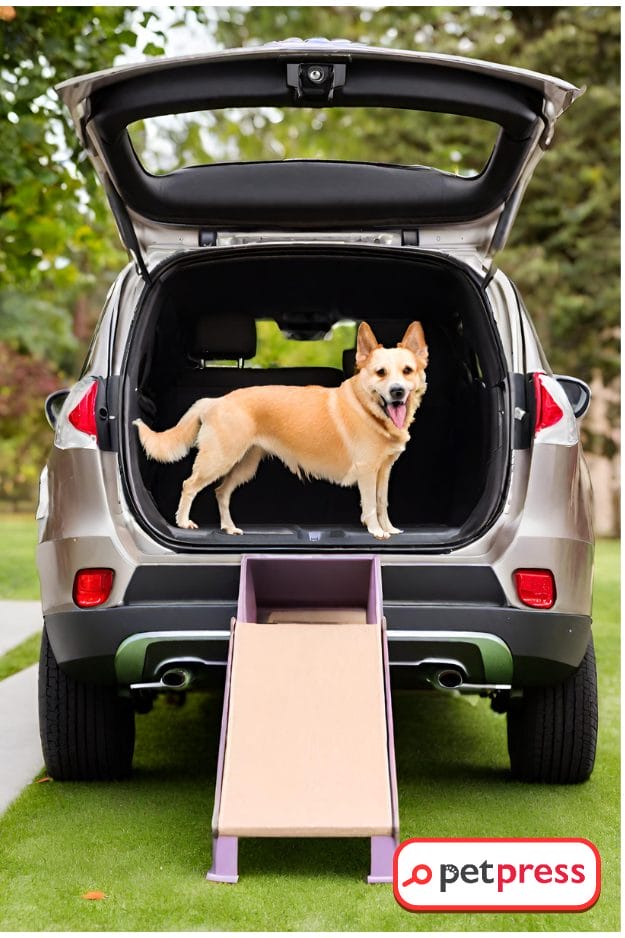
Step 6: Testing the Ramp
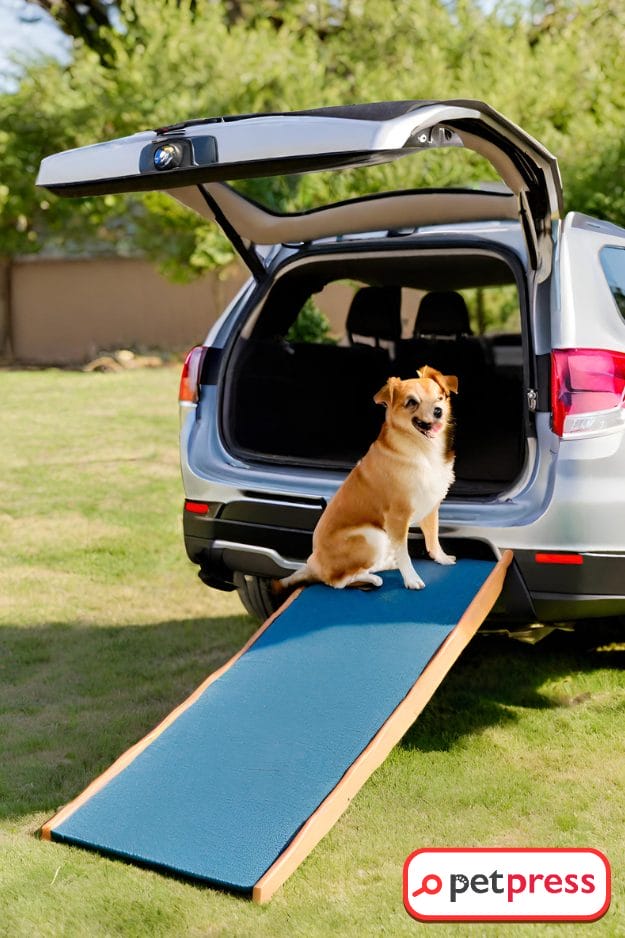
Now for the moment of truth! Place your ramp securely against your vehicle, and encourage your dog to try it out. Make sure the ramp is stable, and adjust as necessary. Always supervise your dog when they are using the ramp, especially while they’re getting used to it.
By adhering to these detailed steps, you’ll be able to craft a DIY dog ramp for your car that ensures comfort and ease for your pet during travel. Remember, the effort and time you invest in this project symbolize your affection and care for your furry companion, adding a whole lot of heart to this handy creation!
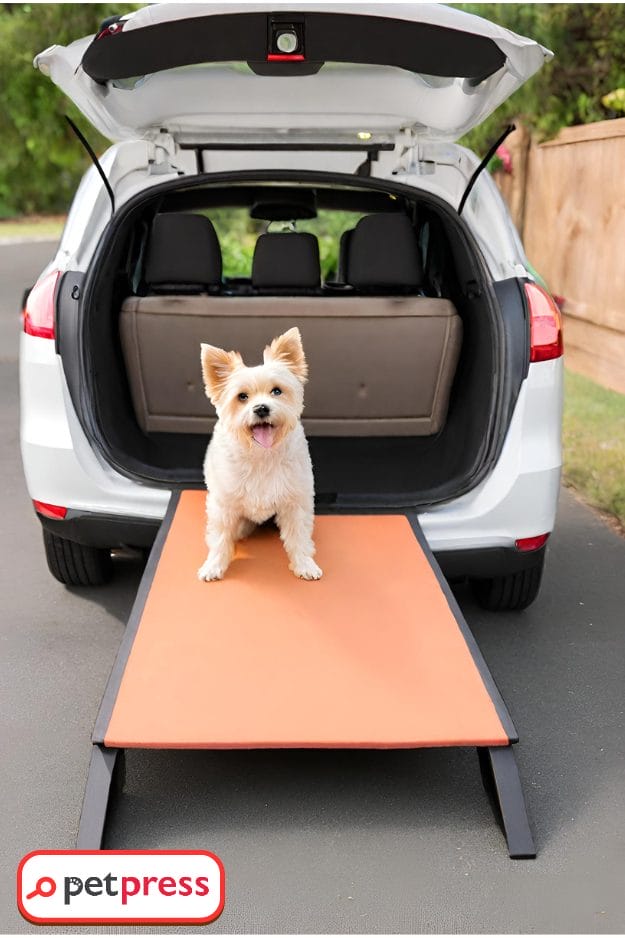
Customizing the Ramp
Building your DIY dog ramp for your car doesn’t have to stop at functionality; you can add personal touches to make it a unique accessory that your pet will love!
- Color Me Fun: Add a splash of color by painting the ramp. Choose a paint that’s pet-safe and weather-resistant for durability.
- Name Game: Make your dog feel extra special by adding their name to the ramp. You can paint it on or use adhesive letters for a stylish touch.
- Soft Landing: If you want to provide even more comfort, consider attaching a soft material like a fleece blanket to the area where your dog will step.
- Decorate: Get creative with decorations. Stencil in your dog’s paw prints, add some stickers, or even make a handle for easier portability.
Remember, the customization is all about creating something that both you and your pet will adore!
Conclusion: Enhancing Your Pet’s Life with a DIY Ramp
In the end, the decision to build a DIY dog ramp for your car is about far more than saving money. It’s about enhancing your pet’s comfort, safety, and overall quality of life.
It’s about the joy in watching your furry friend use something you’ve crafted with your own hands, and the satisfaction of knowing you’ve done something to make their journeys easier and their adventures safer.
So why wait? Roll up your sleeves and start crafting today! Your pup will surely wag their tail in approval.
FAQs about DIY Dog Ramp for Car
The steepness should be comfortable for your dog to navigate. For smaller or older dogs, a less steep incline is advisable. The key factor is your dog’s size, agility, and comfort level.
Yes! By using hinges, you can create a foldable ramp that’s easy to store and transport.
Patience and treats! Lead them up the ramp using a leash and reward them with treats for successful attempts until they get used to it.
Basic items include plywood, a non-slip rug or outdoor carpet, wood glue, screws, a screwdriver, a saw, and hinges if you’re making a foldable ramp.
Patience is key here. Use treats or their favorite toy to guide them up the ramp. Start by placing the ramp flat, and gradually increase the incline as they get comfortable. If your dog continues to be hesitant, you might want to consult with a dog trainer for professional advice.
Craving more DIY projects for your pet? Dive into our other articles!
You’ve successfully navigated the creation of a DIY dog ramp for your car. Perhaps you’re wondering what other fun and useful DIY projects you could undertake for your loyal companion. We’ve got you covered!
Revamp Your Pet Play: DIY Dog Toys From T-Shirts Edition
DIY Dog Treats With Pumpkin: Explore the Easy Recipe Inside!
Smart Alert: DIY Dog Mental Stimulation Techniques That Work!
- Can Cats Eat Broccoli? Is It Safe or Should You Avoid It? - July 9, 2026
- Can Cats Eat Mango? Vet-Reviewed, Risks & Safe Feeding Guide - July 8, 2026
- Can Cats Eat Popcorn? What Every Cat Owner Needs to Know - July 3, 2026
GIPHY App Key not set. Please check settings