When it comes to caring for your feline companion, a DIY cat cone can be a game-changer.
Whether your kitty is recuperating from surgery, dealing with a minor injury, or simply requires a respite from excessive grooming, a homemade cat cone offers comfort and convenience.
In this comprehensive guide, we will delve into the advantages of crafting your cat cone, present creative DIY ideas, share practical tips for usage, and guide you in elevating your cat’s well-being with a personalized touch of DIY care.
Advantages of DIY Cat Cone

When it comes to caring for your cat, opting for a DIY cat cone presents several noteworthy advantages that cater to both your cat’s comfort and your budget.
Let’s explore these advantages in detail:
- Read also: The Guide to DIY Cat Enrichment
- Read also: Crafting Your DIY Cat Harness
Personalization
One of the significant benefits of a DIY cat cone is the ability to personalize it according to your cat’s specific needs.
You can tailor the cone’s size, shape, and design to ensure a snug fit that doesn’t compromise your cat’s mobility.
Cost-effectiveness
Crafting your cat cone can be a cost-effective alternative to purchasing pre-made ones.
By using readily available materials, you save money while still meeting your cat’s essential needs.
This budget-friendly approach allows you to allocate resources to other aspects of your cat’s care.
Reduced stress
Homemade cat cones, made with familiar fabrics or materials, can significantly reduce stress for your cat during the healing process.
The use of soft, comforting materials provides a sense of security, making the recovery period more relaxed for your feline friend.
Comfort and flexibility
DIY cat cones are generally softer and more flexible than traditional plastic cones.
This flexibility enhances your cat’s comfort, reducing the risk of irritation or discomfort associated with rigid cones.
The softer materials also make it easier for your cat to move around without feeling restricted.
Environmentally friendly
Many DIY cat cones utilize recycled or repurposed materials, contributing to a more environmentally friendly approach.
By creating a cone from materials you already have or can easily obtain, you reduce waste and make a positive impact on the environment.
DIY Cat Cone Ideas
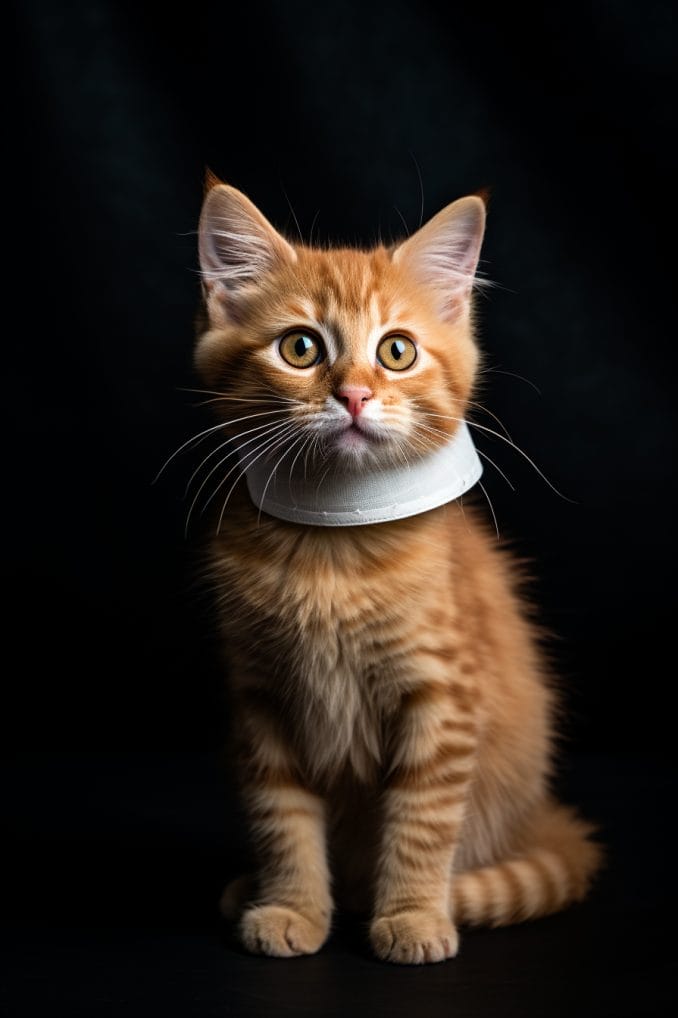
Soft fabric cone
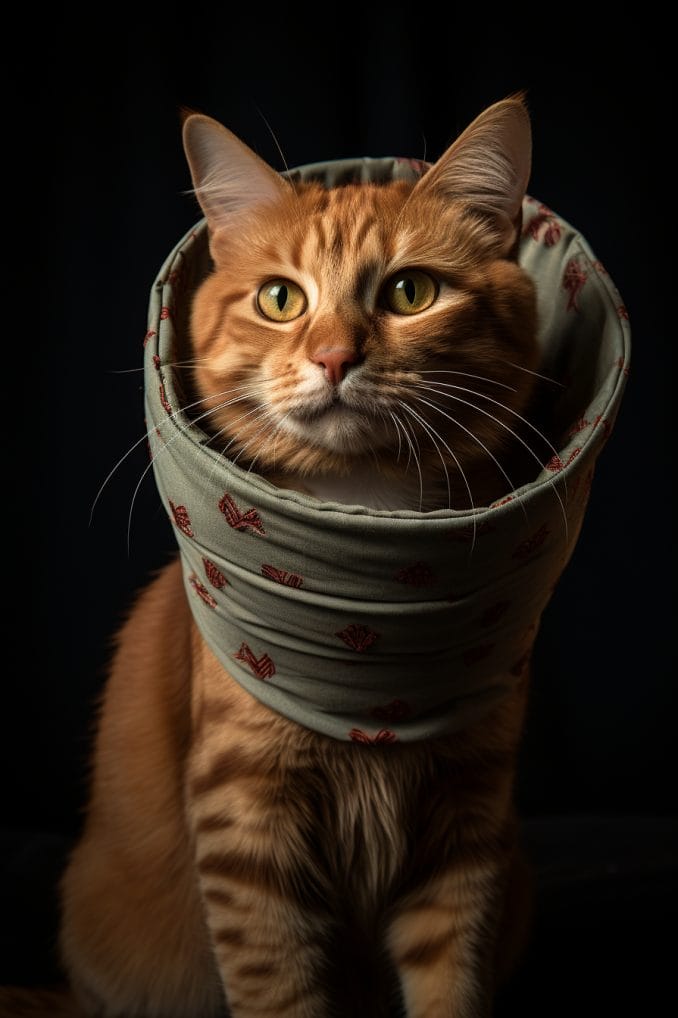
Creating a soft fabric cat cone is a straightforward and comfortable alternative to traditional cones.
This DIY project requires minimal materials and can be tailored to your cat’s specific needs.
Materials Needed
- Soft fabric: Choose a soft and breathable fabric to ensure your cat’s comfort. Cotton or fleece are good options.
- Elastic: Select a stretchy and adjustable elastic band to provide a secure fit around your cat’s neck.
- Velcro: Acquire Velcro strips for easy fastening and adjustability.
Step-by-Step Guide
Step 1: Measure and cut the fabric
Begin by measuring the circumference of your cat’s neck.
Cut a circle from the chosen fabric with a diameter that matches this measurement.
The fabric circle should be large enough to extend beyond the sides of your cat’s head.
Step 2: Attach elastic
Sew or attach the elastic band around the edge of the fabric circle.
Ensure it is securely attached to allow for a snug yet comfortable fit around your cat’s neck. The elastic provides adjustability as needed.
Step 3: Add velcro fasteners
Attach Velcro strips to opposite ends of the fabric.
The Velcro will serve as a fastening mechanism, allowing you to secure the cone around your cat’s neck easily.
Position the Velcro on the fabric so that it wraps securely but doesn’t cause discomfort.
Step 4: Secure and adjust
Place the soft fabric cone around your cat’s neck and fasten it using the Velcro strips.
Ensure that it is snug but not too tight.
The elastic allows for flexibility and adjustment, ensuring your cat can move comfortably while wearing the cone.
Step 5: Monitor comfort
Regularly check your cat’s comfort level while they wear the soft fabric cone.
If there are any signs of discomfort or irritation, make necessary adjustments to the fit or consider alternative materials.
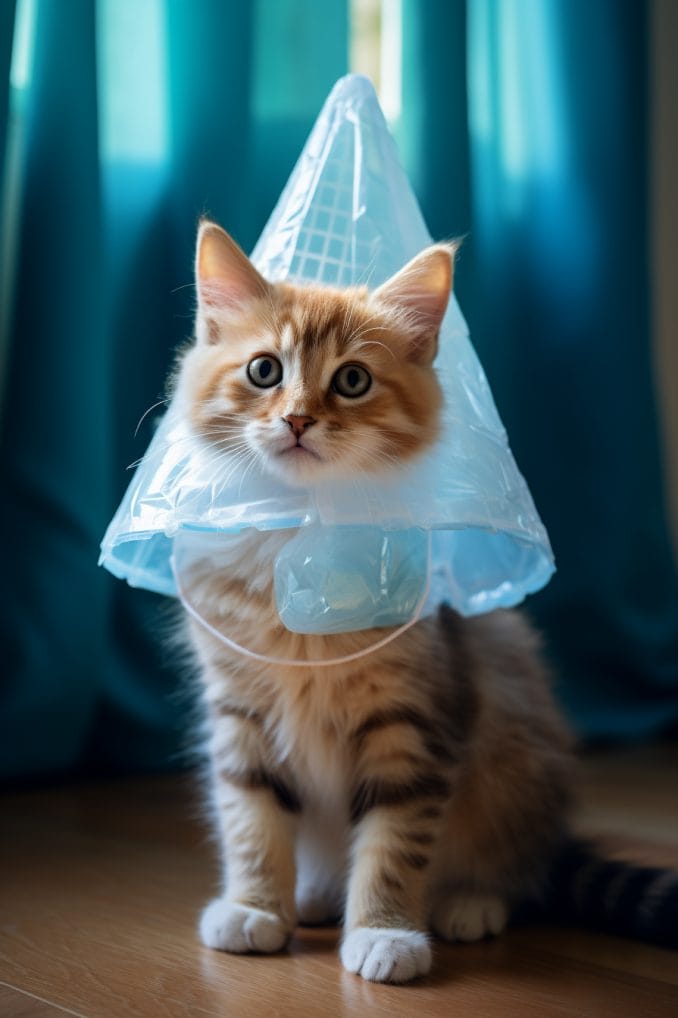
Inflatable collar alternative
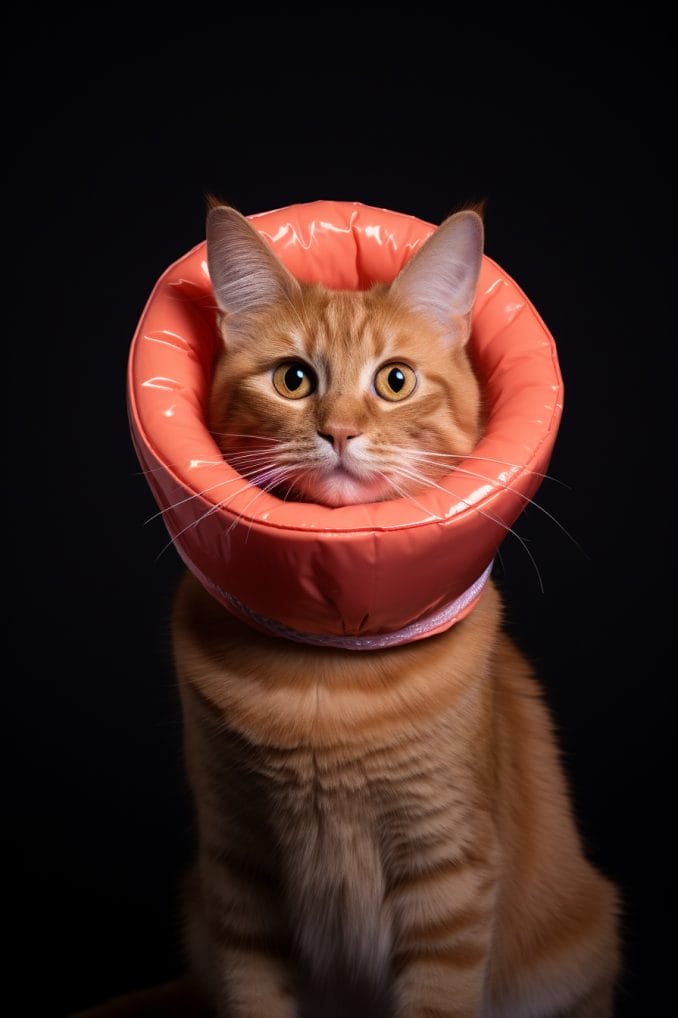
Creating an inflatable collar alternative offers a comfortable and innovative solution for your cat’s needs.
This DIY project utilizes simple materials and is easy to customize for your cat’s specific requirements.
Materials Needed
- Inflatable pool float: Choose a small inflatable pool float that suits your cat’s size. These are typically available at stores selling pool accessories.
- Fabric cover: Opt for a soft fabric cover that is gentle on your cat’s skin. Cotton or fleece works well for this purpose.
- Velcro: Acquire Velcro strips for closure, providing a secure fit around your cat’s neck.
Step-by-Step Guide
Step 1: Measure and cut the pool float
Begin by measuring your cat’s neck circumference.
Cut the inflatable pool float to the desired size, ensuring it provides enough space for your cat’s comfort while preventing excessive movement.
Step 2: Cover with fabric
Wrap the cut pool float with the chosen fabric cover.
Ensure that the fabric is securely attached to the pool float, providing a soft and comfortable surface for your cat.
You may choose to sew or use fabric-friendly adhesive to attach the cover.
Step 3: Add velcro for closure
Attach Velcro strips to opposite ends of the fabric-covered pool float.
These will serve as closure mechanisms, allowing you to secure the inflatable collar alternative around your cat’s neck.
Position the Velcro for a snug fit without causing discomfort.
Step 4: Secure and monitor
Place the inflatable collar alternative around your cat’s neck and fasten it using the Velcro strips.
Check that it is secure but not too tight. The inflatable design provides a protective barrier without the bulk of traditional cones.
Step 5: Regular monitoring
Regularly monitor your cat while they wear the inflatable collar alternative. Ensure they can eat, drink, and move comfortably.
Make any necessary adjustments to the fit or design to enhance their overall experience.
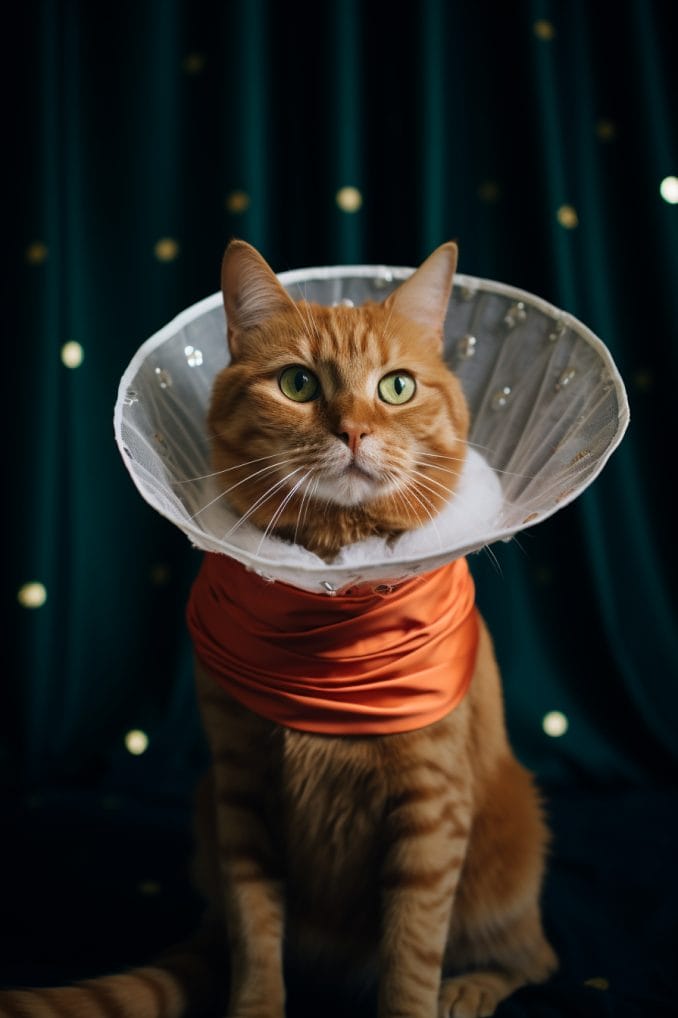
Paper plate cone
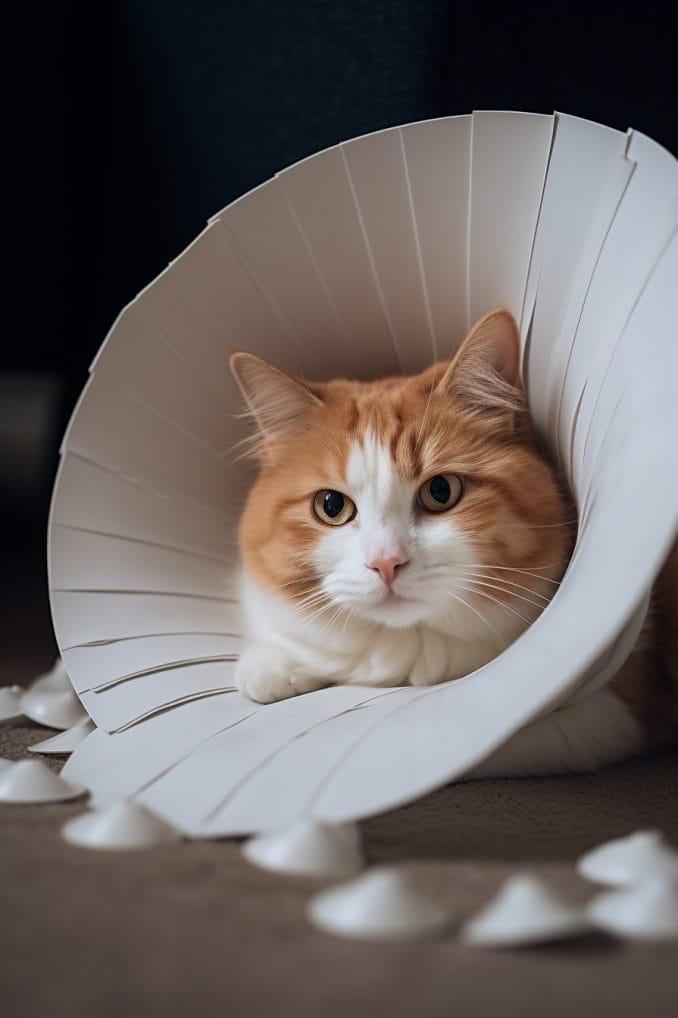
Creating a cat cone using paper plates is a simple and cost-effective DIY solution.
This project requires minimal materials and can be easily customized for your cat’s comfort.
Materials Needed
- Paper plates: Choose sturdy paper plates that can provide structure to the cone. The size of the plate will determine the overall size of the cone.
- Scissors: Have a pair of scissors on hand for cutting and shaping the paper plate.
- Tape: Use adhesive tape to secure the cone’s shape and ensure a snug fit around your cat’s neck.
Step-by-Step Guide
Step 1: Measure and cut the paper plate
Begin by measuring your cat’s neck circumference. Cut the paper plate into a cone shape, adjusting the size to match your cat’s needs.
The cone should extend beyond the sides of your cat’s head without obstructing their vision.
Step 2: Shape the cone
Mold the cut paper plate into a cone shape.
Adjust the size and form to ensure a secure and comfortable fit around your cat’s neck.
The cone should be snug but not too tight, allowing your cat to move comfortably.
Step 3: Secure with tape
Use adhesive tape to secure the cone’s shape.
Tape along the seam of the cone to keep it in place. Ensure that the tape is applied securely but doesn’t cause discomfort to your cat.
Step 4: Place on your cat
Gently place the paper plate cone around your cat’s neck.
Adjust the fit as needed, ensuring that it doesn’t hinder their movement, breathing, or ability to eat and drink.
Step 5: Monitor comfort
Regularly monitor your cat while they wear the paper plate cone.
If there are any signs of discomfort or if your cat seems stressed, consider making adjustments to the fit or exploring alternative materials.
Foam cone
Making a foam cone for your cat is a practical and comfortable DIY solution.
This project requires minimal materials and allows for easy customization to ensure your cat’s well-being.
Materials Needed
- Soft foam sheet: Choose a soft and pliable foam sheet that is gentle on your cat’s skin. The foam should be thick enough to provide structure to the cone.
- Scissors: Have a pair of scissors on hand for cutting the foam sheet.
- Pencil: Use a pencil for tracing your cat’s head profile onto the foam sheet.
- Measuring tape: Measure your cat’s head circumference to determine the appropriate size for the foam cone.
- String or ribbon: Use a soft and non-restrictive string or ribbon for securing the foam cone around your cat’s head.
Step-by-Step Guide
Step 1: Measure and trace
Begin by measuring your cat’s head circumference using the measuring tape.
Trace your cat’s head profile onto the foam sheet, leaving about 2 inches of extra space around the edges to ensure a comfortable fit.
Step 2: Cut out the shape
Use scissors to carefully cut out the traced shape from the foam sheet.
Take your time to create a smooth and even edge.
Step 3: Roll into a cone
Roll the foam shape into a cone, ensuring that the edges align neatly.
The traced profile should guide the shape into a cone structure.
Step 4: Secure with tape
Use tape to secure the edges of the foam cone. Make sure the tape is applied securely but does not cause discomfort to your cat.
Step 5: Adjust and secure
Adjust the foam cone to fit your cat’s head comfortably. Secure the cone in place by tying a string or ribbon under your cat’s chin.
Ensure that it is snug but not too tight.
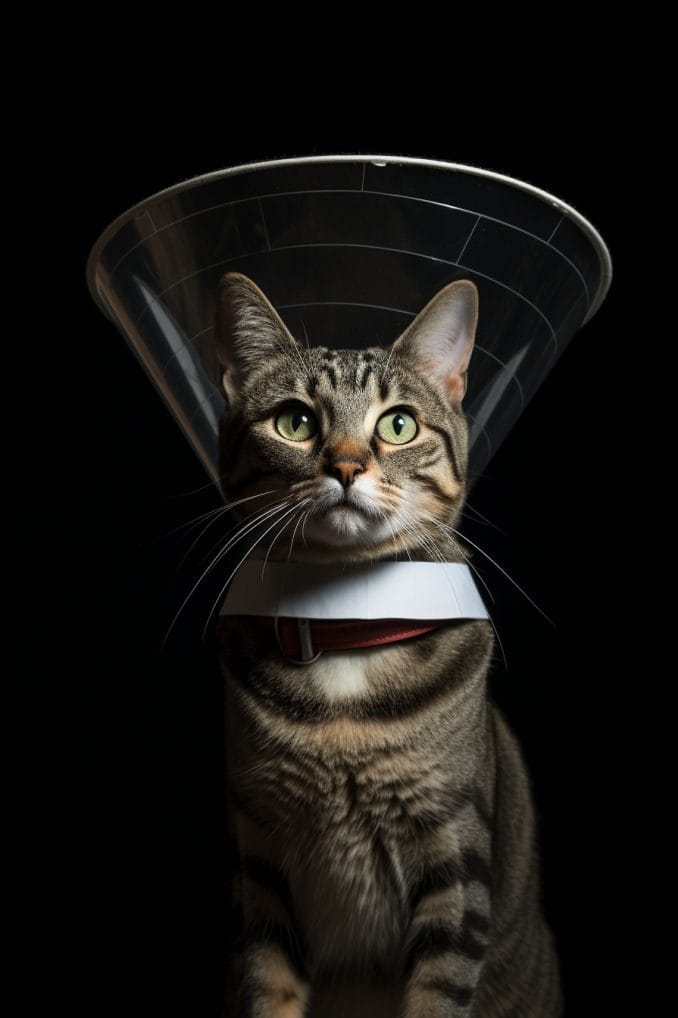
Plastic bottle cone
Making a cone for your cat from a plastic bottle is a resourceful and easy-to-create DIY solution.
This project utilizes a common household item and requires minimal materials, providing a cost-effective alternative.
Materials Needed
- Clean plastic bottle: Choose a plastic bottle of any size, ensuring it is clean and free of any residue. A larger bottle may be suitable for larger cats.
- Scissors: Have a pair of scissors on hand for cutting the plastic bottle.
- Pencil: Use a pencil to mark measurements on the plastic bottle.
- Measuring tape: Measure your cat’s head circumference to determine the appropriate size for the plastic bottle cone.
- String or ribbon: Use a soft and non-restrictive string or ribbon for securing the plastic bottle cone around your cat’s head.
Step-by-Step Guide
Step 1: Prepare the plastic bottle
Cut the top off the plastic bottle, leaving about 3-4 inches of the neck. Ensure that the edges are smooth to prevent any sharp points that could cause discomfort.
Step 2: Create a slit
Cut a slit along the length of the bottle, approximately 2-3 inches deep. This will be the starting point for forming the cone shape.
Step 3: Expand the slit
Gently expand the slit to form a cone shape. Adjust the size of the cone by manipulating the plastic to achieve a comfortable fit for your cat.
Step 4: Adjust and secure
Adjust the plastic bottle cone to fit your cat’s head comfortably. Secure the cone in place by tying a string or ribbon under your cat’s chin. Ensure that it is snug but not too tight.
Tips for Using a DIY Cat Cone
Using a DIY cat cone for your feline friend’s well-being requires thoughtful introduction and proper monitoring.
Here are essential tips to ensure a positive experience for your cat:
Introduce gradually
Allow your cat to get accustomed to the cone gradually.
Start by introducing it for short periods, letting your cat explore and become familiar with the new accessory.
Provide treats and affection during this process to create positive associations.
Supervise initially
Keep a close eye on your cat, especially during the initial use of the DIY cone.
Observe their behavior to ensure they are comfortable and not distressed.
Cats may display initial resistance or confusion, so gentle supervision is crucial.
Ensure proper fit
Adjust the size of the cone to fit your cat comfortably.
The cone should be snug enough to prevent licking or scratching the affected area but not too tight to cause discomfort.
Check regularly to ensure it stays securely in place.
Choose comfortable materials
When crafting a DIY cone, opt for materials that are soft and non-irritating.
Consider your cat’s comfort by choosing fabrics or materials that won’t cause friction or overheating.
Provide distractions
Offer your cat distractions to keep them occupied while wearing the cone.
Interactive toys, puzzle feeders, or gentle play can help shift their focus and reduce any initial discomfort or stress.
Monitor healing progress
Regularly check the healing progress of the affected area.
Ensure that the DIY cone effectively prevents your cat from interfering with the healing process.
If you notice any issues or if the cone needs adjustments, consult with your veterinarian promptly.
Use positive reinforcement
Reinforce positive behavior by providing treats, praise, or affection when your cat wears the cone without fuss.
Positive reinforcement helps create a more positive association with the cone.
Consider breaks
If your cat appears distressed or stressed, consider allowing short breaks from the cone under close supervision.
Gradually increase the duration with positive reinforcement to help your cat adapt.
Regular cleaning
If using a DIY cone for an extended period, ensure regular cleaning to prevent any buildup of dirt or irritants.
Use materials that are easy to clean and maintain.
Consult with your veterinarian
If you have concerns about your cat’s behavior, healing progress, or the suitability of the DIY cone, consult with your veterinarian.
They can provide guidance, address concerns, and recommend adjustments if needed.
- Read also: DIY Cat Cave
- Read also: DIY Cat Fountain
Conclusion
In conclusion, a DIY cat cone can be a compassionate and cost-effective solution for providing comfort to your feline friend during the recovery process.
By customizing the cone to suit your cat’s preferences, you not only enhance their well-being but also make the healing journey a more pleasant experience.
Embrace the creativity and care that come with crafting a homemade cat cone, and witness the positive impact it has on your cat’s comfort.
Crafting a DIY cat cone is not just an act of care; it’s a gesture of love that speaks directly to your cat’s well-being.
So, gather your materials, embrace the DIY spirit, and create a cat cone that makes your feline companion feel both comforted and cherished.
- Does Cat Litter Melt Ice? The Complete Guide to Winter Safety - January 30, 2026
- Happy Tail Dogs: Understanding This Common Canine Condition - January 29, 2026
- How Cold Can Outdoor Cats Handle? Feline Winter Safety - January 27, 2026
GIPHY App Key not set. Please check settings