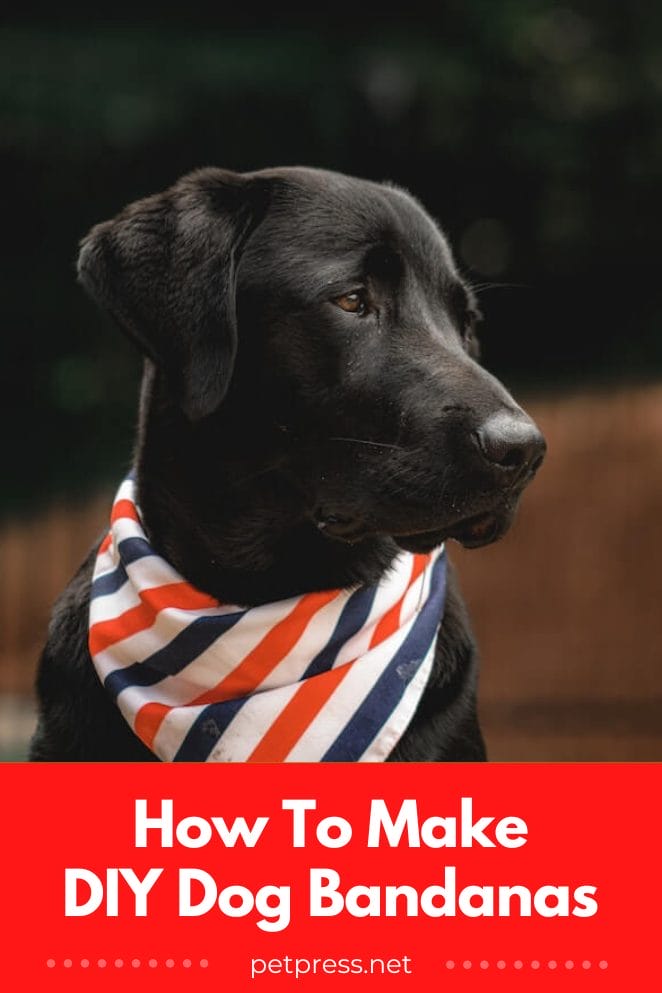
Do you have a pup who loves to be dressed up? DIY dog bandanas are for all the crafty pet parents out there!
Whether you’re looking for an accessory to help your pup make a statement at the dog park, or just want something stylish and easy to make to give your furry friend some extra flair, then bandanas are perfect.
With a few simple materials and tools, they can easily be customized with any design or pattern. Put your creativity and love into every bandana so that it’s as unique as your pup!
Let’s get making — because when it comes to our beloved furballs, nothing but the best will do.
What is a dog bandana?
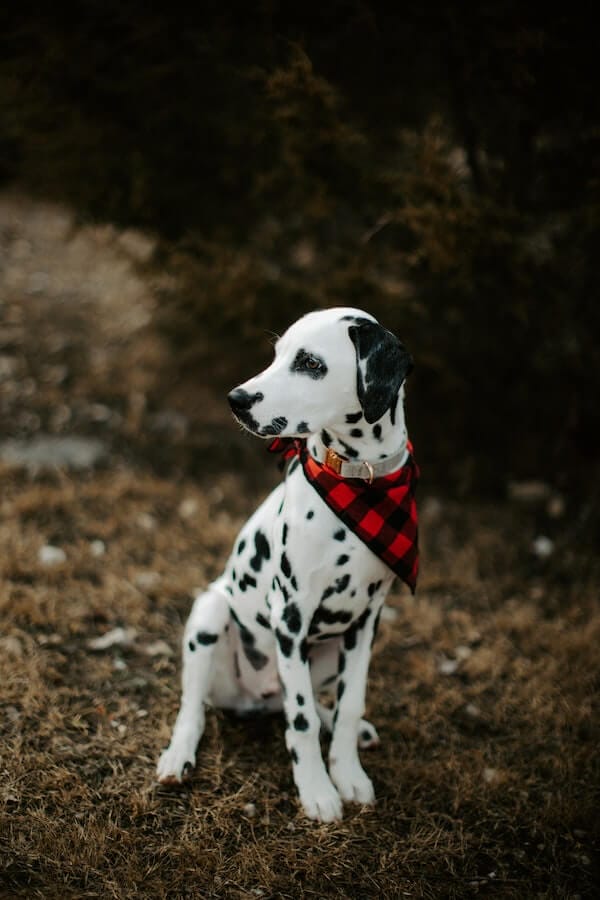
After a dog collar, a dog bandana is another great accessory for your pup to showcase their personality and style. Not only are they fun to wear, but they can also help keep them cool in the summertime!
A good quality dog bandana will be made of a breathable fabric such as cotton or linen that helps to absorb moisture and keep your pup from overheating.
DIYing a dog bandana is a great way to add an extra level of personalization. Not only is this fun for you and your pup, but it can also help create a unique look that stands out from the crowd.
Plus, it’s a great way to save money by making one yourself instead of buying one!
So if you’re looking for a great way to keep your pup cool in the summertime and show off their personality, why not give DIYing a dog bandana a try?
With the right materials and some creativity, you can make them an accessory they’ll love wearing all season long.
How to make a DIY dog bandana?
With just a few supplies, you can have your furry friend rocking a one-of-a-kind accessory in no time. Here’s how:
Step #1
Gather your supplies: You will need fabric or an old t-shirt of yours (or your pup’s!), scissors, thread, pins, and an iron.
Step #2
Cut the fabric into two even squares – this is where you can let your creativity shine! If you’re using an old t-shirt, cut it into two triangles instead so that the design on the shirt will be featured on your pup’s bandana.
Step #3
Now it’s time to start forming the triangle shape! Take one of the squares (or triangles) and fold it in half lengthwise. Pin the edges together, then cut off any excess fabric around the corners so that you have a rounded tip for your triangle.
Step #4
Repeat steps 2 & 3 with the other square/triangle. Now you should have two perfectly shaped triangles!
Step #5
Place the right side of both triangles together and pin all around the edges, making sure to leave a few inches open at one end so that you can turn them inside out later.
Step #6
Sew along pinned edges using a straight stitch, making sure to backstitch at the beginning and end of your stitching.
Step #7
Finally, turn the bandana right side out through the small opening you left earlier, then iron flat and sew up that same opening. And voila! You have yourself a beautiful DIY dog bandana, ready for your pup to strut their stuff!
Customizing a dog bandana
There are plenty of ways to get creative with your pup’s wearable art. Here are 4 simple ideas to get you started:
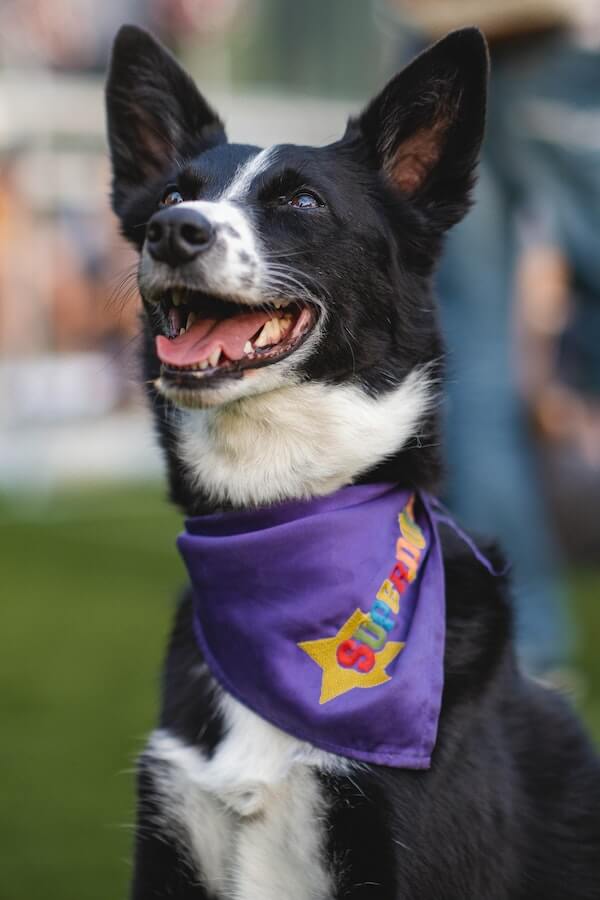
1. Personalised Embroidery
Adding your pup’s name or an uplifting message or inspiring dog quotes is a great way to personalize their look and show off their unique personality. You can even add a photo of your pup for extra cuteness!
2. Iron-on Patches & Badges
What better way to express yourself than with fun patches, badges, and pins? You can get as creative as you like with these – tropical fruits, animal faces, bright colors – it’s a great way to add some extra style to your pup’s outfit.
3. Add Pockets & Accessories
Why not make your pup’s bandana practical too? Adding pockets is an easy way to give your pet an extra carry-all for all their adventures. For something a bit different, attach charms or keyrings for a unique look.
4. Sew on Embellishments
If you prefer more intricate details, try sewing on pearls or sequins for added sparkle! It’s also a great way to add texture to the bandana – why not try ribbons or lace for a timeless look.
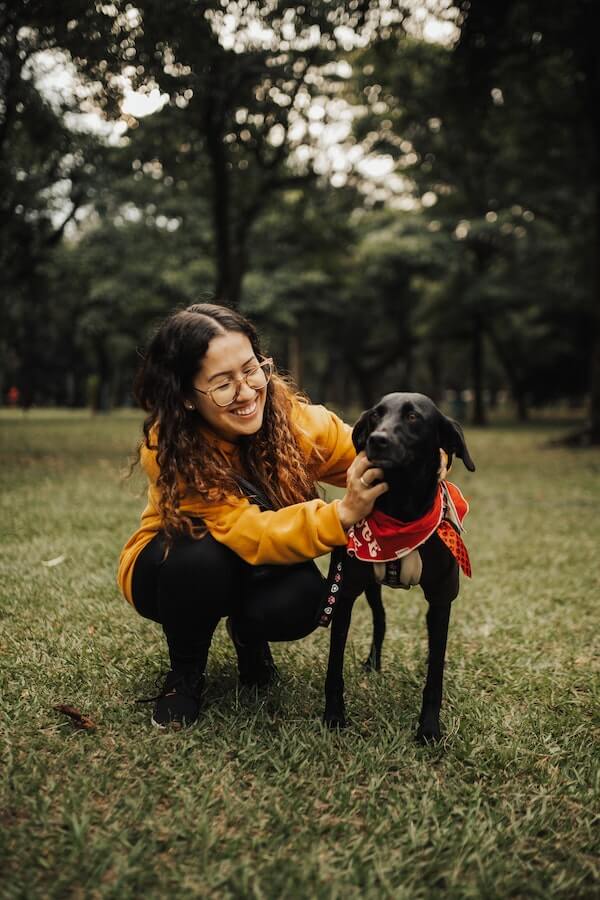
How to Put a Bandana on Your Dog
Whether it’s for special occasions, holidays, or just because, DIY dog bandanas are a fun and creative way to show off your pup’s unique flavor. Follow this step-by-step guide for how to put a bandana on your pup:
1. Start with the right size of bandana for your doggo – make sure it isn’t too tight or too loose. You want something that fits snugly around their neck but not so tightly that it restricts their ability to breathe.
2. Place the bandana around the dog’s neck in the desired pattern (triangle, square, etc.) and make sure the points of the bandana are even.
3. Tie a double knot at the back of your pup’s neck to secure the bandana in place. Make sure it’s tight enough that it won’t easily come undone but not too tight that it causes discomfort for your pet.
Conclusion
DIY dog bandanas are a perfect way to add some fun and flair to your pup’s wardrobe.
Whether you’re looking for a unique gift for a friend or just want to dress up your own pup, it’s easy to make DIY dog bandanas that will turn heads.
With the right supplies and some creativity, making your very own custom-made bandana can be done in no time at all—and there is no limit to the amount of creative ideas you can come up with!
So don’t hesitate any longer – get crafting!
- 7 Dog Breeds With Webbed Feet And Why Do They Have Them - July 19, 2023
- 10 Best Fish For Small Tanks That Make Perfect Pets - July 18, 2023
- How to Breed Guinea Pigs: A Detailed Guide - July 17, 2023
GIPHY App Key not set. Please check settings