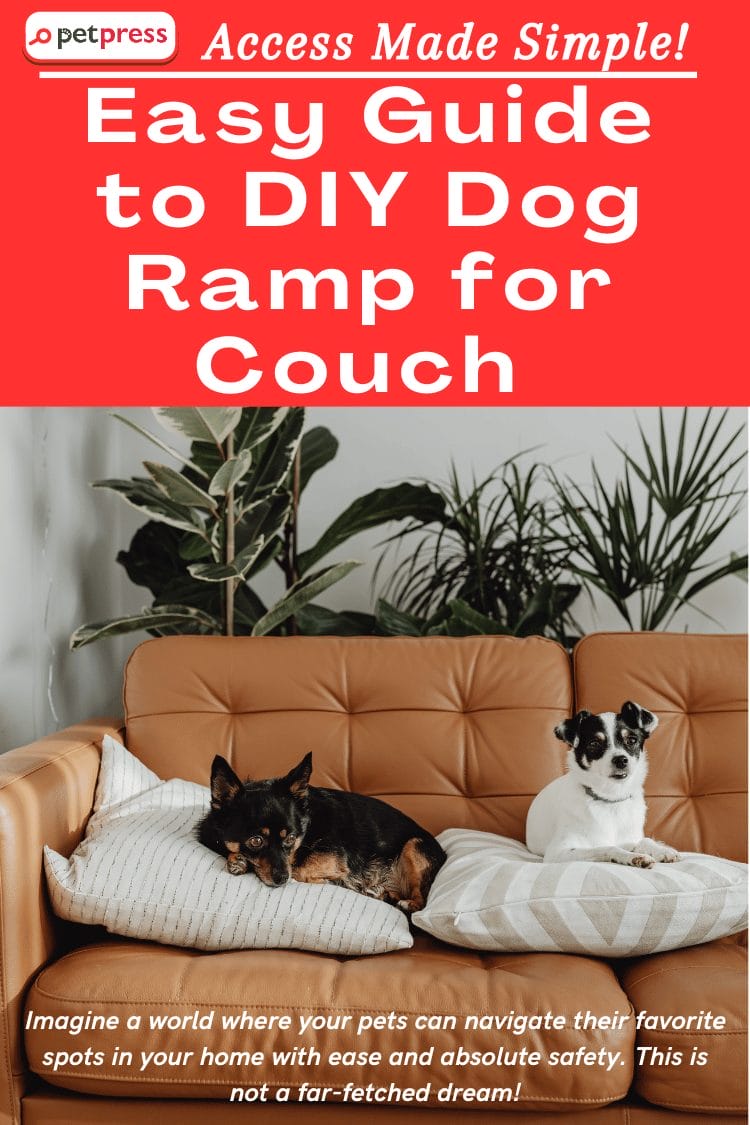
Imagine a world where your pets can navigate their favorite spots in your home with ease and absolute safety. This is not a far-fetched dream! As pet lovers, we all desire a comfortable and pet-friendly home where our cherished companions can experience the freedom they deserve, and a DIY dog ramp for the couch is one step towards achieving that dream.
A DIY dog ramp for your couch is more than just a convenience—it’s an inclusion. Especially for those with small, older, or differently-abled dogs, it opens a gateway to the happiness of our pets, allowing them to access their favorite cuddle spot without our assistance.
This article serves as a comprehensive guide on making this ramp with your hands and heart, blending functionality with personalized style to suit your furry friend’s needs and your home décor. So, get ready to enhance your pet’s independence and infuse more joy into their lives!
Why Should You Consider a DIY Dog Ramp for Your Couch?
If you’ve ever noticed your little or aging pet hesitate before jumping onto your couch, you’ll understand the need for a dog ramp. But why go the DIY route? Let’s delve into the benefits a DIY dog ramp offers.
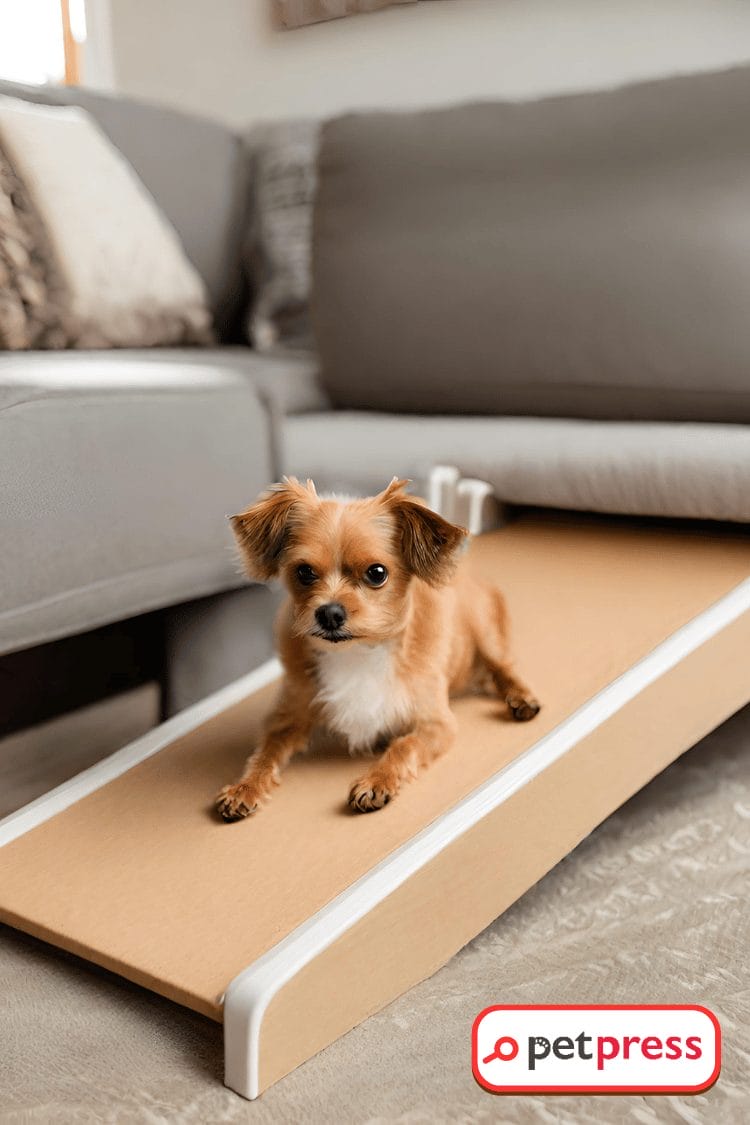
Firstly, safety is paramount. Dogs, especially smaller ones, seniors, or those with joint issues, often struggle with high jumps, potentially leading to injuries or exacerbating existing health conditions. A dog ramp gives your pet a gentle incline to traverse, reducing strain and the risk of injury significantly.
Secondly, a DIY dog ramp fosters independence in your pet. We can’t always be there to hoist our four-legged friends onto the couch. A ramp gives them the freedom to access their favorite spots without your physical help, fostering confidence and self-reliance.
The cost-effectiveness of DIY solutions can’t be overlooked. Pre-made ramps can be pricey, and they may not always suit your specific needs. With a DIY project, you control the budget. You can opt for materials that balance cost, durability, and aesthetics. Plus, there’s a special satisfaction in looking at the comfortable ramp and knowing you built it yourself.
Finally, a DIY approach lets you create something that not only serves a function but also matches your home décor. Whether you want a minimalistic design that blends in or a ramp that makes a statement, you’re in control. You can paint it, stain it, or cover it in a fabric that complements your interior design.
In essence, a DIY dog ramp for your couch is more than a convenience—it’s a blend of safety, independence, cost-effectiveness, and customizability that makes your home even more pet-friendly.
Understanding Your Dog’s Needs
First and foremost, creating a DIY dog ramp for your couch requires an understanding of your dog’s unique needs. It’s important to consider several key factors that might influence the design and structure of the ramp:
- Size: Your dog’s size directly impacts the dimensions of the ramp. Bigger dogs require a more robust and wider ramp, while smaller dogs may prefer a narrower one.
- Agility: Consider your dog’s physical abilities. Athletic breeds might handle steeper inclines, but less agile or older dogs will benefit from a gentler slope.
- Age: Puppies may manage a steeper, narrower ramp without issues, but older dogs or those with joint problems may need a ramp with a gentler incline and additional safety features such as railings.
- Breed: Some breeds are prone to joint issues and might need a ramp designed with extra care to avoid any stress on their joints.
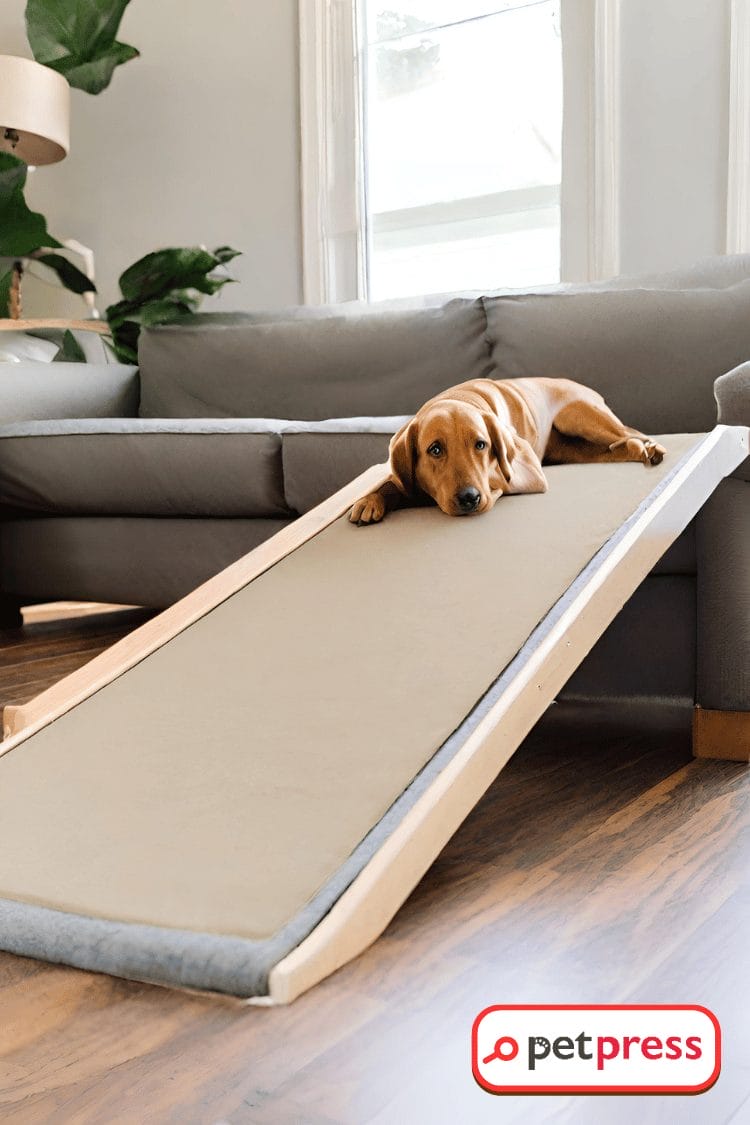
After evaluating these factors, you’ll want to take some measurements to determine the ideal dimensions for your ramp. The length of the ramp should provide a gentle incline—typically, an 18–22 degree angle is ideal. However, the ramp also needs to fit comfortably in your living space without being obtrusive. The width should be ample enough for your dog to move up and down comfortably.
By understanding your dog’s needs and characteristics, you can ensure that your DIY dog ramp doesn’t just become a fixture in your home, but a useful tool that provides safety and independence to your furry friend.
Required Materials and Tools
Creating a DIY dog ramp for your couch is an exciting project that requires a few essential materials and tools. Here’s a comprehensive list that will equip you for the task at hand:
Materials:
- Plywood: This will serve as the primary structure for your ramp. The size will depend on your dog’s size and your couch’s height, but typically, a 3×1.5-foot piece should suffice for medium-sized dogs.
- 2x4s: These will act as the support for your ramp and provide the required strength and stability. You’ll likely need two 3-foot pieces.
- Carpet or Non-Slip Material: A carpet or any non-slip material is crucial to providing grip for your dog’s paws and preventing slips. Enough to cover the plywood should do.
- Screws: These will help secure everything together. Make sure you choose screws that are long enough to hold the plywood and 2x4s firmly but not so long that they protrude.
Tools:
- Saw: To cut your plywood and 2x4s down to size. A circular saw or hand saw will be suitable for this build.
- Power Drill: To secure the screws firmly into your materials.
- Staple Gun: To affix your carpet or non-slip material onto the ramp.
- Tape Measure: To ensure all your cuts and placements are accurate.
- Sandpaper: To smooth out any rough edges after cutting your materials.
Safety Precautions:
Like any DIY project, it’s vital to handle tools with care. Always wear protective gear, including gloves and safety glasses, especially when cutting wood or drilling. Work in a well-ventilated and well-lit area to ensure you can see what you’re doing and circulate dust or fumes. Keep your workspace clean and tidy to avoid accidents, and always ensure your tools are stored safely out of reach when not in use.
Preparing with the right materials, tools, and safety precautions will not only make your DIY dog ramp project go smoother but also ensure a sturdy and safe outcome for your furry friend.
Step-by-Step Guide to Creating a DIY Dog Ramp for Couch
Building a DIY dog ramp for your couch can be a rewarding project. This guide breaks down the process into manageable steps, ensuring a successful outcome.
Step 1: Gather Materials and Tools
Begin by assembling all your materials and tools in one place. This includes plywood, 2x4s, screws, carpet or non-slip material, saw, power drill, staple gun, tape measure, sandpaper, safety glasses, and gloves.
Step 2: Measure and Cut
First, measure the height of your couch, and the length your ramp will need to be for a gentle incline. Use these measurements to cut your plywood for the ramp surface and your 2x4s for the supports. Remember to double-check your measurements before cutting.
Step 3: Assemble the Ramp
Position the 2×4 supports on the sides of the plywood, ensuring they’re flush against the edges. Use the drill to secure screws through the plywood into the 2x4s. It’s best to start at one end and work your way to the other, making sure everything remains aligned.
Step 4: Sand and Finish
Use sandpaper to smooth off any rough edges from the cuts. This is an important step, as it ensures there are no splinters to potentially harm your pet.
Step 5: Apply Non-Slip Material
Cut your carpet or other non-slip material to fit your ramp. Then, use the staple gun to secure it to the plywood, starting at one end and working your way to the other, pulling it tight as you go. Make sure all edges are well secured.
Step 6: Inspect Your Work
Take a moment to inspect your ramp. Test its stability and ensure all screws and staples are secure and not protruding.
Tips for Stability and Durability:
For added stability, consider adding additional 2×4 supports in the middle of the ramp. For durability, opt for weather-resistant materials, especially if you plan to use the ramp outdoors. A coat of paint or wood varnish can also help protect your ramp and give it a finished look.
Adding Finishing Touches:
Adding finishing touches can turn your ramp from functional to fabulous. Consider painting the visible sides of the ramp to match your home décor. If you’ve used carpet, you could add matching or contrasting trim around the edges.
Remember, creating a DIY dog ramp for your couch is as much about individual creativity as it is about practicality. Feel free to add personal embellishments to make your ramp unique to your loving home.
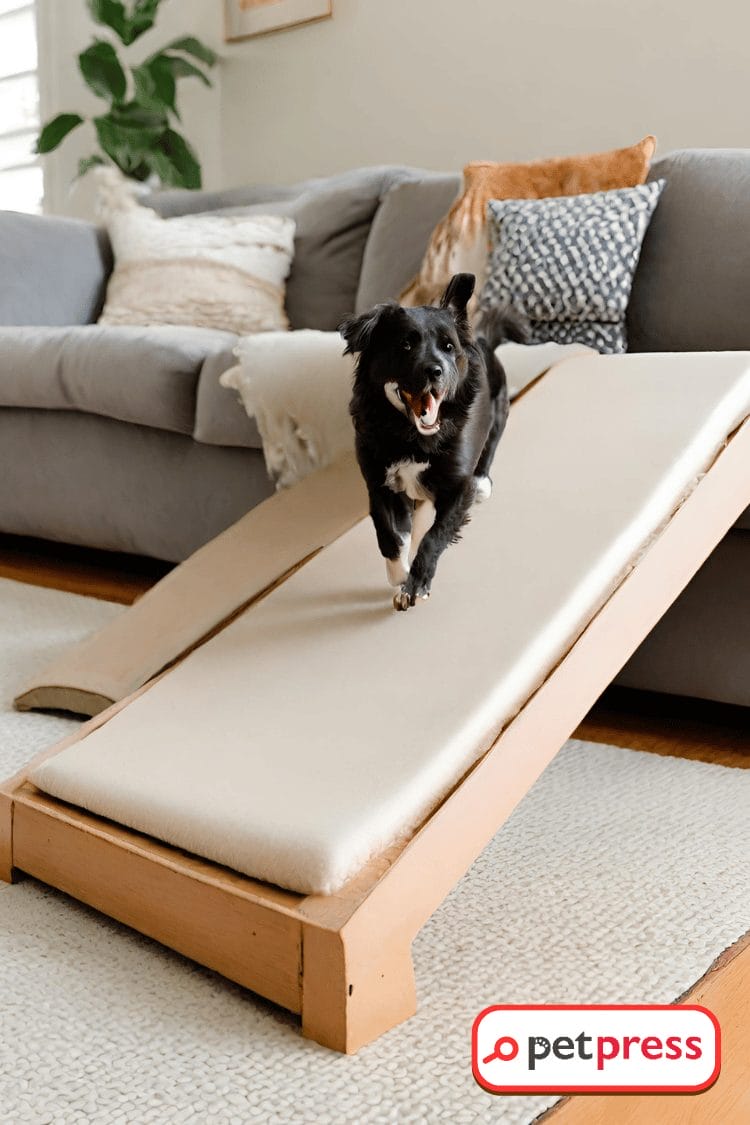
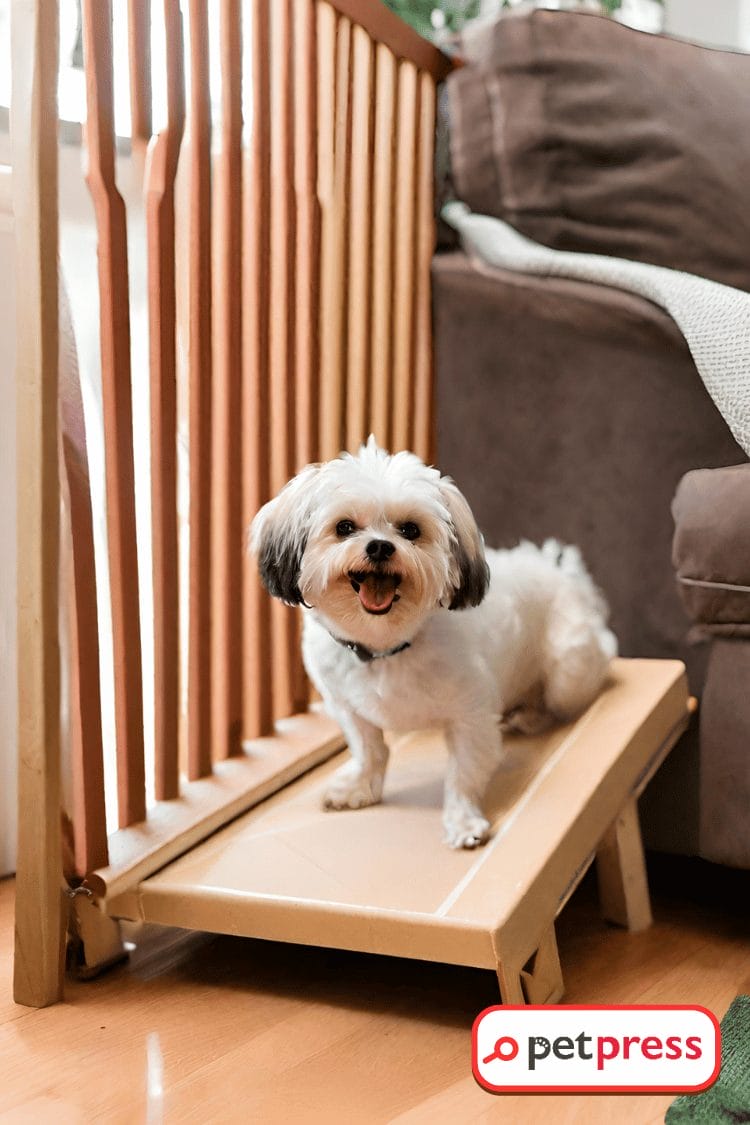
Finally, introduce your furry friend to their new ramp, and watch them enjoy their newfound independence!
Building a DIY dog ramp is a project filled with love and care. You’re not just building a piece of furniture, but a pathway to happiness and convenience for your beloved pet.
Making Your DIY Dog Ramp Safe
Ensuring the safety of your DIY dog ramp is as important as constructing it. Integrating security measures like railings or non-slip coverings is fundamental. Railings on either side of the ramp prevent your pet from accidentally stepping off the edge, providing added security, especially for dogs with vision problems or those unsure about using the ramp.
Meanwhile, non-slip coverings such as carpets provide your pet a safe grip, preventing potential slips.
Introducing your dog to the newly built ramp is another crucial safety step. Start by encouraging your dog to approach the ramp while it’s flat on the ground, allowing them to sniff and familiarize themselves with it.
Gradually raise the ramp to its full height, guiding your dog up and down with treats and positive reinforcement until they are comfortable using it alone.
Maintenance and Care for Your DIY Dog Ramp
Maintaining your DIY dog ramp ensures its longevity and safety. Regular cleaning is necessary, especially if you’ve used a carpet covering, as it can accumulate dirt and pet hair. Use a vacuum for easy cleaning, or follow specific cleaning instructions if you’ve used a different type of non-slip material.
Inspect the ramp frequently for any signs of wear and tear, including loose screws, worn-out carpet, or splintering wood. Address these issues promptly to prevent them from becoming safety hazards. Also, pay attention to your dog’s behavior. If they seem hesitant or struggle while using the ramp, it may need some adjustments.
Remember, the primary purpose of your DIY dog ramp is to provide a safe and comfortable path for your pet. Regular maintenance and vigilance are the keys to ensuring it remains a secure and helpful tool for their needs.
Conclusion
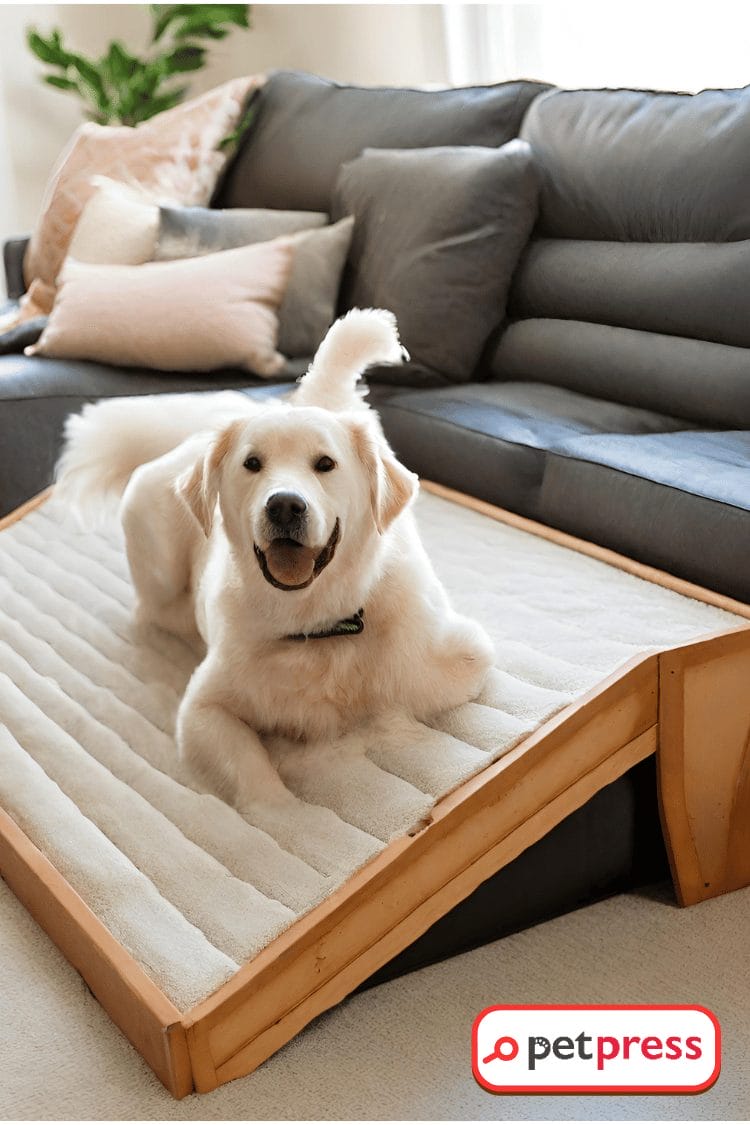
Creating a DIY dog ramp for your couch is a fulfilling project that brings comfort and independence to your furry friend. Not only is it a cost-effective solution, but it also allows personalization and adjustment to your pet’s specific needs. Embrace the journey—it’s a learning process filled with trial and error, leading to a rewarding result.
Now, it’s time to share your achievement! Post pictures of your DIY dog ramp on social media and encourage others to do the same. Your experience could inspire others to embark on this enriching DIY journey. If you found this guide helpful, don’t hesitate to share it on your channels. Let’s spread the word and help create more pet-friendly homes together!
Dive Deeper: Unleash More Pet-Friendly DIY Magic with Our Other Engaging Articles!
DIY Dog Exercise Equipment: Boost Your Pet’s Fitness at Home!
Unveiled: DIY Dog Cone Collar Designs Your Pets Can’t Resist!
Home Project Alert: Build a DIY Dog Ramp for Bed Now!
FAQs about DIY dog ramp for your couch
Dogs, especially smaller, senior, or physically challenged ones, can risk injury while jumping up or down furniture. A ramp provides a safe and easy way for them to navigate.
Absolutely! With some basic tools and guidance, anyone can create a functional and safe dog ramp.
Yes, a DIY dog ramp often costs less than purchasing a pre-made one, and allows you to customize it to your pet’s needs and your home décor.
Ensuring the ramp is stable, adding railings, and covering it with non-slip material are some ways to enhance its safety.
Start by placing the ramp flat on the ground for them to explore. Gradually raise it to full height, guiding them up and down with treats and positive reinforcement.
- Can Cats Eat Carrots? What Every Cat Owner Should Know - July 13, 2026
- Can Cats Eat Broccoli? Is It Safe or Should You Avoid It? - July 9, 2026
- Can Cats Eat Mango? Vet-Reviewed, Risks & Safe Feeding Guide - July 8, 2026
GIPHY App Key not set. Please check settings