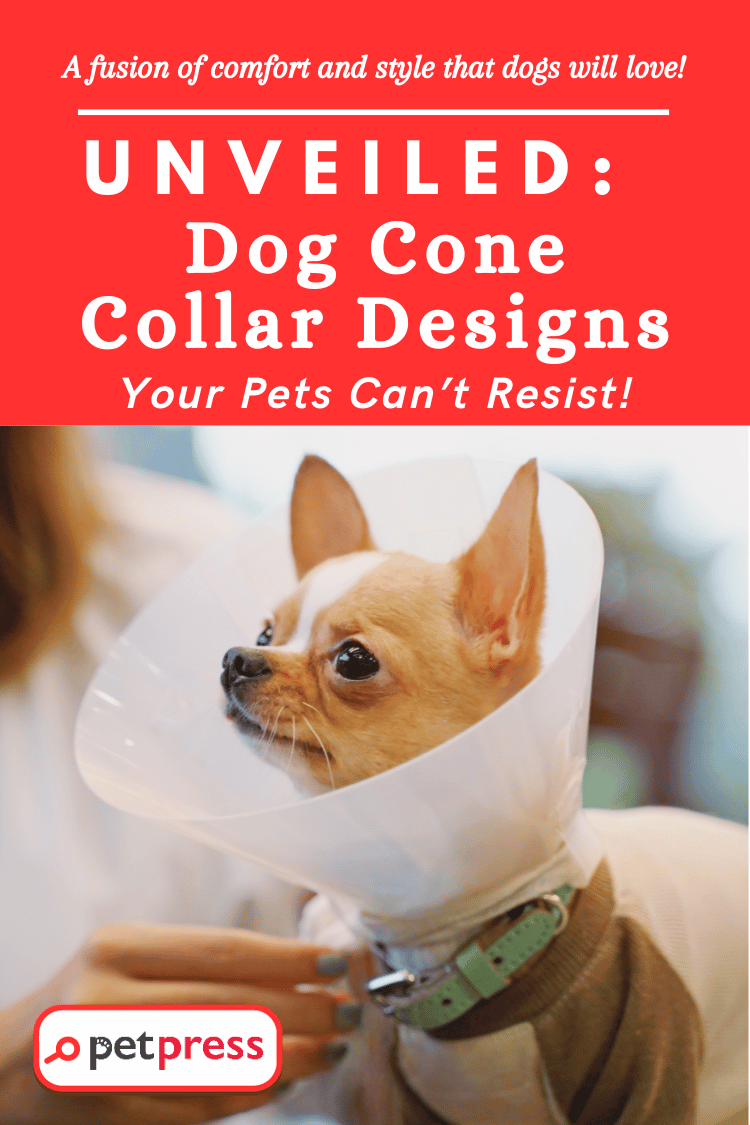
As a passionate pet parent, finding the perfect DIY Dog Cone Collar is a mix of art, love, and care. In answer to the world’s increasing pet care needs, inventive solutions are continually surfacing. Among these innovative breakthroughs, do-it-yourself (DIY) dog cone collars have emerged as champions, offering a fusion of comfort and style that your canine companion won’t be able to resist!
Join us as we delve into the world of DIY dog cone collars – an escape from the clinical aesthetics of traditional medical dog collars that turn recovery into a heartwarming experience.
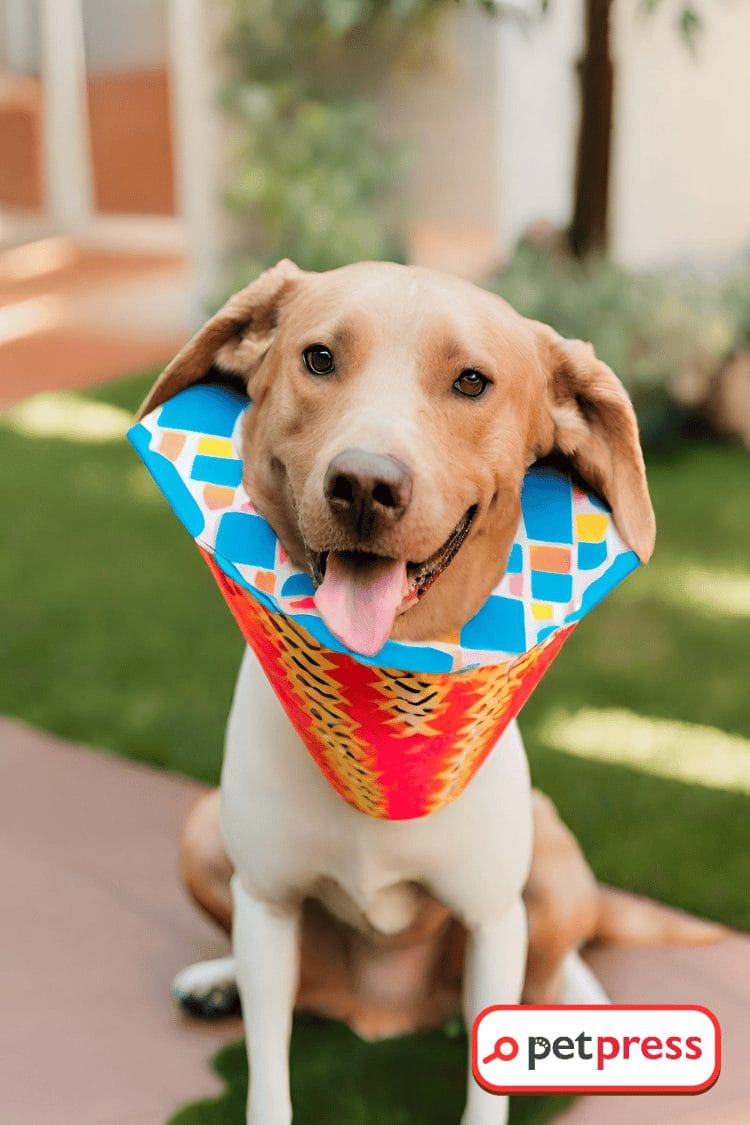
What is a cone collar, and why is it important?
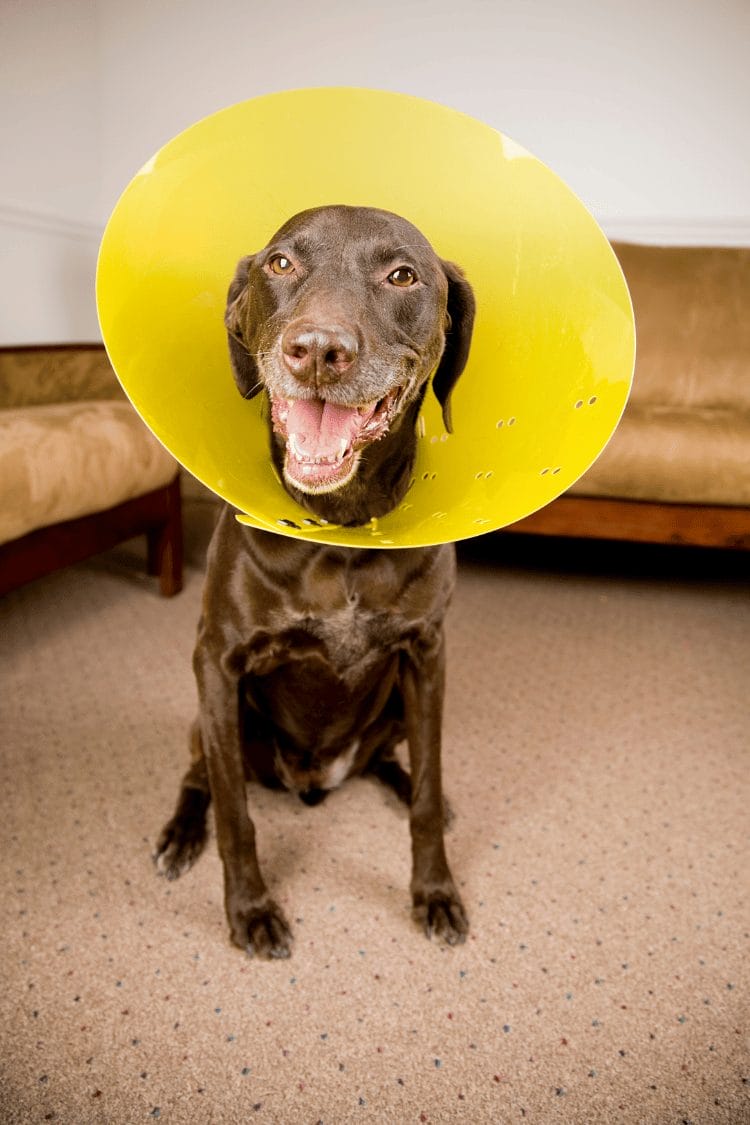
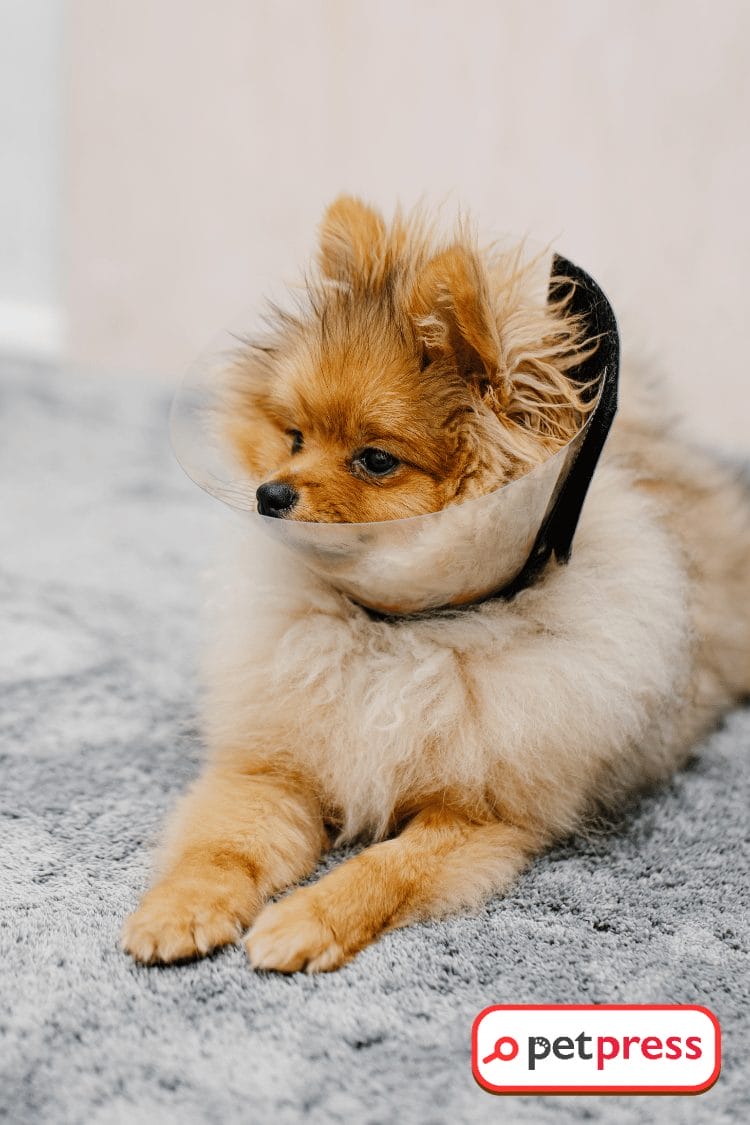
Also known as an ‘Elizabethan collar’ or ‘E-collar’, a cone collar is a protective medical device often used for pets. Its primary purpose is to prevent your furry friends from aggravating a healing wound or removing stitches post-surgery. While it might seem inconvenient or uncomfortable, a cone collar plays a vital role in your pet’s healing process.
However, traditional cone collars often limit our pets’ peripheral vision and can be uncomfortable. This is where DIY dog cone collars come into play. By creating a DIY version, you can tailor-make a cone that fits your pet perfectly in terms of size, comfort level, and even style.

The Rise of DIY Dog Cone Collars
In recent years, the DIY culture has permeated various aspects of our lives, from home decor to beauty hacks to pet care. One particular trend that has taken pet owners by storm is the DIY dog cone collar.
The rise of DIY dog cone collars can be traced back to the universal need pet parents share: providing the best comfort to our furry companions, especially during their vulnerable moments of healing. Traditional cone collars provided a solution but often fell short in the areas of comfort, adaptability, and aesthetics. The sometimes rigid and bulky designs were simply not cut out for every dog’s individual needs.
This gap fueled a creative revolution among pet lovers. Enthusiasts and experts alike began drafting patterns, experimenting with materials, and customizing designs. Thus, the DIY dog cone collar trend was born, with its unique promise of personalized pet care.
DIY dog cone collars offer several notable benefits over their commercial counterparts. First, they provide an ideal balance between protection and comfort. Owners can use plush materials, adjust dimensions, and incorporate design features that cater specifically to their pet’s size and comfort needs.
Second, they allow for a personal touch. DIY collars can be crafted to accommodate a pet’s unique personality or match a pet owner’s aesthetic preferences, making the healing process a bit more pleasant.
Finally, DIY dog cone collars create an opportunity to strengthen the bond between pets and their owners. The process of crafting a cone collar becomes an act of love and care, providing not just physical comfort to the pet but also emotional security, knowing it’s been created by the person they trust the most.
Top 5 DIY Dog Cone Collar Designs
Design 1: The Comfort King
As the name implies, “The Comfort King” is all about providing maximum comfort to your furry friend.
Material Required: Soft fleece fabric, velcro, a measuring tape, and a sewing machine.
Step-by-Step Guide:
- Measure your dog’s neck and add an extra 5-10% for adjustments.
- Cut the fleece fabric into the desired shape and size.
- Sew velcro straps on the ends for easy attachment and removal.
- Try it on your dog and adjust if necessary.
Tips for Use: Always check to ensure the collar is not too tight and obstructing your dog’s breathing.
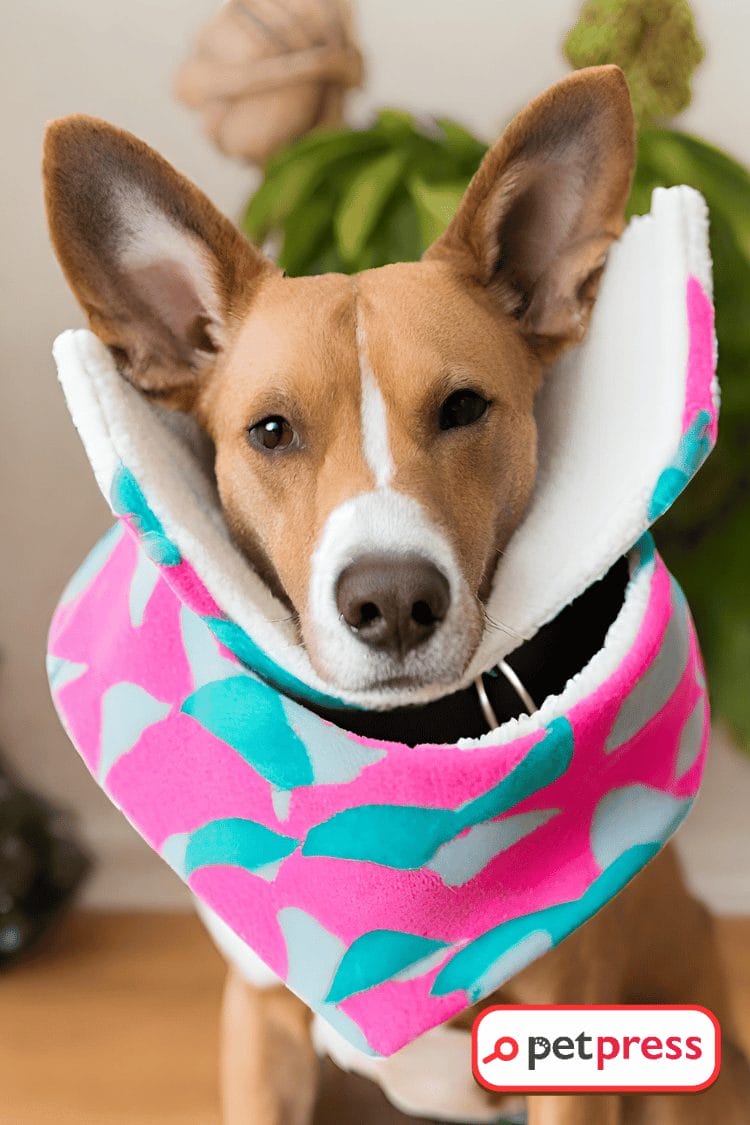
Design 2: The Fashionista’s Choice
“The Fashionista’s Choice” is designed to keep your dog stylish, even in recovery.
Material Required: A fun-patterned fabric, stuffing, and a sewing machine.
Step-by-Step Guide:
- Cut fabric into the shape of an oversized donut.
- Sew around the edges, leaving a small gap for stuffing.
- Stuff the collar and seal the gap.
- Adjust the collar’s size to fit your dog’s neck.
Tips for Use: Regularly check the collar for any wear and tear, especially if your dog is an active one.

Design 3: The Sturdy Guardian
“The Sturdy Guardian” is made to endure the rough and tumble of active dogs while providing the necessary protection.
Material Required: Durable fabric (preferably waterproof), foam for stuffing, and a sewing kit.
Step-by-Step Guide:
- Cut the fabric and the foam into a cone shape, ensuring the fabric piece is larger to accommodate the foam.
- Sew the fabric into a cone shape and insert the foam piece.
- Attach straps for easy adjustment and removal.
Tips for Use: This collar is ideal for outdoor use, but remember to clean it regularly.
Design 4: The Budget-Friendly Pick
“The Budget-Friendly Pick” is a simple, affordable, yet effective design.
Material Required: An old plastic folder, some felt fabric, and adhesive.
Step-by-Step Guide:
- Cut the plastic and felt into a cone shape.
- Glue the felt onto the plastic for added comfort.
- Add straps for adjustability.
Tips for Use: Though budget-friendly, always ensure the safety and comfort of your pet.
Design 5: The Eco-Warrior’s Ideal
“The Eco-Warrior’s Ideal” is for those who love their pets and the planet!
Material Required: An old t-shirt, stuffing (old clothes or fabric scraps), and a sewing machine.
Step-by-Step Guide:
- Cut the t-shirt into a donut shape.
- Sew around the edges, leaving a space for stuffing.
- Insert the stuffing material and seal the gap.
- Try it on your dog for size.
Tips for Use: Regularly wash this collar to ensure cleanliness and comfort.
Essential Tips for DIY Dog Cone Collar Usage
Crafting a DIY dog cone collar can be an exciting project, but it’s essential to remember that the primary goal is to promote your pet’s healing. Here are some crucial tips to ensure the safe and comfortable use of your DIY dog cone collars.
Safety First:
Always prioritize your pet’s safety. Ensure the collar is secure enough that your pet cannot easily remove it but loose enough that it doesn’t restrict breathing. Regularly inspect the collar for any potential hazards, like loose threads or frayed edges, that could harm your pet.
Size it right:
Measure your pet’s neck carefully before crafting the collar. An improperly sized collar can cause discomfort and even fail to prevent your pet from reaching their wounds.
Make it Comfortable:
Use soft and skin-friendly materials. Keep in mind your pet may have to wear this collar for several days or weeks. The more comfortable it is, the less stressful the healing period will be for your pet.
Keep it Clean:
Regularly clean the collar, especially if it’s made of fabric. A clean collar helps prevent any potential infections and ensures your pet’s comfort.
Monitor your Pet:
It’s essential to keep a close eye on your pet while they’re wearing the collar. Watch out for any signs of discomfort, distress, or allergic reactions to the materials used.
Patience and Love:
Lastly, provide extra care and love during this period. The collar might make your pet feel uneasy initially. Comfort them with gentle words, petting, and their favorite treats.
Always remember, these collars are meant to aid in the healing process, not to cause additional stress.
The Impact of DIY Dog Cone Collars on the Pet Community
DIY dog cone collars have sparked a significant shift in the pet community’s perspective towards pet care. This movement has marked a departure from the one-size-fits-all approach, ushering in a more natural, comfortable, and personalized notion of care.
Pet parents are increasingly embracing DIY collars as they realize that they are not only practical but also allow an extra layer of bonding with their pets. Making a collar for your pet is an act of love and care, and this doesn’t go unnoticed by our pets. It changes a potentially stressful healing process into a loving experience.
Moreover, sharing these DIY experiences online has created a community of pet lovers who exchange ideas, inspire each other, and provide support during challenging times. It’s not just about crafting a collar; it’s about sharing a journey of care, warmth, and holistic pet well-being.
Conclusion
Embracing the DIY dog cone collar trend is about prioritizing personalized care for our pets. These creative, easy-to-make designs offer an excellent blend of practicality, comfort, and style, turning a potentially uncomfortable healing process into a more pleasant experience.
By crafting a DIY cone, you provide a custom-fit tool aiding your pet’s recovery while also expressing your love and care. It’s a small project with immeasurable benefits – from fostering a stronger bond with your pet, contributing to their comfort during recovery, and even influencing the broader pet community by sharing your experiences online.
So, why not give it a shot? Craft a DIY dog cone collar for your pet, join the revolution, and don’t forget to share your journey online for others to draw inspiration from.
FAQs about DIY Dog Cone Collars
Safe materials for a DIY dog cone collar include soft fabrics like fleece or cotton, durable fabrics for more active dogs, and even recycled materials like old t-shirts or plastic folders, provided they are cleaned and safe for pet use.
This usually depends on your dog’s specific medical condition. It’s best to follow your vet’s advice on the duration of wear.
Collar cleanliness is essential for the healing process. Regular cleaning depends on the material used, but it’s a good practice to clean or wash the collar every few days.
Yes, but ensure the collar doesn’t cause discomfort. Monitor your dog’s behavior – if they appear distressed or unable to rest, consult your vet.
Patience is essential. Gradually acclimate your dog to the collar. If discomfort persists, consult your vet, as an alternate solution might be necessary.
Hungry for more pet care insights? Dive into our other articles!
Whether you’re on the lookout for more DIY pet projects, expert advice on pet health, or just some heartwarming stories about our furry friends, we’ve got you covered. Head over to our other articles to continue your journey into the fascinating world of pet care. Your next great read is just a click away!
Unlock the Cozy Living for Your Pup:DIY Dog House Door Flap:
DIY Dog House for Large Dog: Easy Designs That Will Wow
DIY Dog Cone: Make Their Recovery Sweeter and Fashionable
- Can Cats Eat Carrots? What Every Cat Owner Should Know - July 13, 2026
- Can Cats Eat Broccoli? Is It Safe or Should You Avoid It? - July 9, 2026
- Can Cats Eat Mango? Vet-Reviewed, Risks & Safe Feeding Guide - July 8, 2026
GIPHY App Key not set. Please check settings