Welcome to the world of creative hamster hideouts, where the joy of crafting meets the comfort of your furry friend.
Hamsters, those adorable little balls of fluff, thrive in environments that cater to their natural instincts.
In this guide, we’ll explore the importance of providing hideouts for your hamster and dive into the exciting realm of crafting DIY hideouts.
Let the fun—and the nesting—begin!
Why Hamsters Need Hideouts
Hamsters, much like us, crave a space they can retreat to, a cozy nook they can call their own.
This desire for a designated hideout is not just a whim; it fulfills essential needs for our furry friends.
Let’s delve into why these hideouts are crucial for the well-being of your hamster.
Sense of security
Hamsters are naturally prey animals, and in the wild, they create burrows to seek shelter from potential predators.
Even in a domestic setting, this instinct remains strong.
Having a hideout provides a secure and enclosed space where your hamster can feel protected and out of sight, reducing stress levels significantly.
Stress reduction
Hamsters share this sentiment.
When their environment lacks a safe hideout, they may experience heightened stress levels.
This stress can manifest in various ways, affecting their behavior, health, and overall well-being.
A hideout serves as a retreat, a haven of tranquility where stress can be alleviated.
Overwhelming moments
Just like us, hamsters have moments when the world seems a bit too chaotic.
Be it during playtime, nap time, or snack time, having a designated hideout allows them to escape momentarily from the hustle and bustle of their surroundings.
This is crucial for their mental health, providing them with the opportunity to recharge and face the world anew.
Promoting natural behaviors
In the wild, hamsters are skilled burrowers, creating intricate tunnels and nests.
By providing a hideout, you’re replicating this natural behavior in a domestic setting.
This not only fulfills their instinctual needs but also contributes to a more enriched and fulfilled life.
Nap, play, snack
A hideout isn’t just a place to escape—it serves multiple purposes.
It’s the perfect spot for a cozy nap, a private playground for playtime adventures, and a secure corner for snack sessions.
Having a versatile hideout enhances the overall quality of your hamster’s life, making their habitat a well-rounded and comfortable space.
- Related post: Comprehensive Guide to DIY Hamster Bedding
- Related post: How To Make a DIY Hamster Cage And Save Money
Materials Needed for DIY Hamster Hideouts
Embarking on the journey of creating a DIY hamster hideout is an exciting endeavor, and the key to success lies in selecting the right materials.
Keeping it simple, safe, and aligned with your hamster’s natural instincts is the goal.
Let’s explore the materials that will not only ensure a secure environment but also cater to your hamster’s innate behaviors.
- Cardboard
- Coconut
- PVC pipes
- Tissue boxes
- Wood
When selecting materials for your DIY hamster hideout, consider the specific preferences and behaviors of your furry friend.
Some hamsters may prefer to chew, while others enjoy burrowing or climbing.
Mixing and matching materials can create a multifaceted hideout that caters to various instincts.
DIY Hamster Hideout Ideas
Now, let’s get crafty!
Explore a variety of DIY hideout ideas that range from a cardboard castle fit for hamster royalty to a coconut hut that brings a touch of the tropics to your hamster’s home.
Whether it’s a PVC pipe playground, a tissue box maze, or a wooden labyrinth, we’ve got creative suggestions to suit every hamster’s personality.
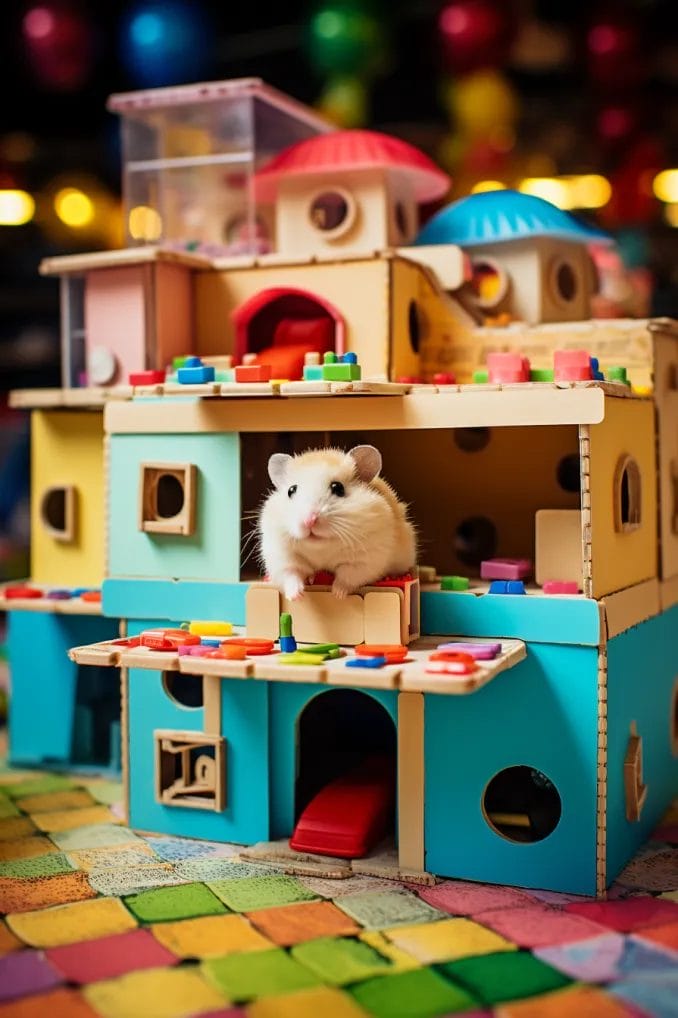
Cardboard Castle
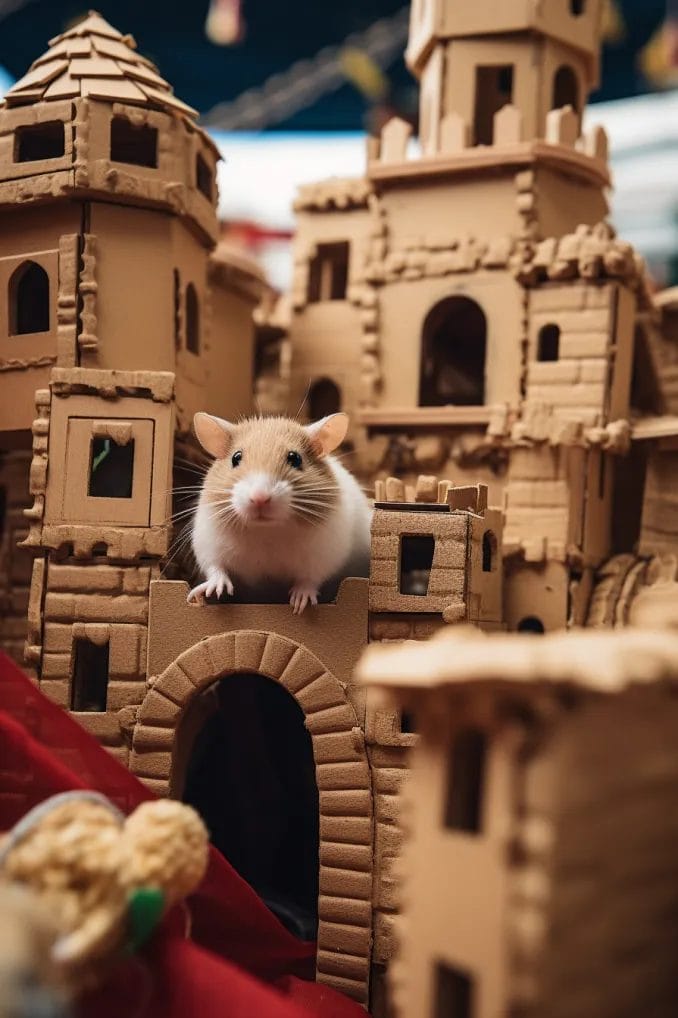
Embark on a royal DIY adventure by constructing a cardboard castle fit for your hamster.
This whimsical hideout not only provides a cozy retreat but also adds a touch of regality to your pet’s habitat.
Let’s delve into the details of creating this majestic fortress.
Materials needed
- Cardboard boxes: Choose sturdy, untreated cardboard boxes of various sizes for the castle’s structure.
- Craft knife or scissors: Ensure precision when cutting out windows, doors, and other details.
- Non-toxic glue: Opt for a safe, hamster-friendly glue to assemble the castle securely.
Steps to create a cardboard castle
Step 1: Designing the castle layout
Lay out the cardboard boxes to plan the castle’s layout. Consider creating towers, a central keep, and a courtyard.
Step 2: Cutting openings
Use the craft knife or scissors to carefully cut out windows and doors. These openings not only serve as entry points but also add a whimsical touch.
Step 3: Decorating the castle
Get creative with decorations! You can use non-toxic paints, safe markers, or even glue on safe fabrics to embellish your castle. Consider creating flags, banners, or faux brick details.
Step 4: Assembling the castle
Use non-toxic glue to secure the boxes together, forming the castle’s structure. Ensure that the glue is dry before placing it in your hamster’s habitat.
Step 5: Placing bedding and comfort items
Line the inside of the castle with hamster-safe bedding material. Add cozy items like shredded paper or safe fabric for comfort.
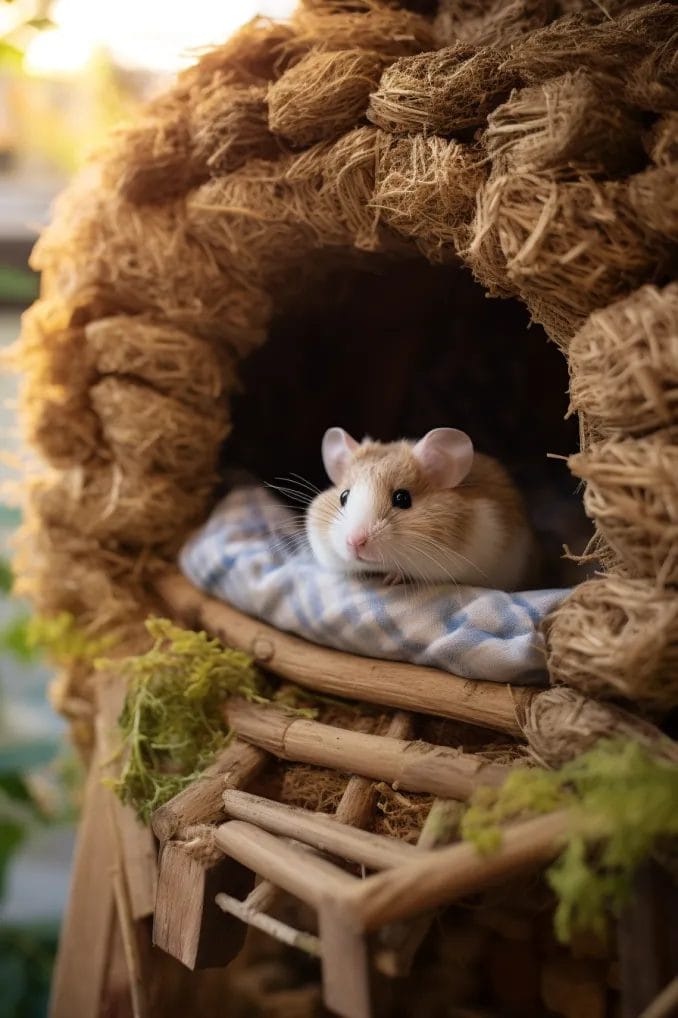
Coconut Hut
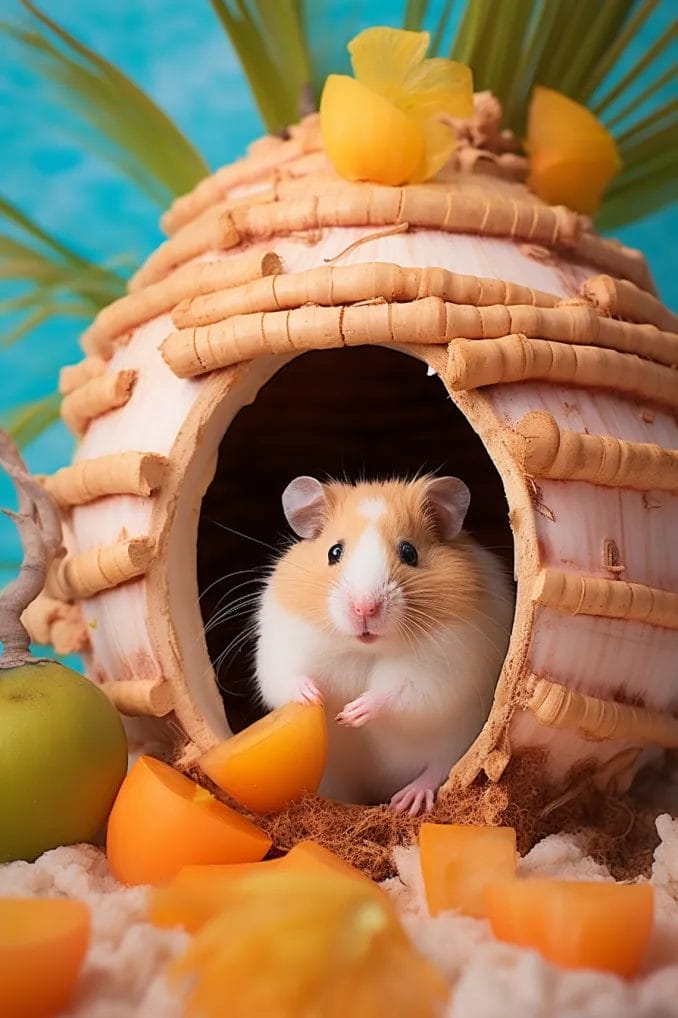
Transport your hamster to a tropical paradise by introducing a cozy coconut hut to their habitat.
This DIY project not only adds a touch of the tropics but also provides a comfortable retreat for your furry friend.
Let’s dive into the details of creating this exotic haven.
Materials Needed
- Coconut: Select a fresh, whole coconut. Ensure it’s free from cracks and has a hard exterior.
- Hammer and screwdriver or drill: These tools will be used to create an entrance and ventilation holes.
- Screw or nail (Optional): Optional for additional stability if needed.
Steps to Create a Coconut Hut
Step 1: Selecting and preparing the coconut
Choose a fresh, whole coconut. Rinse it under water to remove any debris and dirt. Dry it thoroughly.
Step 2: Creating the entrance
With the hammer and screwdriver or drill, carefully create an entrance hole on one side of the coconut. Ensure it’s large enough for your hamster to comfortably enter and exit.
Step 3: Hollowing out the coconut
Use the screwdriver or a similar tool to break the coconut’s flesh, creating a hollow space inside. Remove any coconut water or flesh, leaving a comfortable space for your hamster.
Step 4: Ventilation holes (optional)
To ensure proper ventilation, create small holes around the coconut using the screwdriver or drill. This step is crucial for your hamster’s well-being.
Step 5: Optional stability enhancement
If the coconut seems unstable, you can secure it by driving a screw or nail through the bottom into a stable surface. Ensure it’s tightly secured to prevent any accidents.
Step 6: Placing bedding and comfort items
Line the inside of the coconut hut with hamster-safe bedding material. Add shredded paper or safe fabric to create a cozy environment.
PVC Pipe Playground
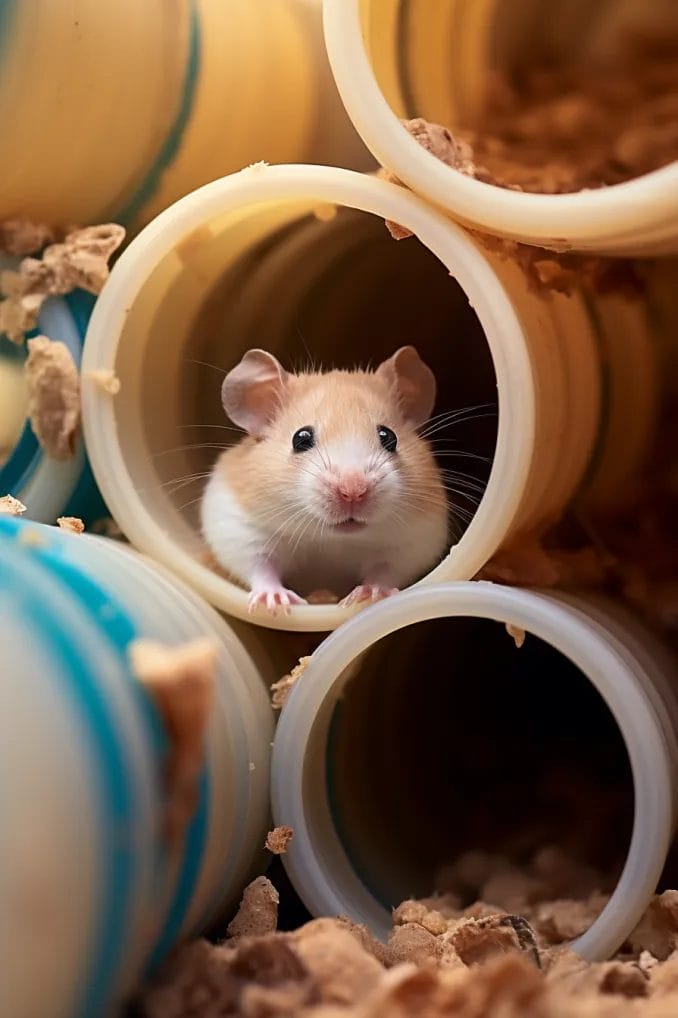
Transform your hamster’s habitat into a thrilling playground by crafting an imaginative paradise using PVC pipes.
This DIY project not only stimulates your hamster’s curious nature but also offers endless entertainment.
Let’s dive into the details of creating a PVC pipe playground for your furry friend.
Materials needed
- PVC pipes: Select PVC pipes of various sizes to create tunnels and hideouts. Ensure they are clean and free from any sharp edges.
- PVC connectors: Use connectors to join the pipes securely, creating a stable structure.
- PVC pipe cutter or hacksaw: A cutter or hacksaw will be handy for cutting the pipes to your desired lengths.
Steps to create a PVC pipe playground
Step 1: Planning the playground layout
Envision the layout of your playground. Consider creating tunnels, twists, turns, and hideouts. Plan where the PVC pipes will connect to form a stable structure.
Step 2: Cutting the PVC pipes
Using the PVC pipe cutter or hacksaw, cut the pipes to your desired lengths. Ensure the edges are smooth to prevent any harm to your hamster.
Step 3: Assembling the playground
Connect the PVC pipes using the PVC connectors to build the playground structure. Experiment with different configurations to create an engaging and varied environment.
Step 4: Creating hideouts and tunnels
Position the pipes to form hideouts and tunnels. Ensure there are openings for your hamster to enter and exit each section comfortably.
Tissue box maze
Elevate your hamster’s playtime with a DIY tissue box maze that transforms a common household item into a captivating adventure zone.
This imaginative project not only stimulates your hamster’s exploration instincts but also provides a fun and engaging space for them to navigate.
Let’s delve into the details of creating a tissue box maze for your curious companion.
Materials needed
- Empty tissue boxes: Collect empty tissue boxes of various sizes. Ensure they are clean and free from any residue.
- Craft knife or scissors: Use a craft knife or scissors for precision when cutting openings and passages.
Steps to Create a Tissue Box Maze:
Step 1: Gathering tissue boxes
Collect a variety of empty tissue boxes. The diversity in size and shape will add complexity to the maze.
Step 2: Planning the maze design
Envision the layout of your maze. Consider cutting openings on different sides of the tissue boxes to create passages and hidden corners.
Step 3: Cutting openings and passages
Use a craft knife or scissors to carefully cut openings and passages in the tissue boxes. Vary the sizes to accommodate your hamster’s exploration.
Step 4: Assembling the maze
Arrange the tissue boxes to create a maze layout. Connect them in different orientations to add twists and turns.
Wooden labyrinth
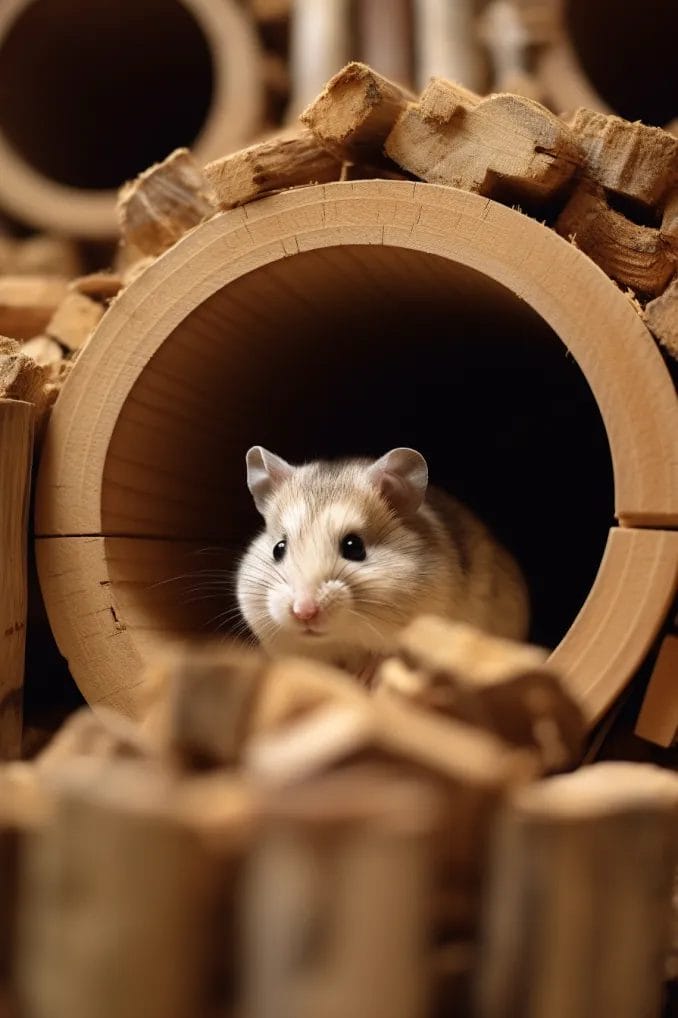
Take your hamster’s habitat to the next level with a DIY wooden labyrinth, introducing ramps, levels, and hiding spots for an enriching and adventurous environment.
This project not only challenges your hamster’s agility but also provides a unique and engaging space for them to explore.
Let’s delve into the details of crafting a wooden labyrinth for your furry friend’s home.
Materials needed
- Wooden boards: Select sturdy wooden boards of varying sizes. Ensure they are safe for your hamster and free from any harmful coatings.
- Saw: Use a saw to cut the wooden boards into different shapes for ramps, levels, and platforms.
- Wood glue: Use wood glue to securely attach the wooden pieces, creating a stable labyrinth structure.
Steps to Create a Wooden Labyrinth
Step 1: Choosing wooden boards
Select wooden boards that are safe for your hamster. Avoid treated or painted wood that may contain harmful substances.
Step 2: Planning the labyrinth design
Envision the layout of your labyrinth. Consider incorporating ramps, levels, and hiding spots to make it engaging for your hamster.
Step 3: Cutting wooden pieces
Use a saw to cut the wooden boards into various shapes. Create ramps with gentle slopes and platforms with different elevations.
Step 4: Assembling the labyrinth
Arrange the cut pieces to create a labyrinth structure. Use wood glue to securely attach the components, ensuring stability.
Step 5: Adding hiding spots
Introduce hiding spots by incorporating small enclosures or shelters within the labyrinth. This provides your hamster with cozy retreats.
Step 6: Sanding edges
Smooth out any rough edges using sandpaper to ensure the labyrinth is safe for your hamster to explore.
Tips for Introducing DIY Hideouts
Introducing DIY hideouts to your hamster’s habitat is an exciting venture that requires a thoughtful and gradual approach.
The key to success lies in understanding your hamster’s preferences and observing their reactions.
Here are some tips to ensure a seamless and stress-free introduction of handmade havens into your hamster’s living space:
- Gradual introduction: Introduce the new hideouts gradually, allowing your hamster to become familiar with each one at their own pace. This prevents overwhelming your pet with too many changes at once.
- Observe reactions: Pay close attention to your hamster’s reactions as they encounter each hideout. Some hamsters may immediately explore, while others might be more cautious. Understanding their comfort level is crucial.
- Favorite scents and treats: To encourage exploration, place familiar scents or treats inside the hideouts. This will entice your hamster to venture inside and associate the hideout with positive experiences.
- Create a cozy environment: Ensure that the hideouts are positioned in cozy corners of the cage, providing a sense of security for your hamster. Consider placing them near existing favorite spots.
- Patience is key: Be patient during the introduction process. Hamsters may take time to adjust to new additions. Allow them to explore at their own pace, and don’t force them into the hideouts.
- Rotate hideouts periodically: Keep the environment dynamic by rotating the hideouts periodically. This introduces variety and prevents boredom, encouraging continued exploration.
- Positive reinforcement: Offer positive reinforcement when your hamster uses the hideouts. If you notice them enjoying a particular hideout, provide a treat or gentle praise to reinforce the positive association.
- Comfort and safety: Ensure that the hideouts are comfortable and safe. Check for any sharp edges, loose parts, or signs of wear regularly. Your hamster’s well-being is the top priority.
Conclusion
Crafting DIY hamster hideouts isn’t just about creating a cozy space; it’s about fostering a happy and healthy environment for your furry companion.
From simple cardboard creations to elaborate wooden labyrinths, the possibilities are as endless as your hamster’s curiosity.
So, gather your materials, unleash your creativity, and watch as your hamster discovers the joy of their new hideaway.
Here’s to crafting comfort for your hamster—because every tiny friend deserves a space to call their own!
- Related post: 10+ Best DIY Hamster Toy To Keep Your Cute Hamster Entertained
- Related post: How To Take Care Of A Hamster – Tips and Tricks
- Can Cats Eat Blueberries? What Cat Owners Need To Know - July 15, 2026
- Can Cats Eat Carrots? What Every Cat Owner Should Know - July 13, 2026
- Can Cats Eat Broccoli? Is It Safe or Should You Avoid It? - July 9, 2026
GIPHY App Key not set. Please check settings