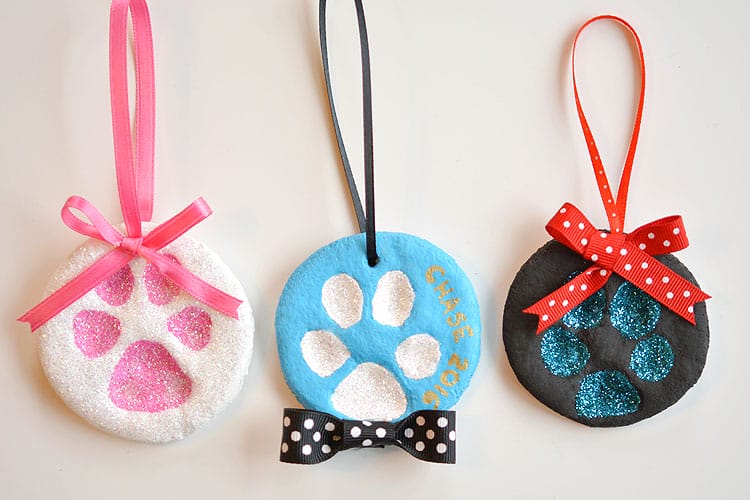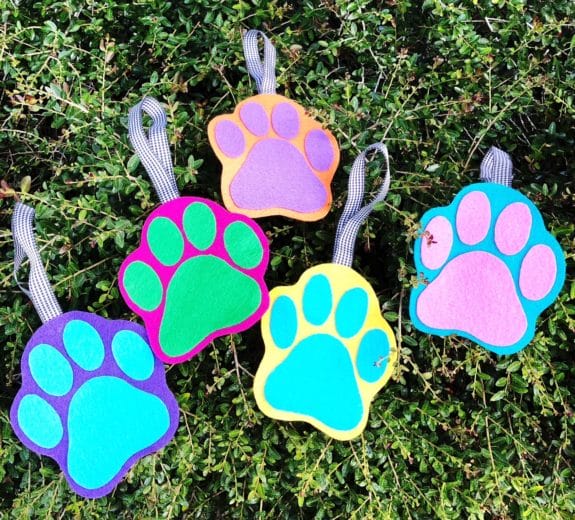
If you are a dog lover and want to spend this Christmas with your furry best friend, you should make your own pawn ornament to hang on your christmas tree. It’s very easy to make and of course it’s low-budget.
Since you still have time to make a paw ornament, here we wrap up to you how to make a dog’s paw print ornament and what you need to make one.
So here’s what you should prepare to make your own dog’s print ornaments
Modelling Clay
Round Cookie Cutters
Craft Glue
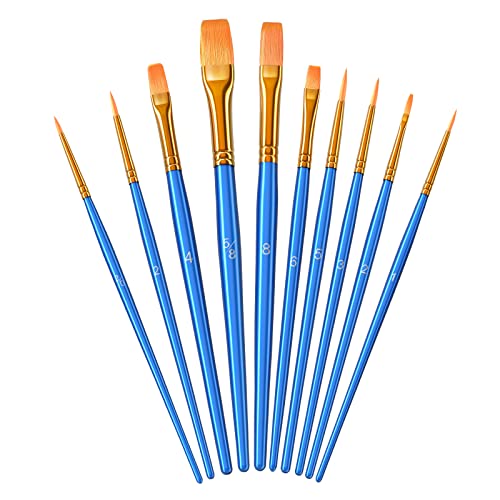
Small Brushes
Gold Ribbon
Glitter Shake Jars
Rolling pin
If you got all the needed tools, here are step by step to make your own dog’s paw print ornament
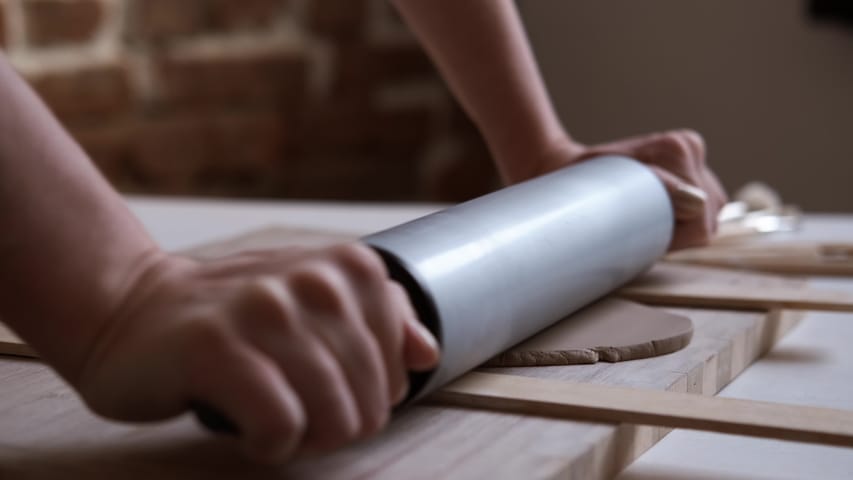
Step # 1: Flatten modeling clay
Before you do anything, you should flatten your modeling clay using a rolling pin. It can be tough to work with, and you can stop until it’s thick enough, but don’t flatten too thick because you want to implant your dog paw.

Step #2: Cut your modeling clay
After you’ve done with your modeling clay, cut it using your cutters into many parts. And make sure to do your best to not damage the shape.
Step #3: Implant your dog’s paw prints
Make sure to wipe your dog’s paw before implant it into your clay. When they’re paws clean, do the paw pressing. Since you wanna make it good, you have to make sure a little bit of pressure on all the parts of the paw.

And since you wanna put ribbon or string or something in there, make sure to make a hole on the top of the clay.
After all is done, you should wait at least 24 hours to set up and dry. But it all depends on the clay whether it can dry fast or not.
Step #4: Add Glue and glitter to the implanted dry clay
Put a little drop of glue in the center of the place where you wanna put your glitter to stick, and then use your brushes to spread it out. And repeat this step to all of your implanted clay!
And voila!! You have your own dog’s paw print ornament that you can hang on the Christmas tree

- Essential Oils Safe for Cats: What Every Pet Owner Needs to Know - May 23, 2025
- Herbal Supplements for Cats: A Natural Approach to Cat Wellness - May 21, 2025
- Signs of a Healthy Cat Coat: What Every Cat Owner Should Know - May 19, 2025


GIPHY App Key not set. Please check settings