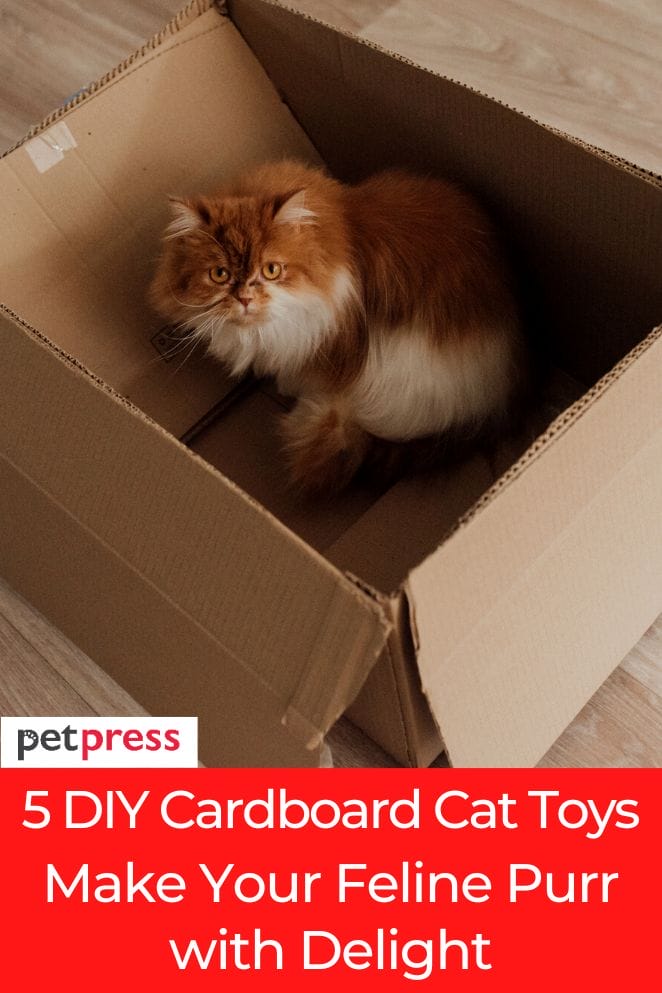
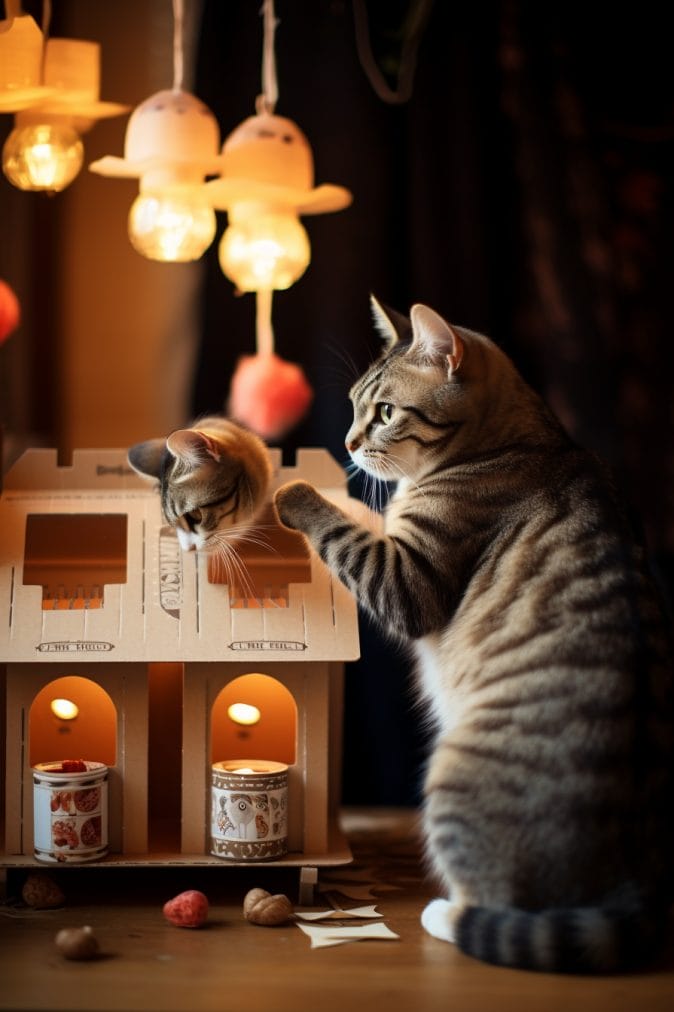
Cats are known for their love of cardboard boxes, but did you know that you can take it a step further by creating DIY cardboard cat toys?
Not only are they a source of endless entertainment for your furry friend, but they also come with a plethora of benefits.
In this guide, we’ll explore the safety of cardboard toys, the innate fascination cats have with cardboard, and why creating your own cardboard cat toys is a purrfect idea.
Are cardboard toys safe for cats?
Before delving into the world of DIY cardboard cat toys, it’s essential to address the safety concerns.
Rest assured, cardboard is generally safe for cats.
However, it’s crucial to avoid using cardboard boxes that may contain harmful chemicals or toxins.
Always opt for clean, non-toxic cardboard to ensure your cat’s well-being.
Do cats love cardboard boxes?
Absolutely!
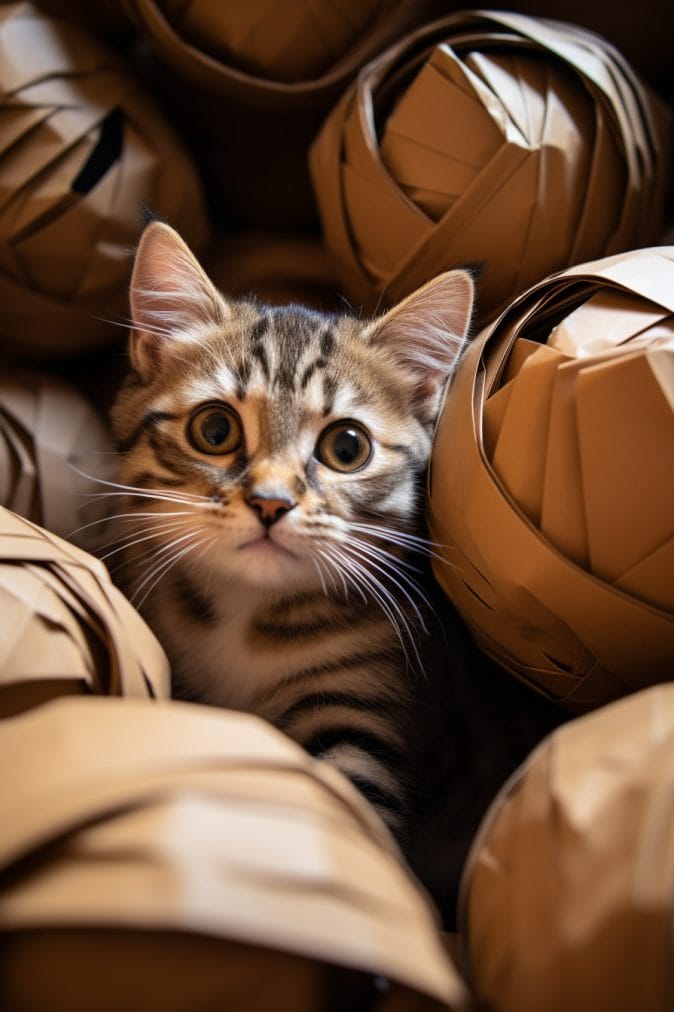
Cats are inexplicably drawn to cardboard boxes. It’s not just a cliché – it’s a well-documented fact.
The simple, crinkly texture of cardboard engages their senses, providing both a comfortable lounging spot and a fantastic play area.
Now, imagine turning that cardboard fascination into a creative playtime experience with DIY toys.
- Read also: DIY Cat Fountain
- Read also: Guide to DIY Cat Enrichment
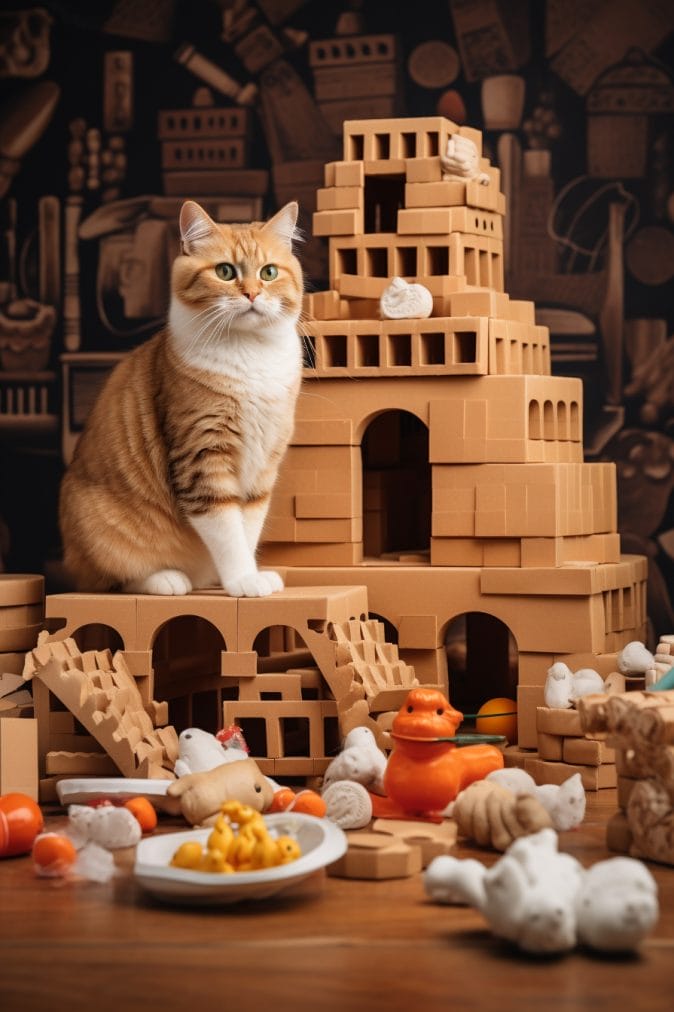
Benefits of DIY Cardboard Cat Toys
Cost-effective
Cardboard is not only easily accessible but also incredibly budget-friendly.
By repurposing cardboard into toys, you’re not only saving money but also contributing to a more sustainable lifestyle.
Environmentally friendly
In a world that’s becoming increasingly conscious of our environmental footprint, repurposing cardboard is a small yet impactful step towards sustainability.
Choosing DIY cardboard toys over store-bought alternatives reduces waste and showcases your commitment to a greener lifestyle.
Customizable
One of the most significant advantages of DIY cardboard cat toys is the ability to tailor them to your cat’s unique preferences.
From the design to the choice of materials, customization ensures that your feline friend gets the most enjoyment out of their playtime.
Durable
A well-constructed cardboard toy can withstand the most enthusiastic play sessions.
Reinforce the edges with a bit of tape or glue, and you’ll have a toy that can endure countless pounces, scratches, and bites.
Satisfies natural instincts
Cats are natural hunters, scratchers, and pouncers. DIY cardboard toys provide an outlet for these instincts, enriching their environment and promoting both physical and mental well-being.
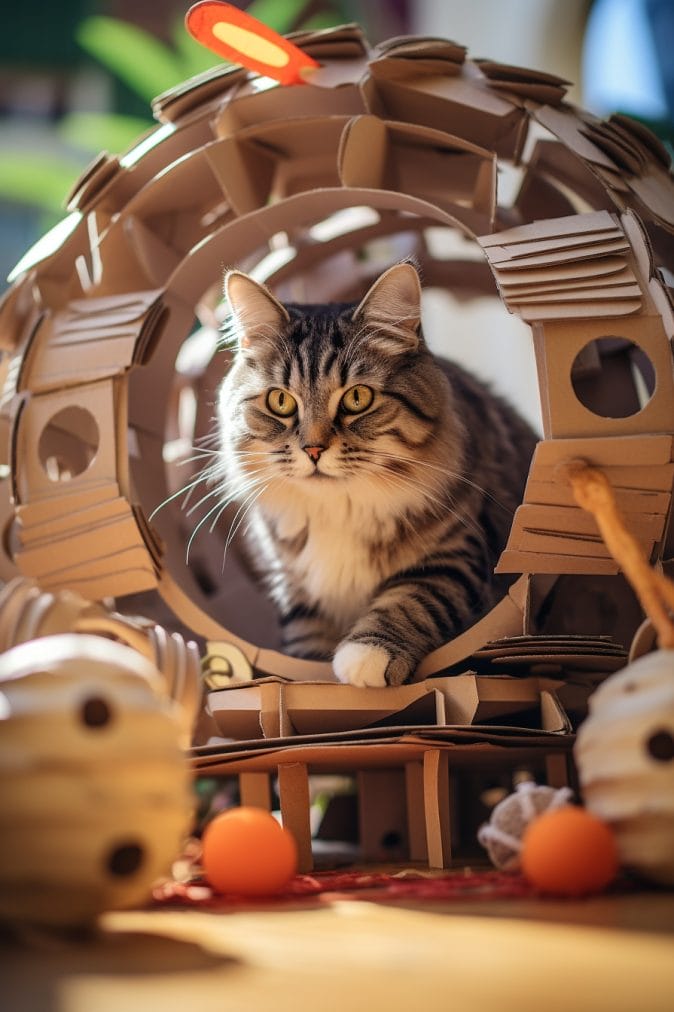
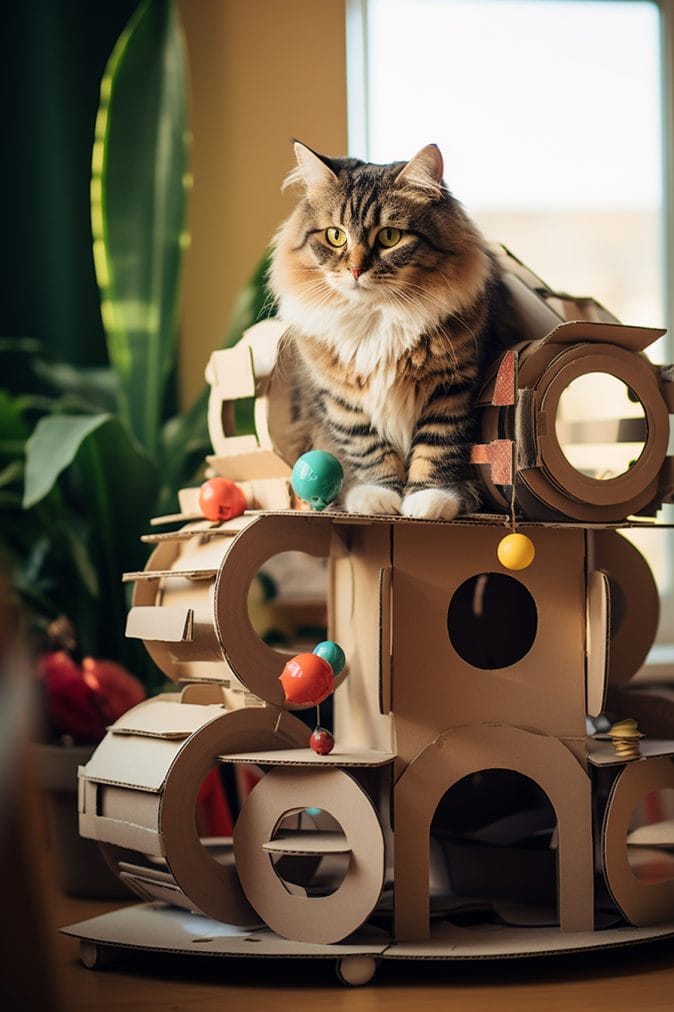
DIY Cardboard Cat Toy Ideas
Cat Tunnels
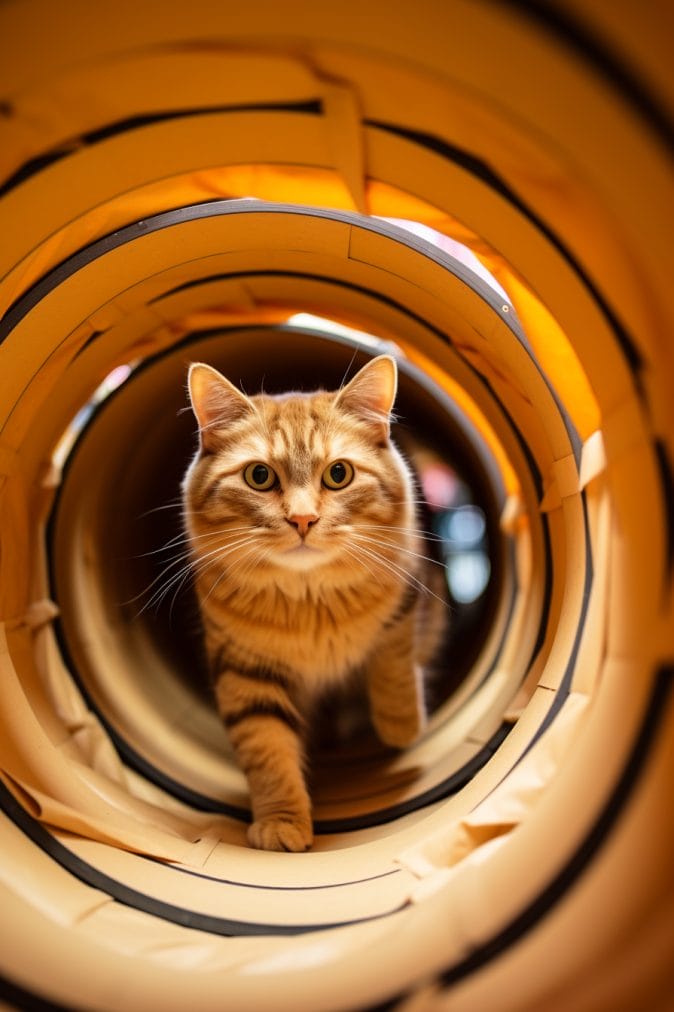
Transform cardboard boxes into a maze of tunnels, complete with peek-holes and dangling toys. It’s a feline adventure waiting to happen!
Materials needed
- Cardboard Boxes (various sizes)
- Packing tape
- Box cutter or scissors
- Cat toys (small and lightweight)
- String or twine
- Marker
- Blanket or soft fabric (optional)
- Catnip (optional)
Instructions
Creating a stimulating environment for your feline friend doesn’t have to break the bank.
With just a few materials and a dash of creativity, you can turn ordinary cardboard boxes into an adventurous maze of tunnels.
Follow these simple steps to craft a whisker-approved playground for your curious cat:
Step 1: Gather your materials
Collect cardboard boxes of different sizes – think shoeboxes, mailing boxes, and anything in between.
Ensure they are clean and free from any sticky substances.
Gather packing tape, a box cutter or scissors, cat toys, string or twine, a marker, and optional items like a blanket or soft fabric and catnip.
Step 2: Plan your maze
Use the marker to sketch out a rough plan for your cat tunnel maze on the boxes.
Consider incorporating curves, intersections, and dead-ends to add intrigue for your furry friend.
Don’t forget to include peek holes and openings for your cat to explore.
Step 3: Cut and connect
Carefully cut along the marked lines using a box cutter or scissors.
Assemble the boxes into tunnels by securing them with packing tape.
Create connections between boxes by leaving openings or cutting flaps that allow your cat to navigate seamlessly through the maze.
Step 4: Add peek-holes and dangling toys
Enhance the excitement by incorporating peek holes along the sides of the tunnels.
Cats love surprises, so consider dangling lightweight toys from the ceiling of the tunnels using string or twine.
Ensure these toys are securely attached and won’t pose any hazards.
Step 5: Make it cozy (optional)
If you want to create a cozy retreat within the maze, line the interior with a soft blanket or fabric.
Cats often appreciate a comfortable spot to rest and survey their kingdom.
Sprinkle a bit of catnip inside for an extra touch of feline paradise.
Step 6: introduce your cat
Once your DIY cat tunnels are assembled, introduce your cat to the new playground.
Be patient, as some cats may be cautious at first. Encourage exploration by placing treats or favorite toys within the tunnels.
Observe your cat’s reactions and adjust the maze accordingly if needed.
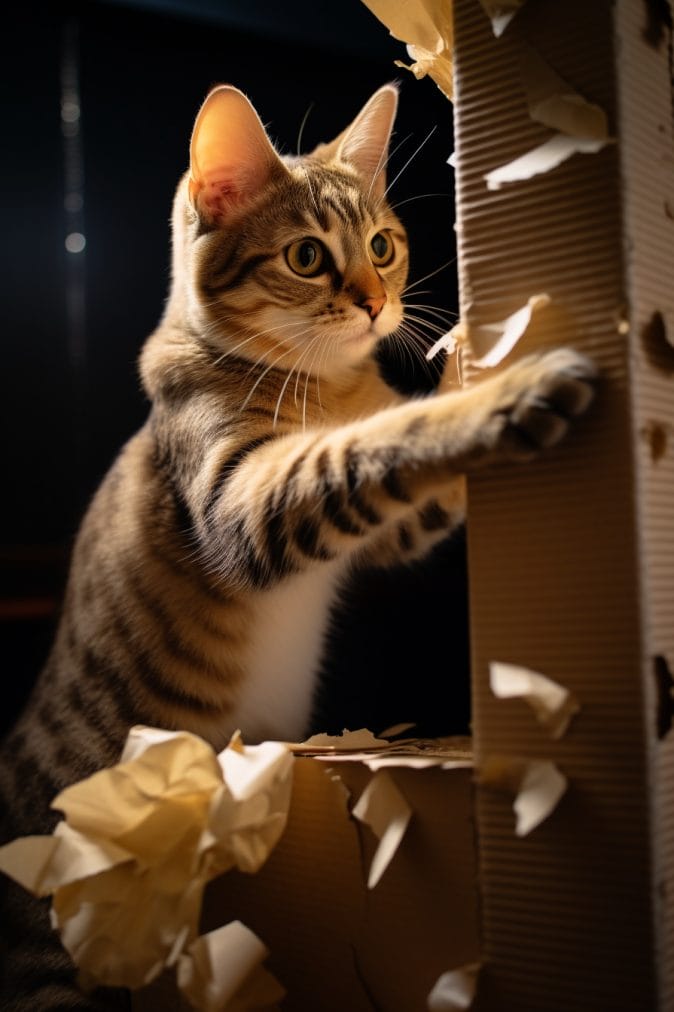
Scratching Posts
Materials needed
- Cardboard tubes or boxes
- Sisal rope or carpet remnants
- Hot glue gun and glue sticks
- Scissors
- Marker
- Optional: wooden base or disc (for stability)
Instructions
Give your feline friend a stylish and satisfying outlet for their scratching instincts with this simple and budget-friendly DIY scratching post project.
By repurposing cardboard tubes or boxes, you’ll create a durable and attractive scratching surface that promotes healthy claws and provides stress relief.
Follow these easy steps to craft a purr-fect scratching post for your furry companion:
Step 1: Gather your materials
Collect cardboard tubes or boxes of varying sizes.
Ensure they are clean and free from any sticky substances.
Gather sisal rope or carpet remnants, a hot glue gun with glue sticks, scissors, a marker, and, if desired, a wooden base or disc for added stability.
Step 2: Prepare the base (Optional)
If you’ve opted for a wooden base, ensure it is stable and wide enough to prevent tipping.
This step adds extra durability to your scratching post.
Attach the cardboard tube or box to the center of the base using hot glue, ensuring a secure bond.
Step 3: Mark the starting point
Use a marker to indicate the starting point on the cardboard tube or box where you’ll begin wrapping the sisal rope or carpet.
This will help you maintain a neat and even appearance as you cover the surface.
Step 4: Apply hot glue
Starting at the marked point, apply a small amount of hot glue to the cardboard, then press the end of the sisal rope or carpet onto the glue.
Hold it in place for a few seconds to allow the glue to set. This initial anchor point ensures a secure start for wrapping.
Step 5: Wrap and glue
Continue wrapping the sisal rope or carpet tightly around the cardboard, applying hot glue periodically along the way to secure the material in place.
Keep the wraps close together to create a dense and durable scratching surface.
Take your time to ensure a snug fit.
Step 6: Trim and secure the end
Once you reach the desired height or cover the entire surface, trim the sisal rope or carpet and secure the end with a final application of hot glue.
Press the end firmly to ensure it stays in place.
If using a box, cover all sides for a 360-degree scratching experience.
Step 7: Let it set
Allow the hot glue to fully dry and set before introducing the scratching post to your cat.
This ensures a stable and safe play environment for your feline friend.
Step 8: Introduce to your cat
Place the finished scratching post in a location where your cat loves to scratch.
Encourage them to use it by gently guiding their paws to the post or rubbing a bit of catnip on the surface.
Positive reinforcement will help establish the scratching post as their go-to spot.
Crinkly Cat Balls
Materials needed
- Cardboard boxes (small to medium-sized)
- Crumpled paper or fabric scraps
- Tape or glue
- Catnip (optional)
- Bells or small toys (optional)
- Colored markers (optional)
Instructions
Elevate your cat’s playtime to a new level with these DIY crinkly cat balls.
By repurposing cardboard boxes and simple materials, you can create engaging and crinkly toys that will keep your feline friend entertained for hours.
Follow these step-by-step instructions to craft personalized crinkly cat balls:
Step 1: Gather your materials
Collect small to medium-sized cardboard boxes.
Ensure they are clean and free from any sticky substances.
Prepare crumpled paper or fabric scraps, tape or glue, catnip (optional), bells or small toys (optional), and colored markers if you want to add a decorative touch.
Step 2: Choose your box size
Select the size of the cardboard boxes based on your cat’s preference and the space where they usually play.
Smaller boxes are ideal for batting around, while slightly larger ones can be hugged and kicked.
Step 3: Prepare the filling
Crumple paper or use fabric scraps to fill the selected boxes.
Ensure the filling is snug but not overly tight, allowing the box to retain its shape while providing a satisfying crinkly texture when touched.
If your cat is a fan of catnip, consider adding a pinch to the filling for added allure.
Step 4: Secure the opening
Seal the opening of the box with tape or glue to prevent the filling from escaping.
Make sure the closure is secure, as this will be the point of interaction for your cat.
Step 5: Decorate (optional)
If you want to add a personal touch, use colored markers to decorate the exterior of the box.
Simple patterns or your cat’s name can add a playful element to the crinkly cat ball.
Ensure the markers are pet-safe and won’t harm your cat.
Step 6: Add bells or toys (Optional)
For extra sensory stimulation, consider placing small bells or toys inside the box before sealing it.
The sound and movement will capture your cat’s attention, making the crinkly ball even more enticing.
Step 7: Introduce to your cat
Place the finished crinkly cat ball in your cat’s play area and watch the excitement unfold.
Encourage them to bat, chase, and explore the new toy.
The crinkly texture and added surprises will engage their natural instincts and provide hours of entertainment.
Step 8: Rotate and refresh
To keep the playtime excitement alive, rotate different crinkly cat balls periodically.
Consider refreshing the filling or adding new elements to maintain your cat’s interest in their handmade toys.
Treat Dispensers
Materials needed
- Cardboard box (medium to large-sized)
- Box cutter or scissors
- Cat treats
- Pencil
- Ruler
- Small plastic cups or containers
- Tape
- Catnip (optional)
Instructions
Elevate your cat’s playtime by transforming a simple cardboard box into a captivating treat dispenser.
This DIY project not only provides mental stimulation for your feline friend but also rewards their efforts with tasty treats.
Follow these step-by-step instructions to create an engaging treat dispenser for your cat:
Step 1: Gather your materials
Select a medium to large-sized cardboard box. Ensure it is clean and free from any sticky substances.
Gather a box cutter or scissors, cat treats, a pencil, a ruler, small plastic cups or containers, tape, and catnip if you want to add an extra layer of allure.
Step 2: Plan the dispenser design
Consider the size and shape of the box, and envision where you want to place the treat dispensing holes.
Draw circles or squares on various sides of the box using a pencil and ruler.
Ensure the holes are large enough for treats to pass through but not too big, so it remains a challenge for your cat.
Step 3: Cut the dispensing holes
Carefully use a box cutter or scissors to cut out the shapes you’ve marked on the box.
Take your time to create clean and precise openings.
These dispensing holes will be the key to the interactive and rewarding nature of the treat dispenser.
Step 4: Prepare the treats
Choose your cat’s favorite treats and fill small plastic cups or containers with them.
This step helps control the portion size and prevents the treats from scattering inside the box.
If your cat enjoys catnip, you can sprinkle a small amount inside the box as an additional incentive.
Step 5: Insert treat cups
Place the treat-filled cups or containers inside the box, aligning them with the dispensing holes.
Tape them securely in place, ensuring they won’t easily fall out.
This step adds an extra layer of challenge, as your cat will need to figure out how to extract the treats.
Step 6: Introduce to your cat
Place the treat dispenser in your cat’s play area and watch the excitement unfold.
Encourage them to explore the box, discover the dispensing holes, and figure out how to retrieve the treats.
The mental stimulation involved in this activity is a great way to keep your cat entertained and engaged.
Step 7: Adjust the difficulty level (optional)
If your cat quickly masters the treat dispenser, consider making it more challenging.
Adjust the size and number of dispensing holes, or introduce new elements like covering some holes with paper that your cat needs to paw away.
Step 8: Monitor and enjoy
Supervise your cat while they interact with the treat dispenser, ensuring a safe and enjoyable experience.
Celebrate their successes, and don’t hesitate to provide guidance if needed.
This DIY project not only entertains your cat but also strengthens the bond between you and your feline companion.
Food Puzzles
Materials needed
- Cardboard Boxes (various sizes)
- Box Cutter or Scissors
- Cat Treats
- Pencil
- Ruler
- Tape
- Catnip (optional)
Instructions
Transform mealtime into a stimulating adventure for your feline friend by crafting DIY food puzzles.
This engaging project not only challenges your cat’s problem-solving skills but also provides mental stimulation and encourages physical activity.
Follow these step-by-step instructions to create captivating food puzzles for your cat:
Step 1: Gather your materials
Collect cardboard boxes of various sizes. Ensure they are clean and free from any sticky substances.
Grab a box cutter or scissors, cat treats, a pencil, ruler, tape, and catnip if you want to add an extra layer of excitement.
Step 2: Plan the puzzle design
Consider the size of the box and visualize how you want to create the puzzle.
Draw lines and shapes on the box using a pencil and ruler.
Think about where you can cut and fold the cardboard to make it challenging yet accessible for your cat.
This step is crucial for designing a puzzle that will engage your cat’s curiosity.
Step 3: Cut and fold the box
Carefully use a box cutter or scissors to cut along the lines you’ve marked.
Experiment with folding sections of the box to create hiding spots for treats.
This process is what turns a simple box into an intriguing food puzzle.
Ensure all edges are secure to prevent any accidental injuries.
Step 4: Prepare the cat treats
Choose cat treats that your feline friend loves and that fit into the puzzle compartments.
Smaller, bite-sized treats work best for this activity.
Ensure you have enough treats to fill multiple compartments, keeping the challenge going.
Step 5: Fill the puzzle compartments
Place the cat treats inside the folded and hidden compartments of the puzzle.
The goal is to make it challenging for your cat to access the treats, encouraging them to use their problem-solving skills to figure out the puzzle.
You can also sprinkle a bit of catnip inside for added allure.
Step 6: Seal and secure
Tape the edges and openings of the puzzle securely.
This ensures that the treats stay hidden until your cat successfully solves the puzzle.
The challenge of breaking into the puzzle will keep your cat entertained and engaged.
Step 7: Introduce to your cat
Place the completed food puzzle in your cat’s play area and observe their reaction.
Encourage them to explore and discover the hidden treats within the puzzle.
Provide positive reinforcement as they solve the puzzle, reinforcing the connection between the activity and the reward.
Step 8: Adjust the difficulty level (optional)
As your cat becomes more adept at solving the puzzle, consider making it more challenging.
Modify the design, create additional folds, or increase the complexity of the cutouts.
Adapting the puzzle ensures continued mental stimulation for your cat.
- Read also: DIY Cat Wall Playground Guide
- Read also: DIY Cat Cave
Additional Tips
- Use safe materials: Prioritize your cat’s safety by avoiding cardboard boxes that may contain harmful substances. Opt for clean, non-toxic cardboard for all your DIY creations.
- Reinforce the toys: Make your cardboard toys last longer by reinforcing them with glue, tape, or fabric scraps. A little extra durability goes a long way in surviving your cat’s playtime antics.
- Add variety: Keep things exciting for your cat by creating an array of different cardboard toys. Variety is the spice of life, even in the feline world.
- Rotate the toys: Prevent boredom by regularly rotating your cat’s toys. What may be yesterday’s favorite could become today’s overlooked plaything. Keep it fresh to keep them engaged.
Conclusion
In the world of DIY cat toys, cardboard reigns supreme.
It’s not just about creating playthings; it’s about crafting experiences that tap into your cat’s instincts and bring joy into their lives.
So, grab some cardboard, unleash your creativity, and watch as your feline friend revels in the simple yet profound pleasure of DIY cardboard cat toys.
Your cat will thank you with purrs, playfulness, and a whole lot of love.
- Bluetick Coonhound: A Guide to America’s Baying Blue Hound - July 21, 2026
- Can Cats Eat Salmon? Benefits, Risks & the Safest Way to Feed It - July 20, 2026
- Can Cats Eat Blueberries? What Cat Owners Need To Know - July 15, 2026
GIPHY App Key not set. Please check settings